

WARNING: THIS PROJECT USES BUTTON CELL BATTERIES THAT ARE EASILY REMOVED. Button cell batteries can be fatal to small children and animals if swallowed.The small size of these batteries makes them easy to swallow. Please use caution and common sense to keep your batteries (and the displays) out of the reach of small children and animals
I’ve written several posts about the Teeny-Tiny Edge-Lit Display and its variants, the Teeny-Tiny Edge-Lit Trophy and the Edge-Lit Pendant. Here is yet another adaptation that is even easier to build and makes a good kids’ project. The thirty-seven campers (most in 5th grade) from PS Science made this project this week and it went over very well. Some kids will still need help, but by and large, they can manage it themselves.
Kid-friendly adaptations include:
- A larger wooden base which allows hand bending of the LED to fit (no pliers or cutting of LED legs required)
- Copper tape is folded directly around the LED legs before they are inserted into the base, rather than applying the tape after the LED is inserted.
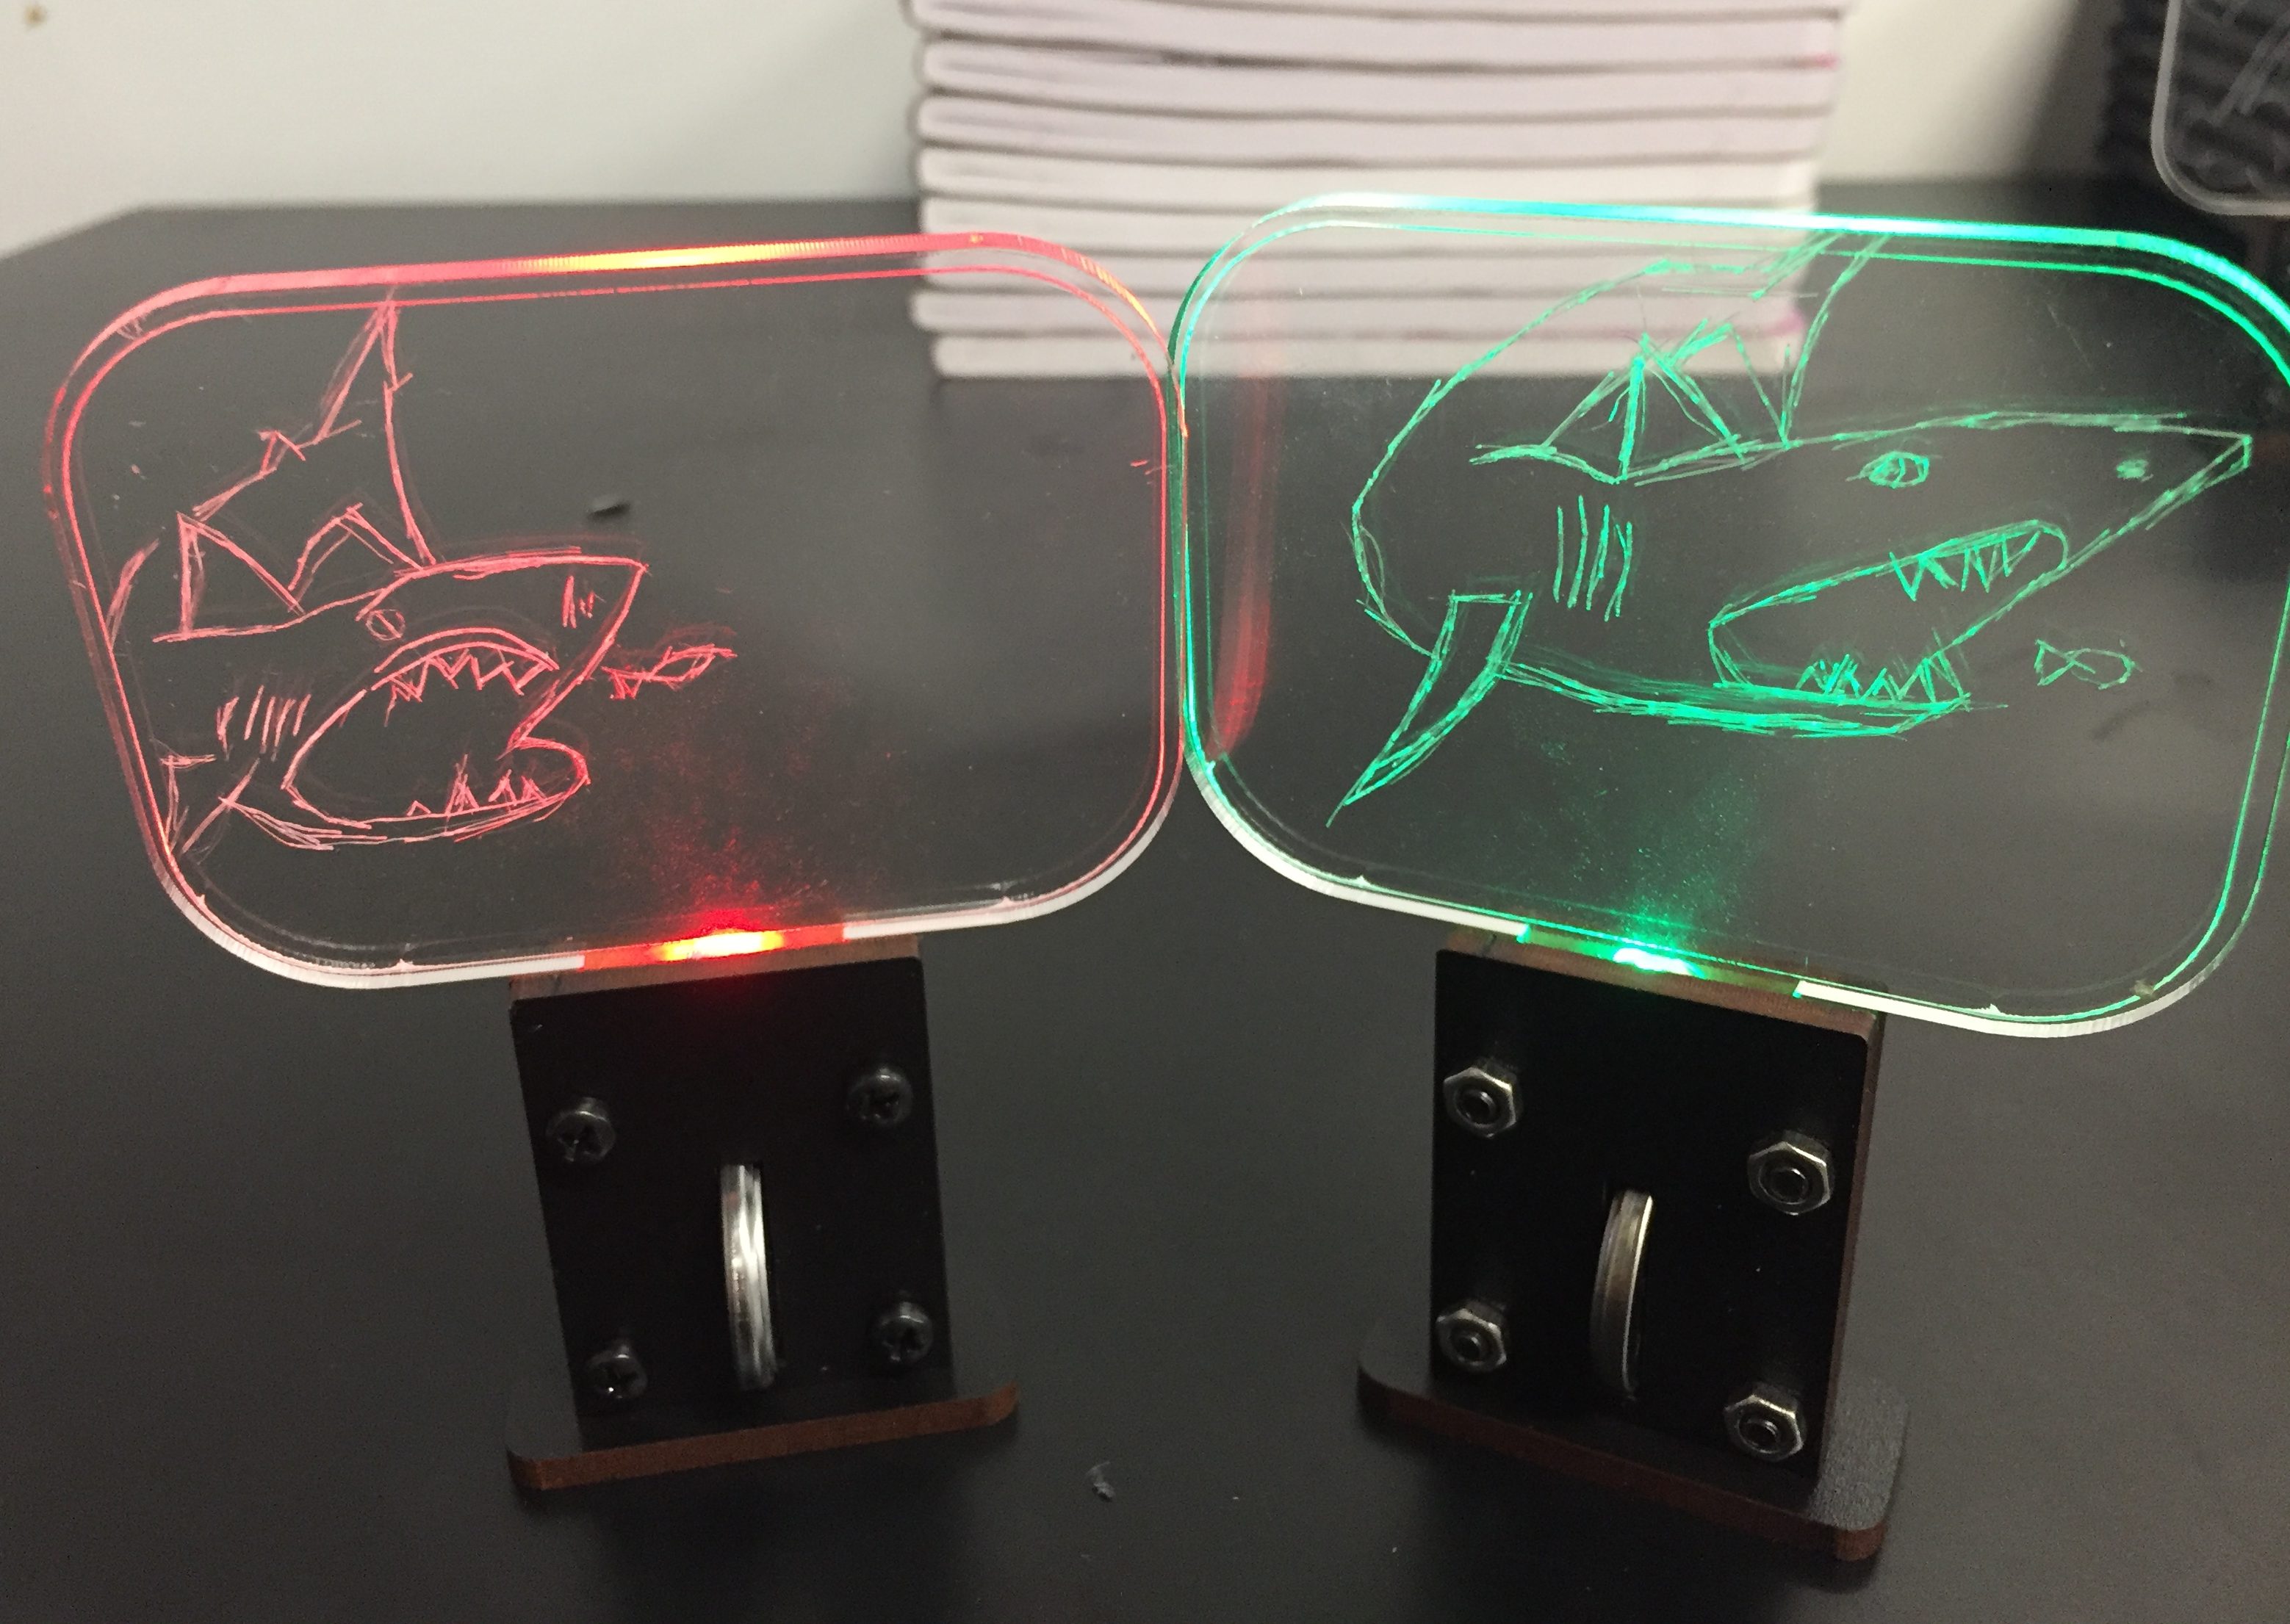
- Larger acrylic display on which makers can etch their own patterns with a file – for more creative options
Warning: Coin cell batteries can be dangerous, even fatal, if ingested. This project is best for children ages 12 and up. If they have younger siblings at home, please be sure they know to keep the project, and the battery out of their reach.
A time-lapse video of the build is below:
Much of the build description below has been copied from previous posts, but I’m including it all here for completeness.
Components:
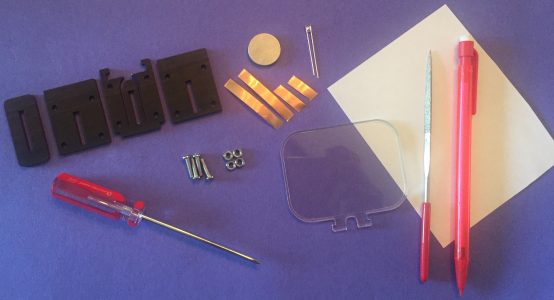
- Super small 2x3x4mm rectangular LEDs. I used the color cycling versions
- 1/8″ wood sheet for laser cutting
- 1/8″ clear acrylic sheet
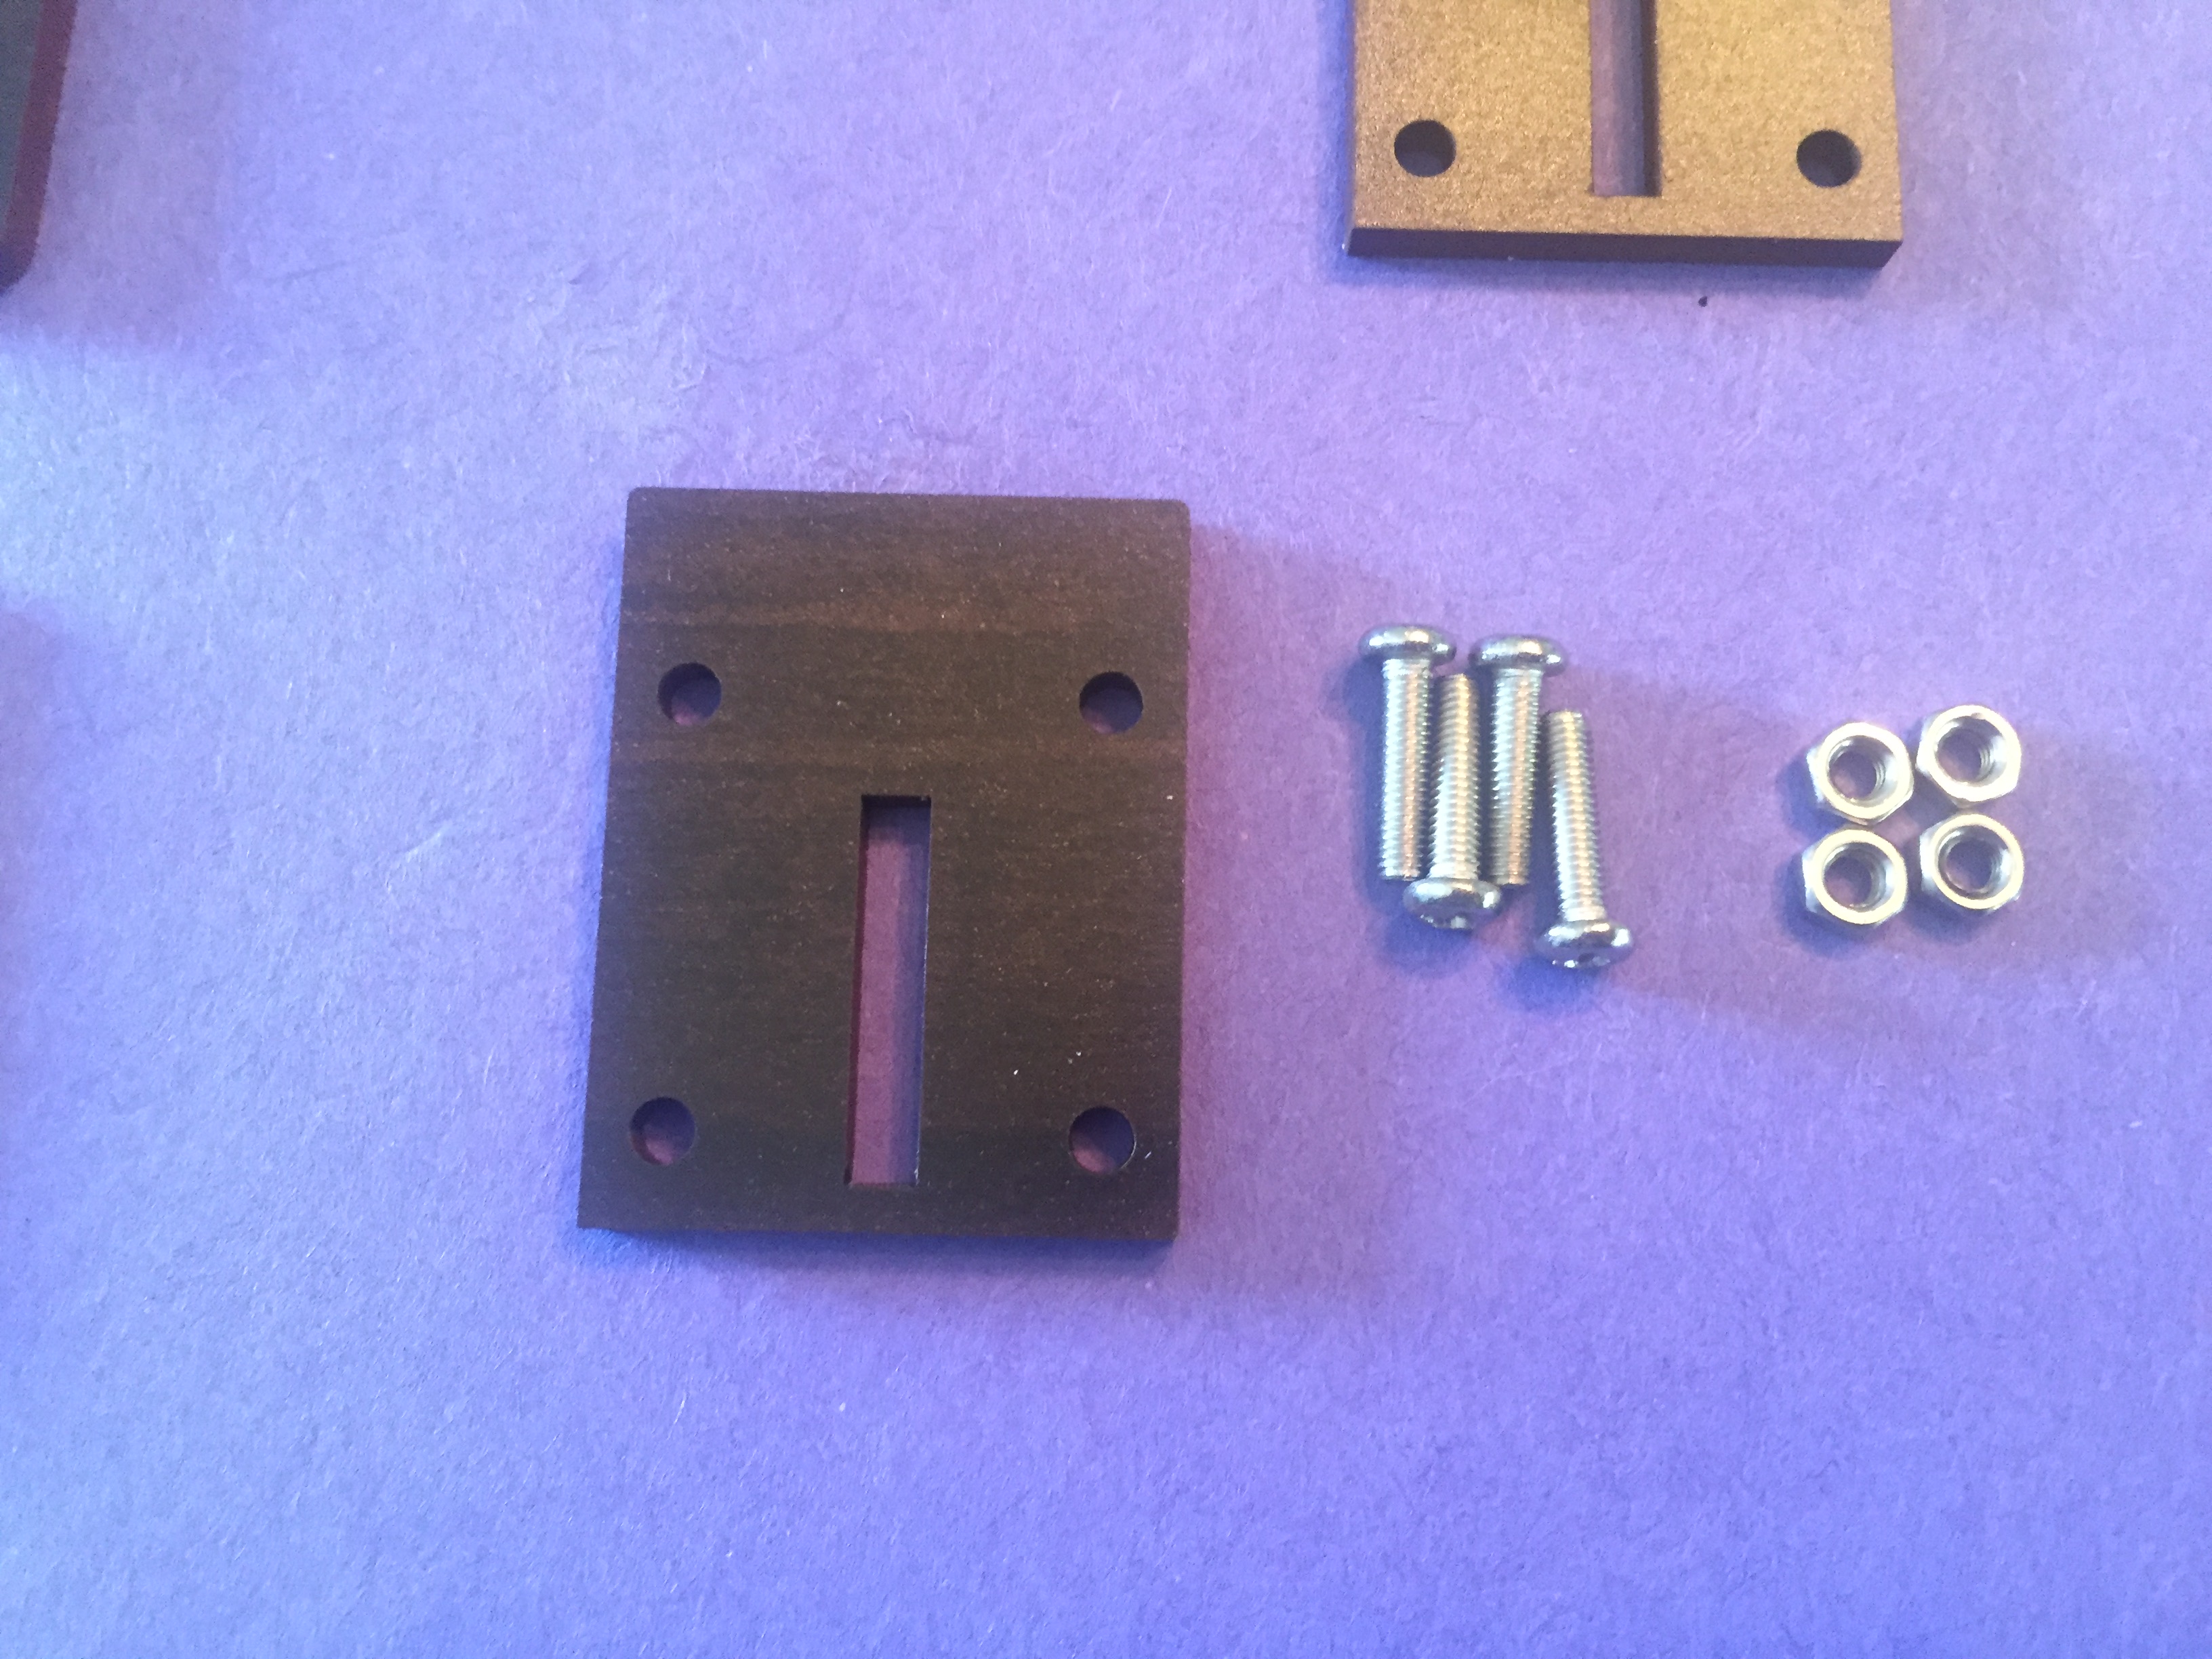
- 4 x 12 mm M3 screws and 4 M3 nuts
- 1/4″ wide copper tape, with conductive adhesive cut into two 1.5″ segments and two .5″ segments (approximately)
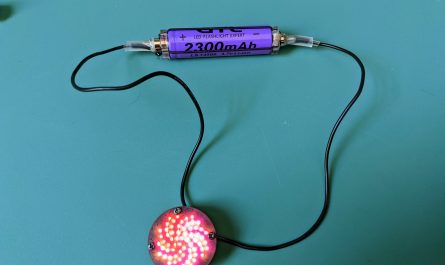
- 1 x CR2032 battery
Tools:
- Screwdriver
- Scissors
- Small file (I used this set from Amazon)
- Laser cutter (or an online laser cutting service like Ponoko)
- paper/pen for sketching a pattern to trace into the acrylic
Instructions:
Laser Cut the Wood and Acrylic:
The files for laser cutting the wood sheet and acrylic are below. They are designed to fit the LED and CR2032 battery exactly, so do not resize them before cutting. Cut the base out of 1/8″ wood and the top from 1/8″ clear acrylic. In the acrylic, the blue lines are for cutting and the red lines are for etching. Once the pieces are cut, remove any protective paper from the wood and acrylic.
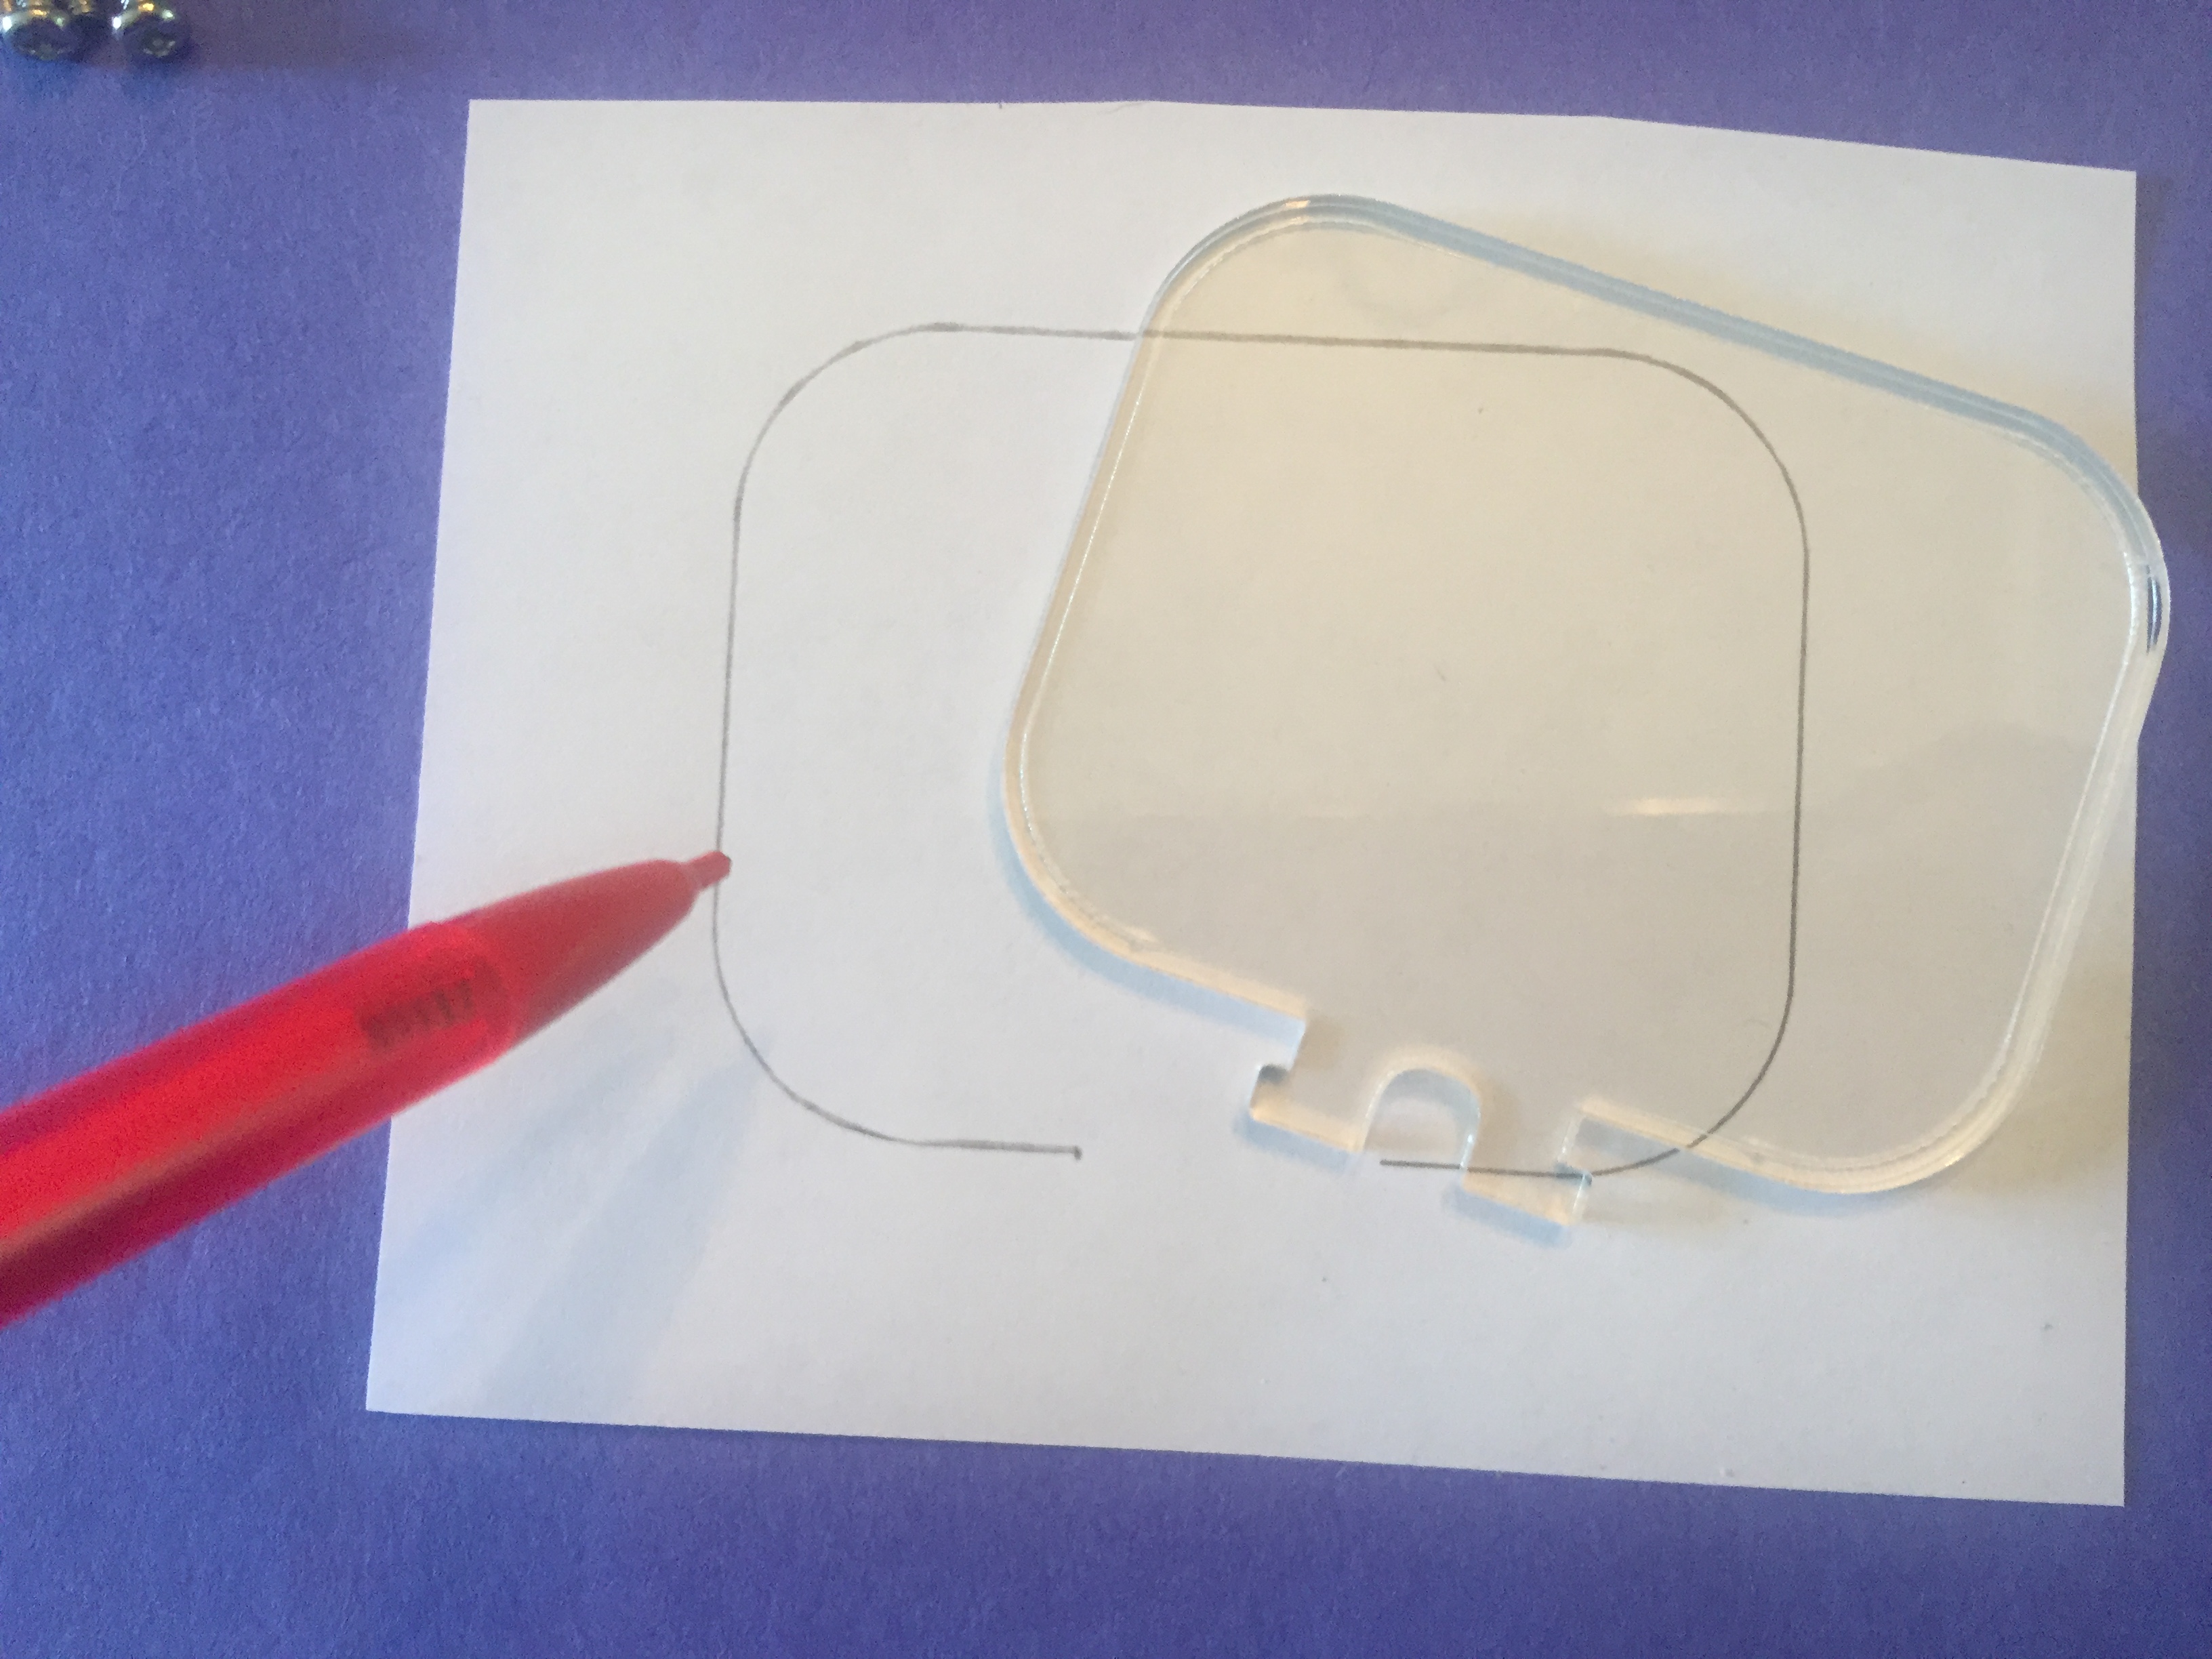
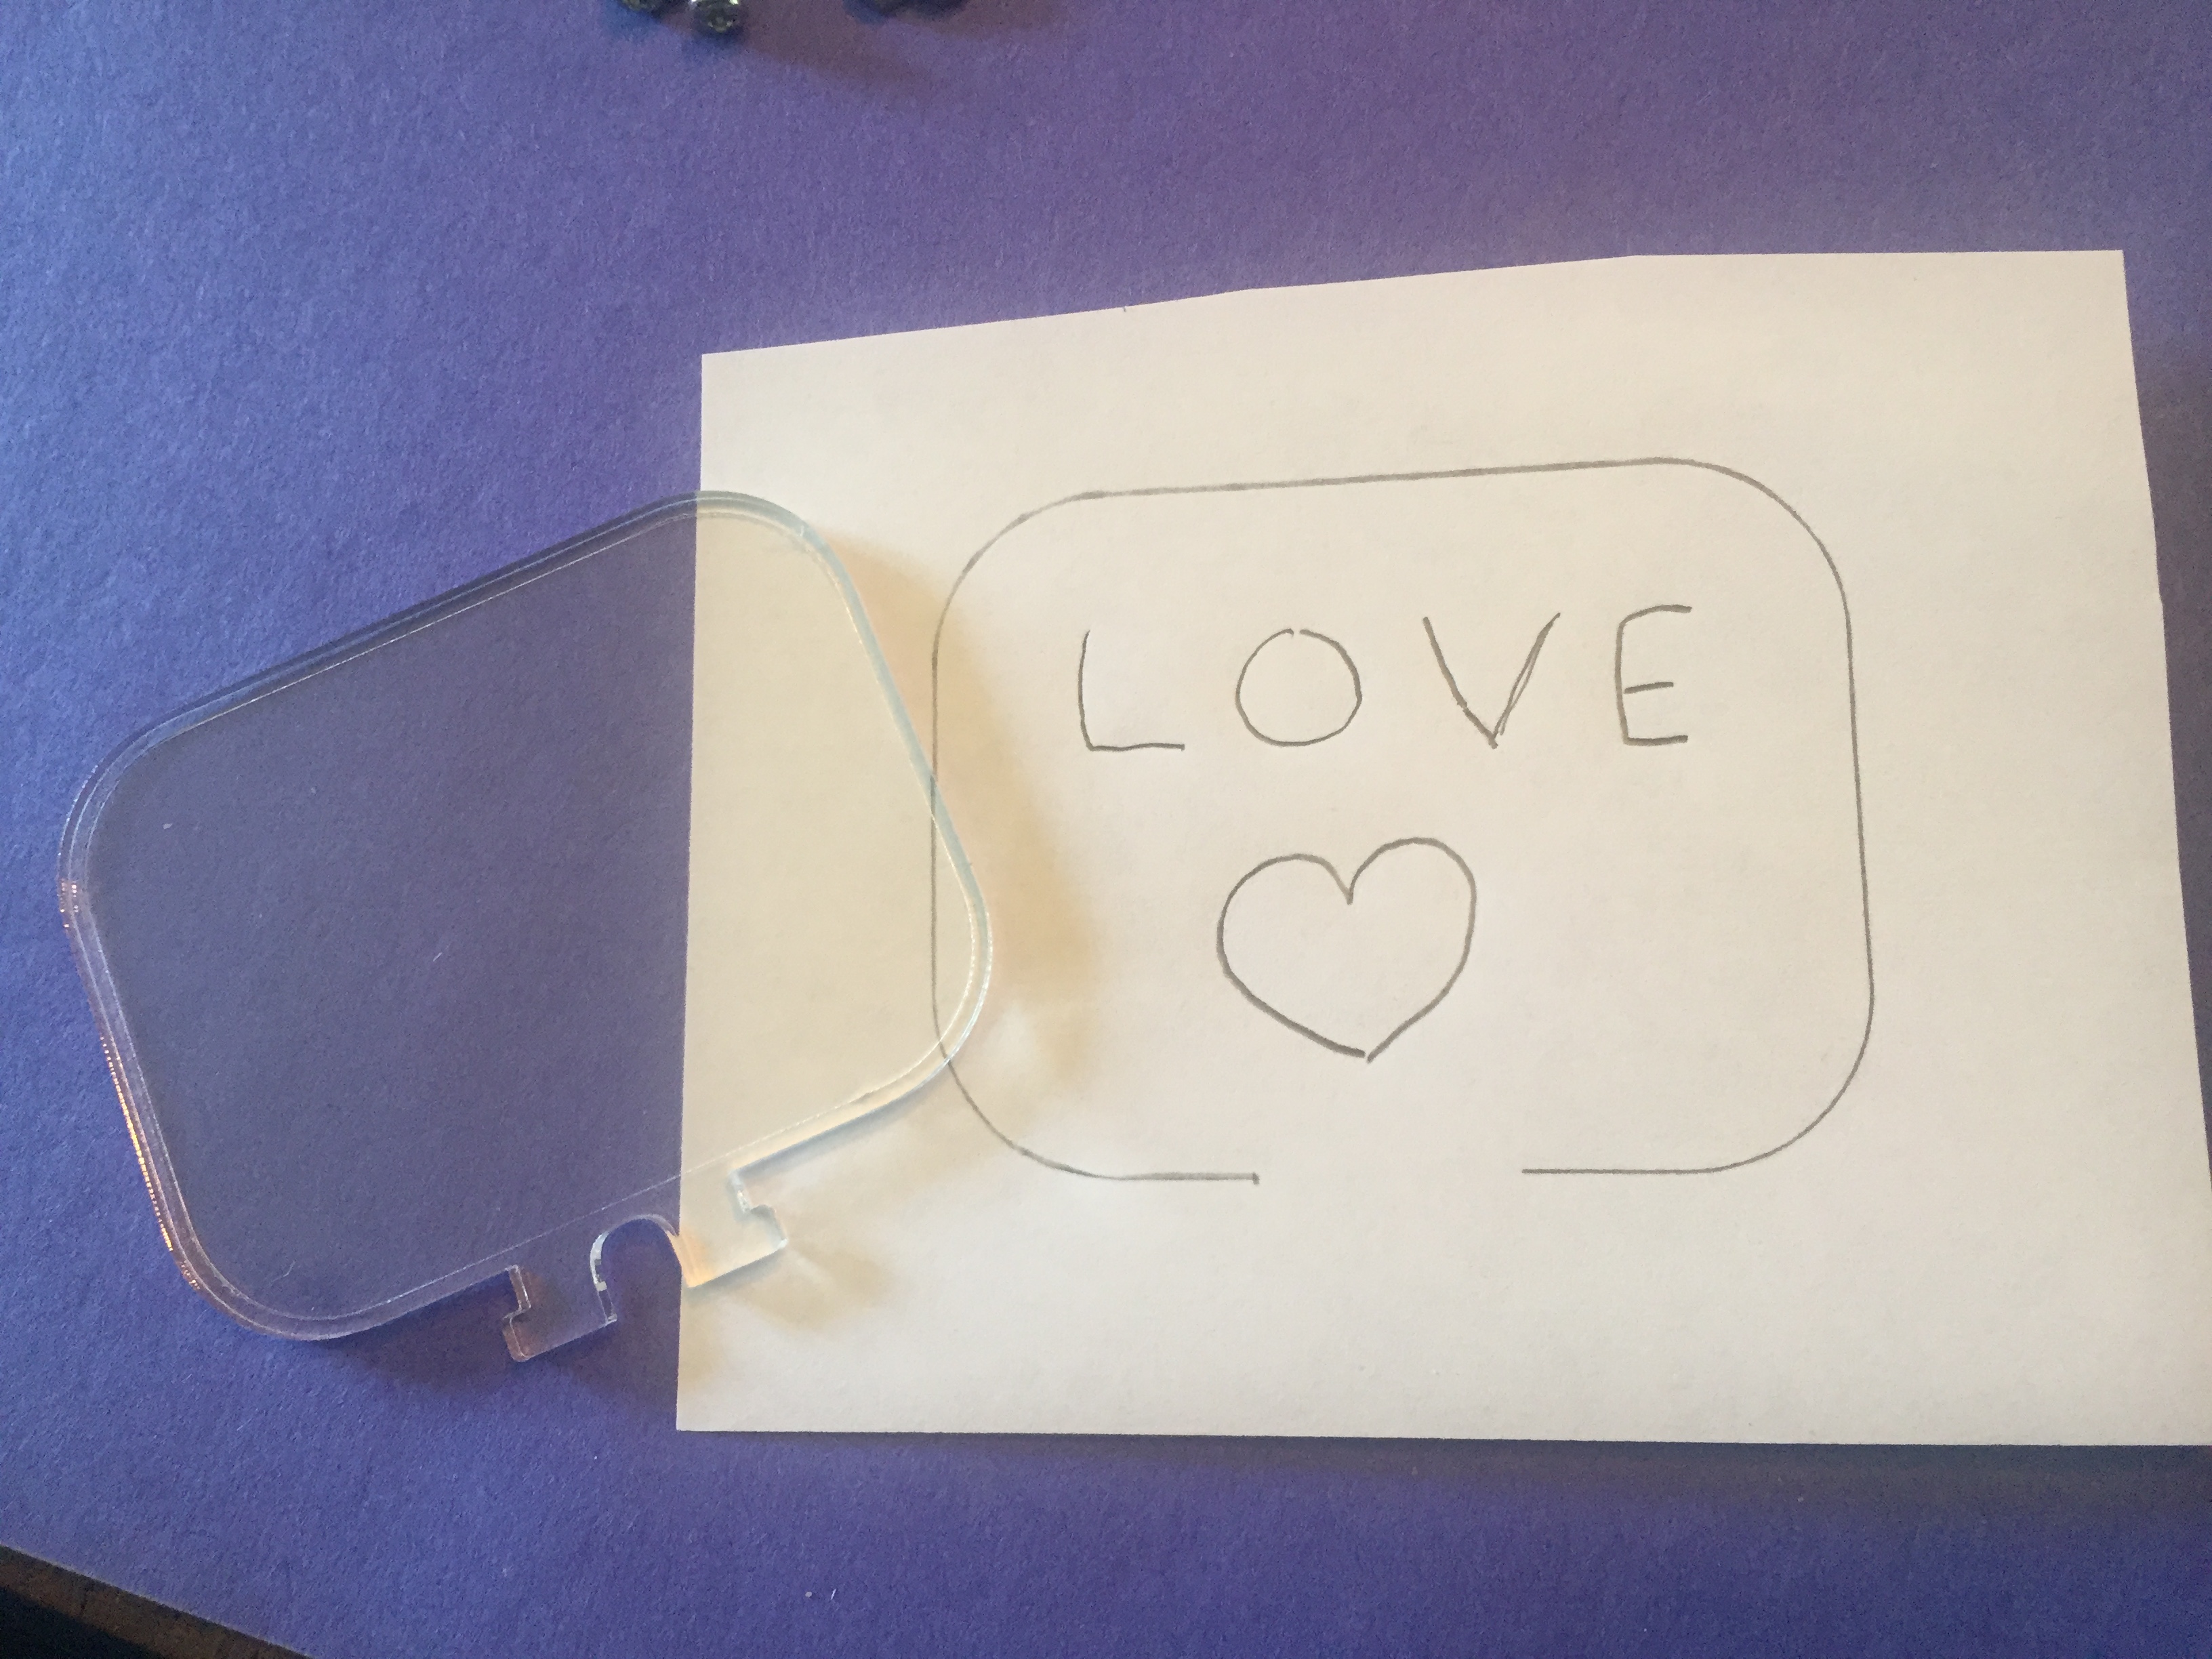
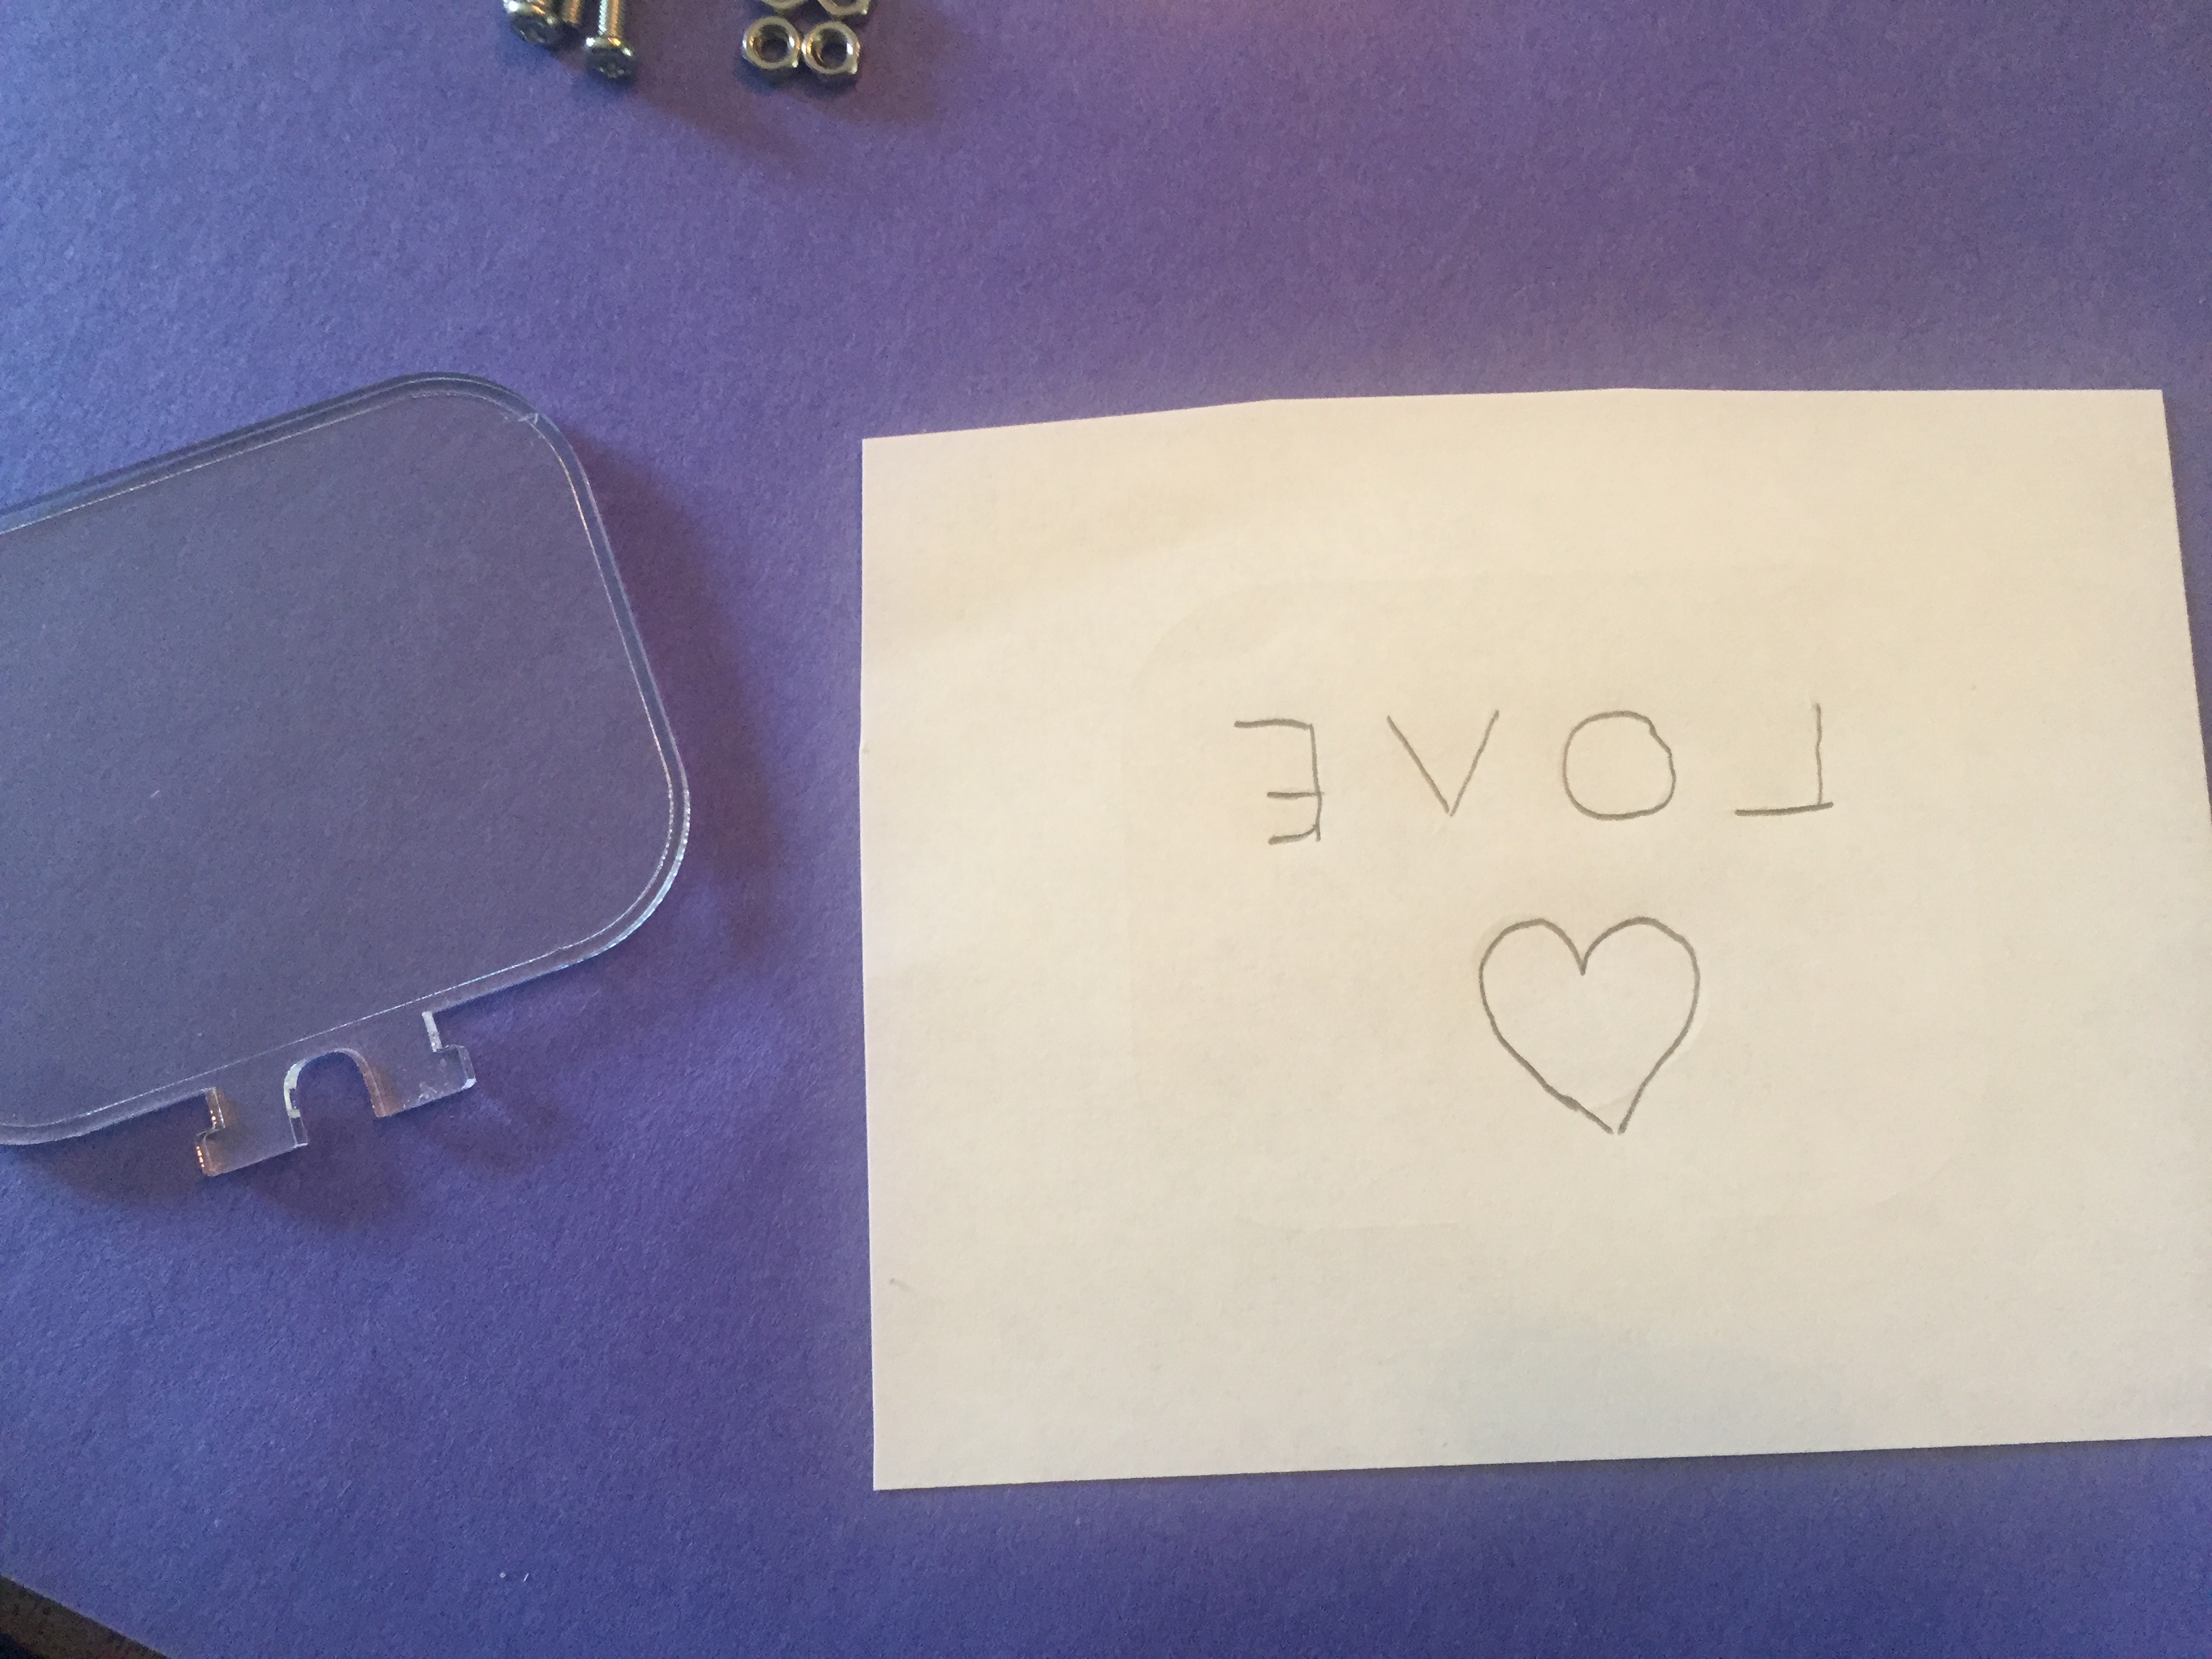
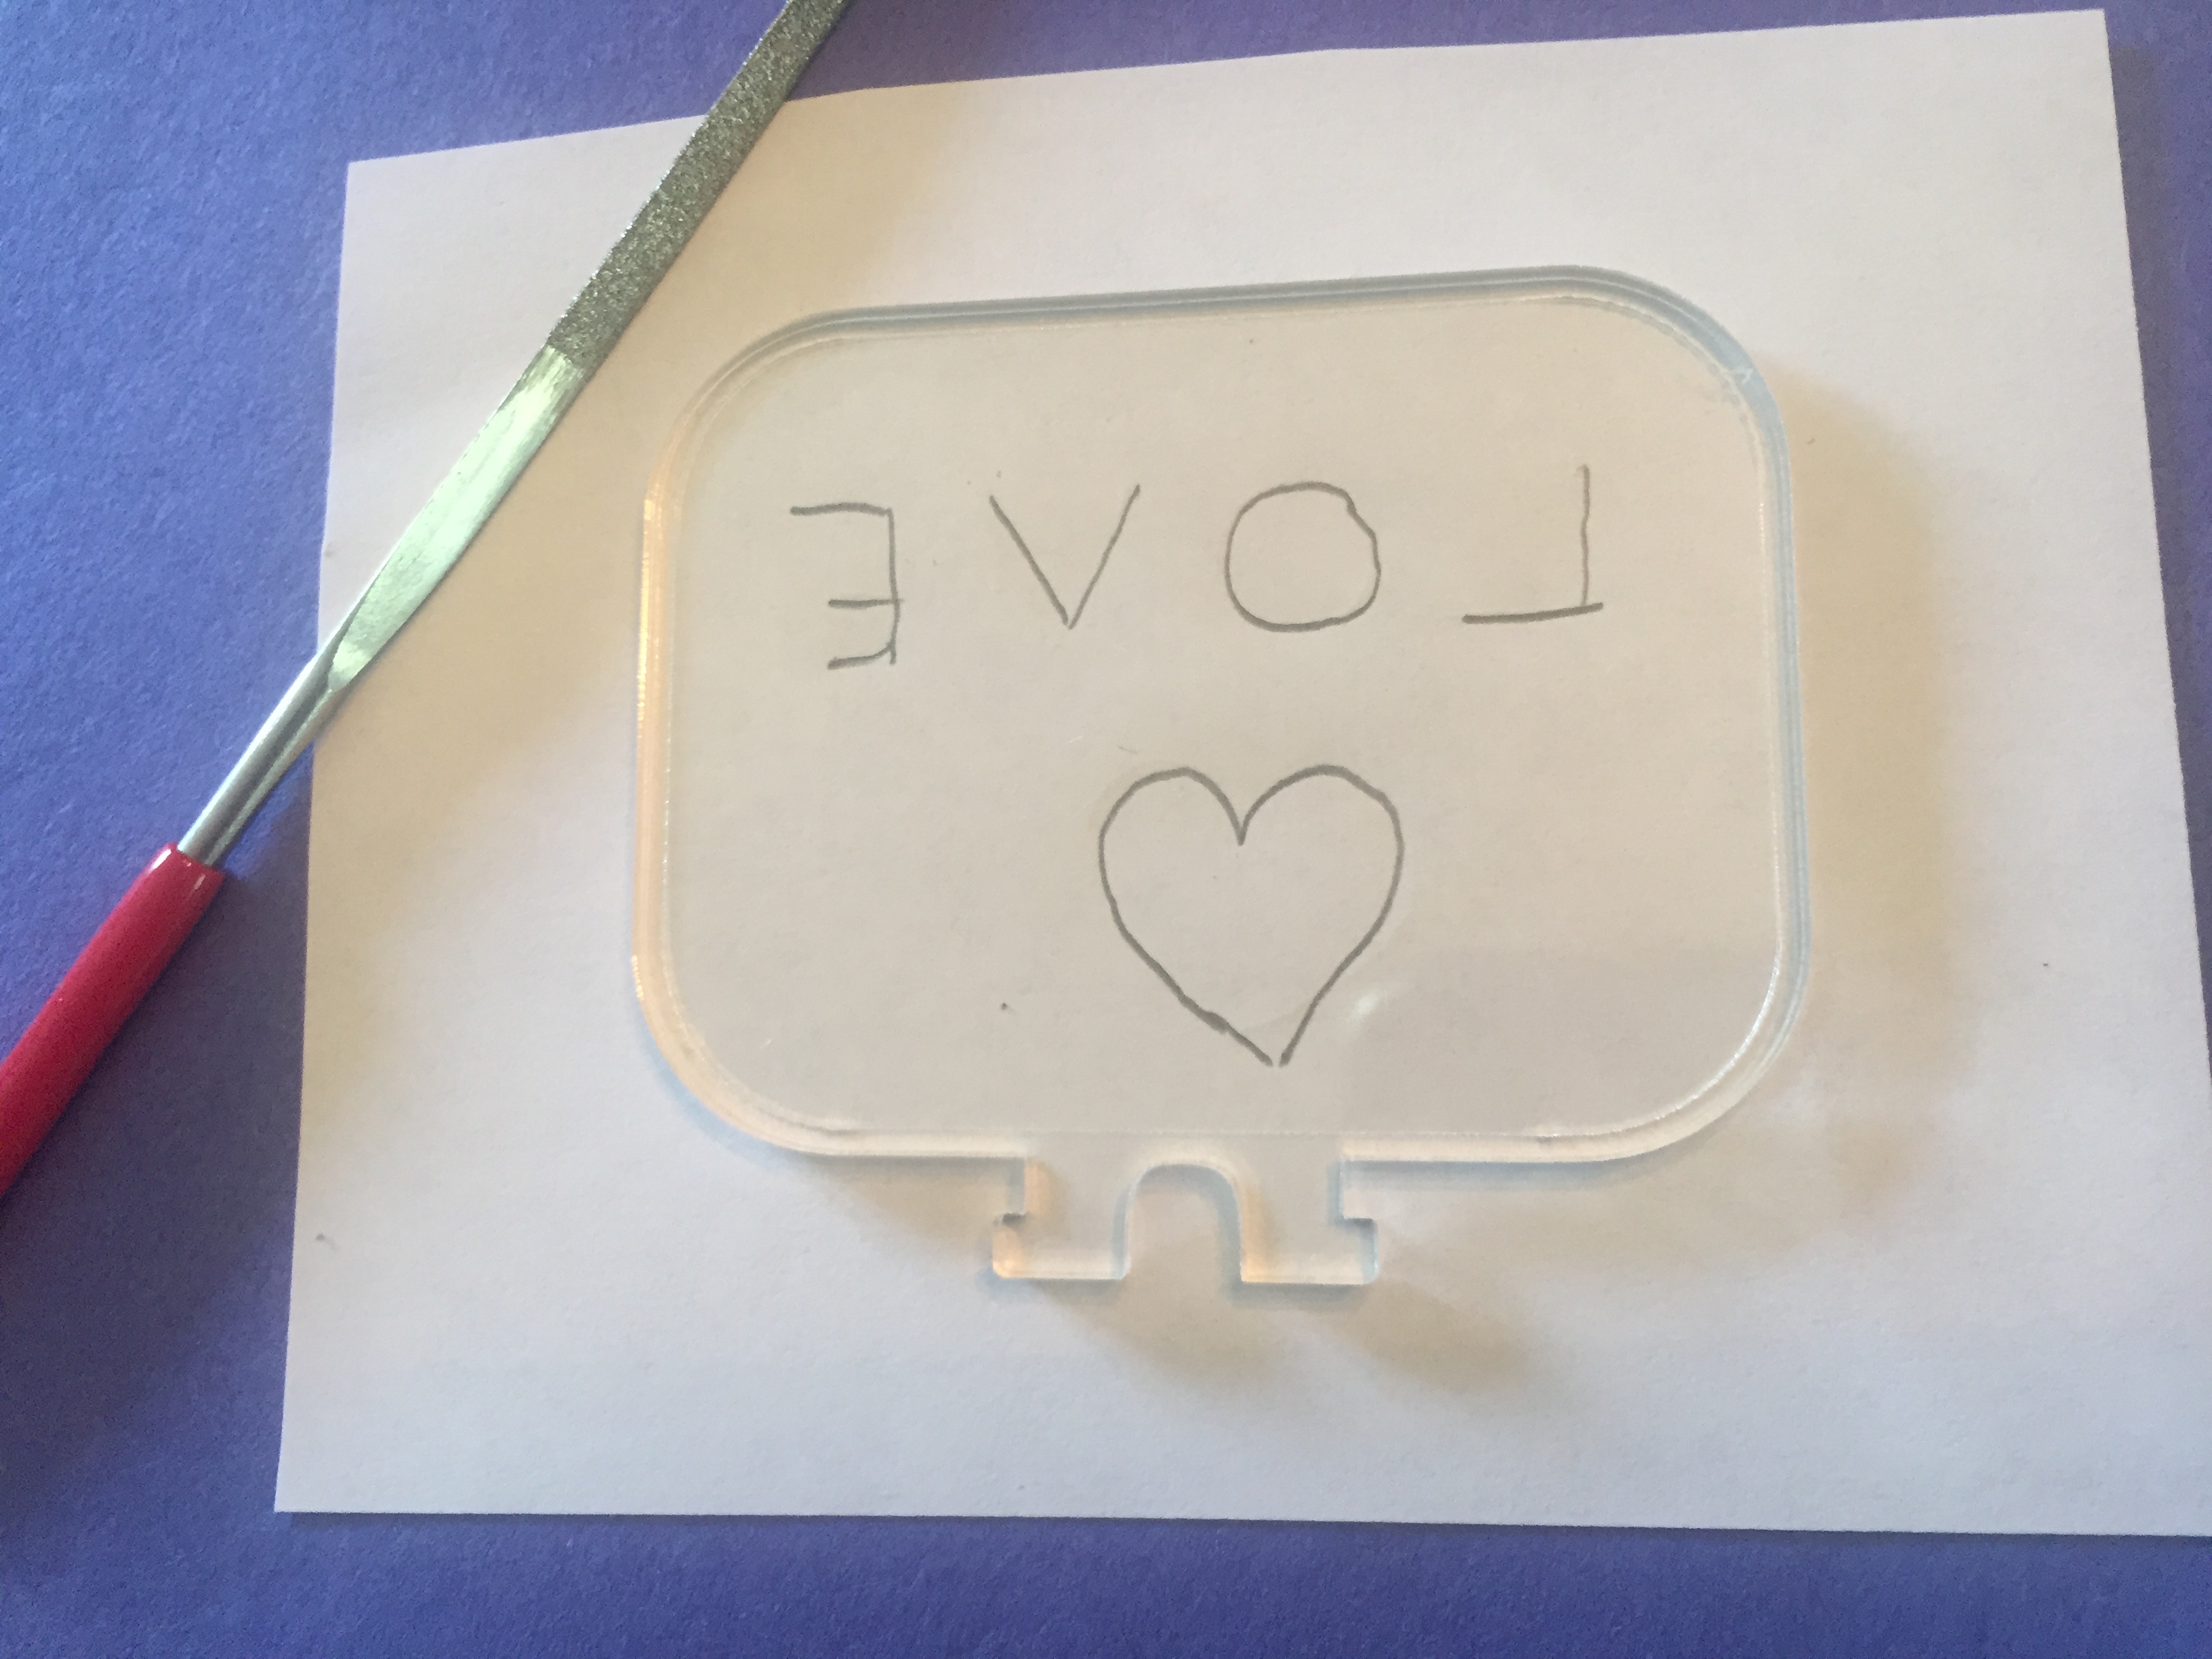
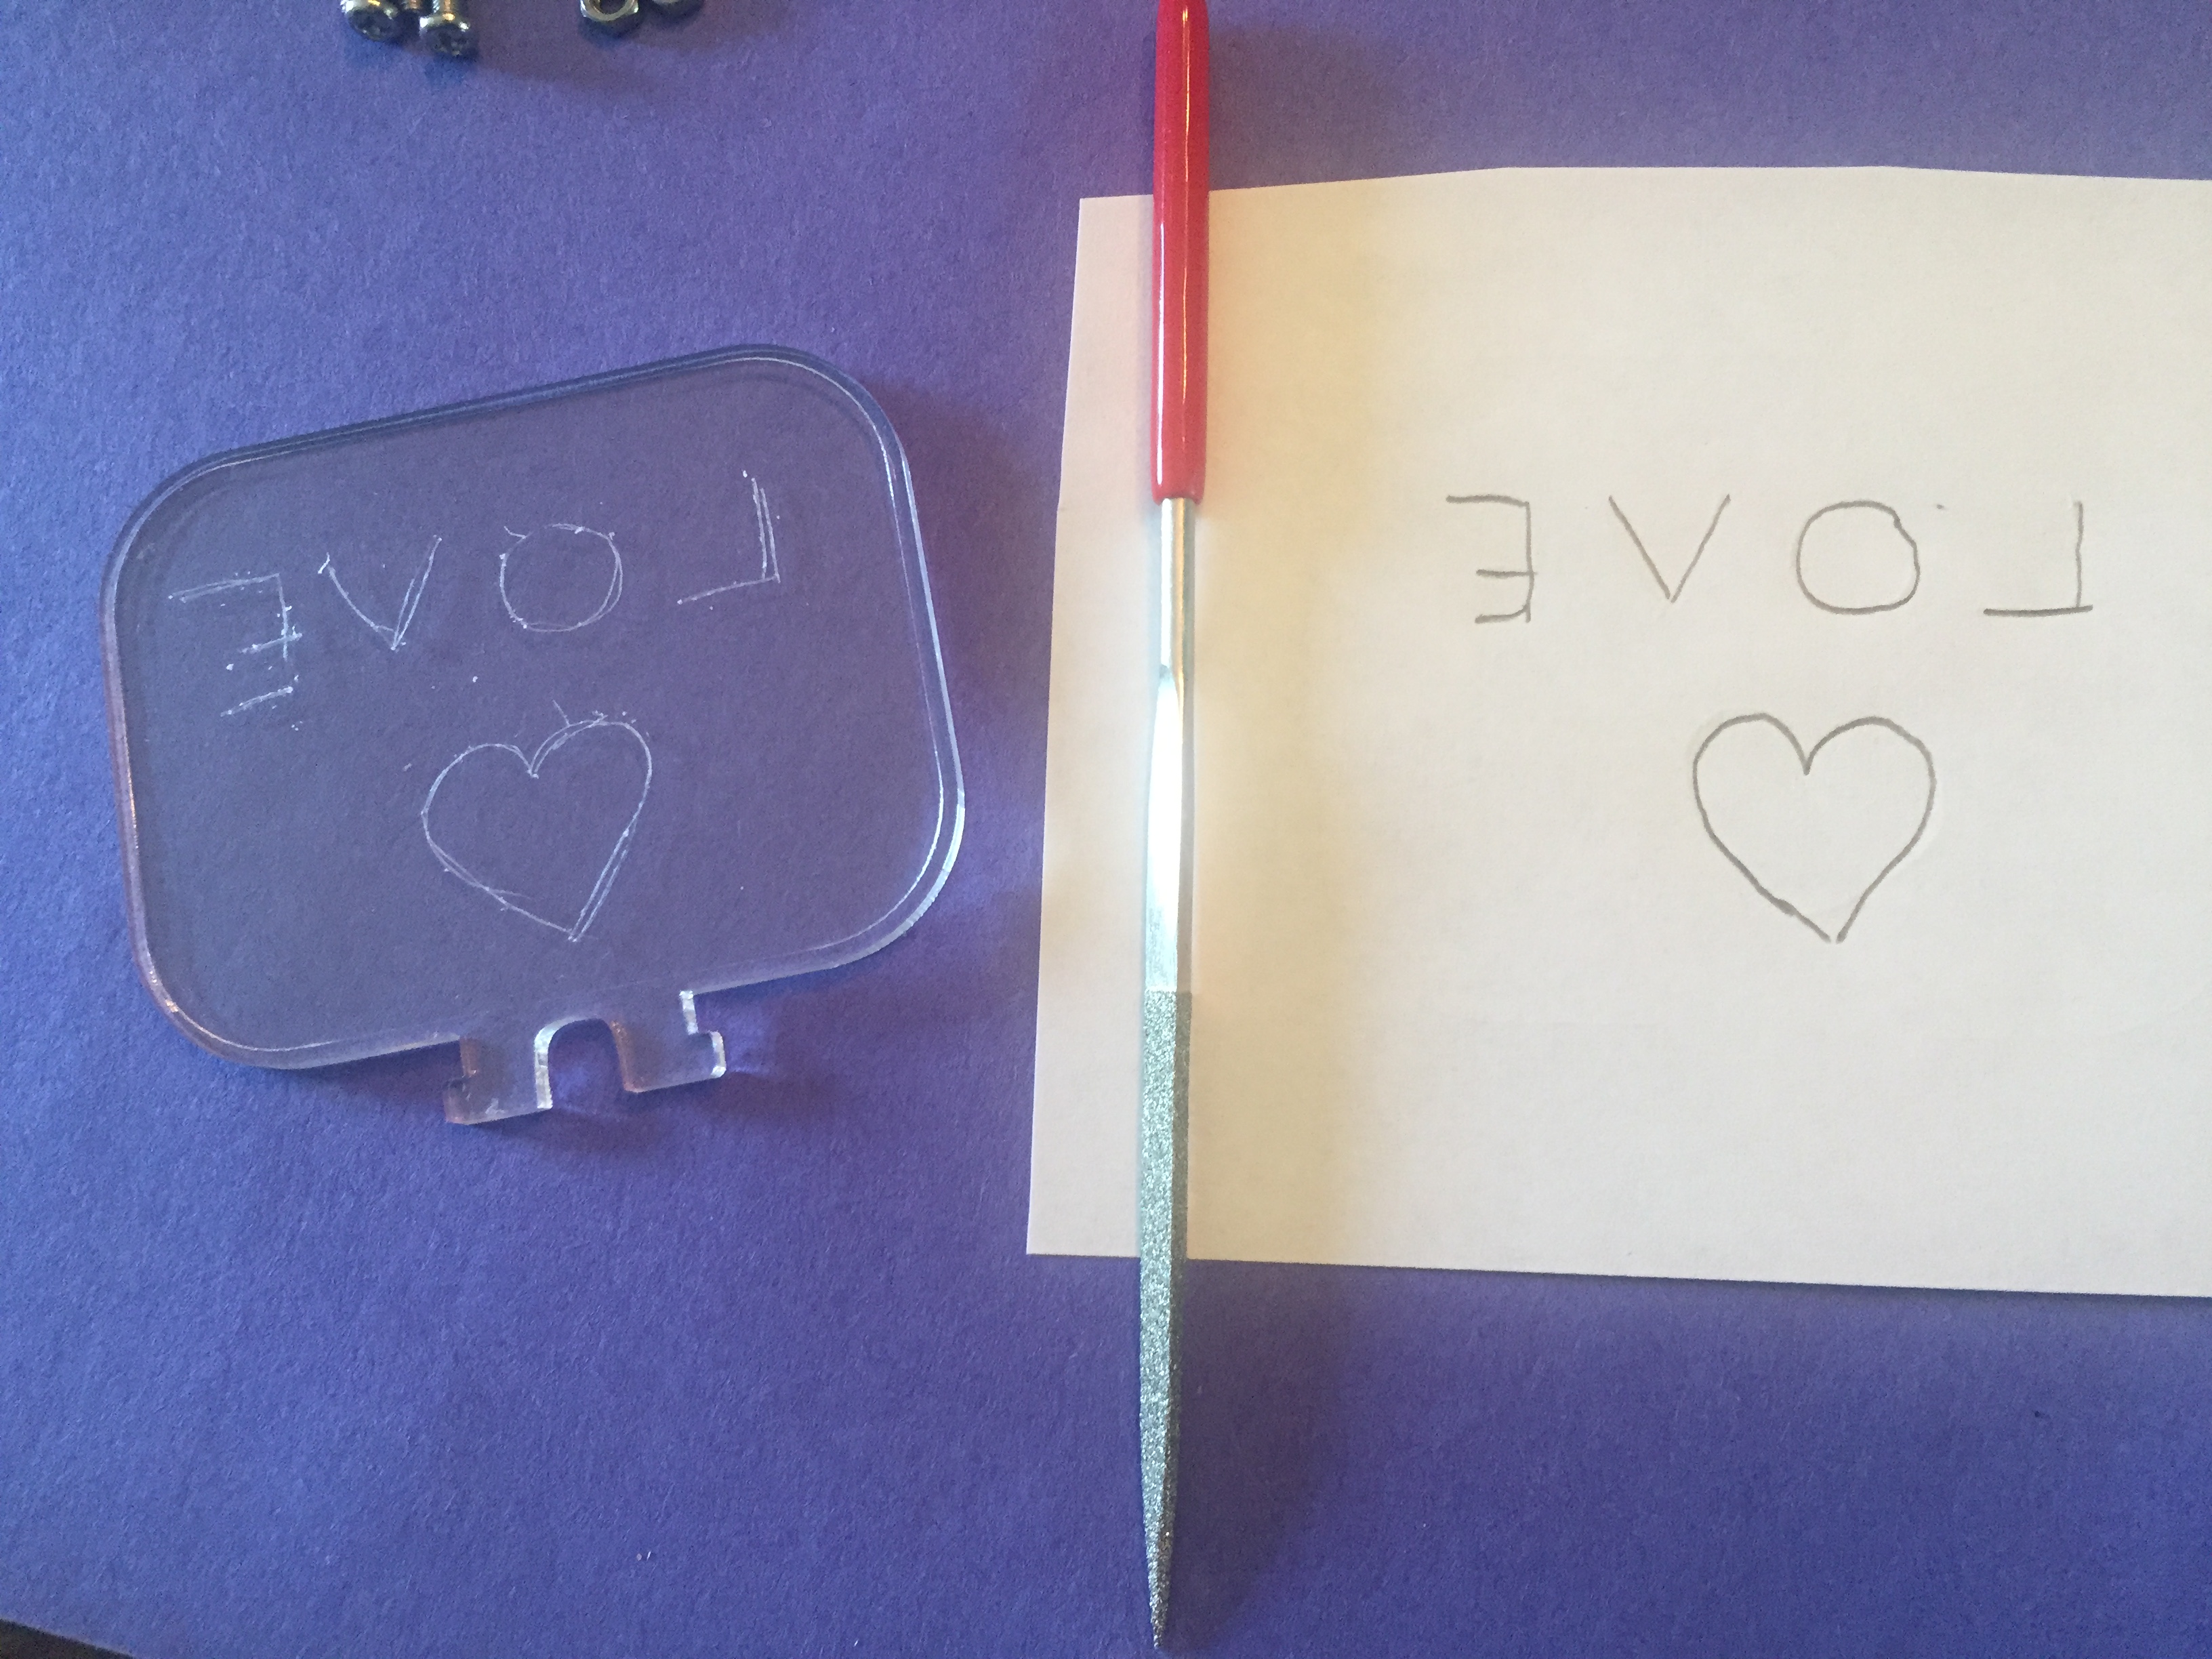
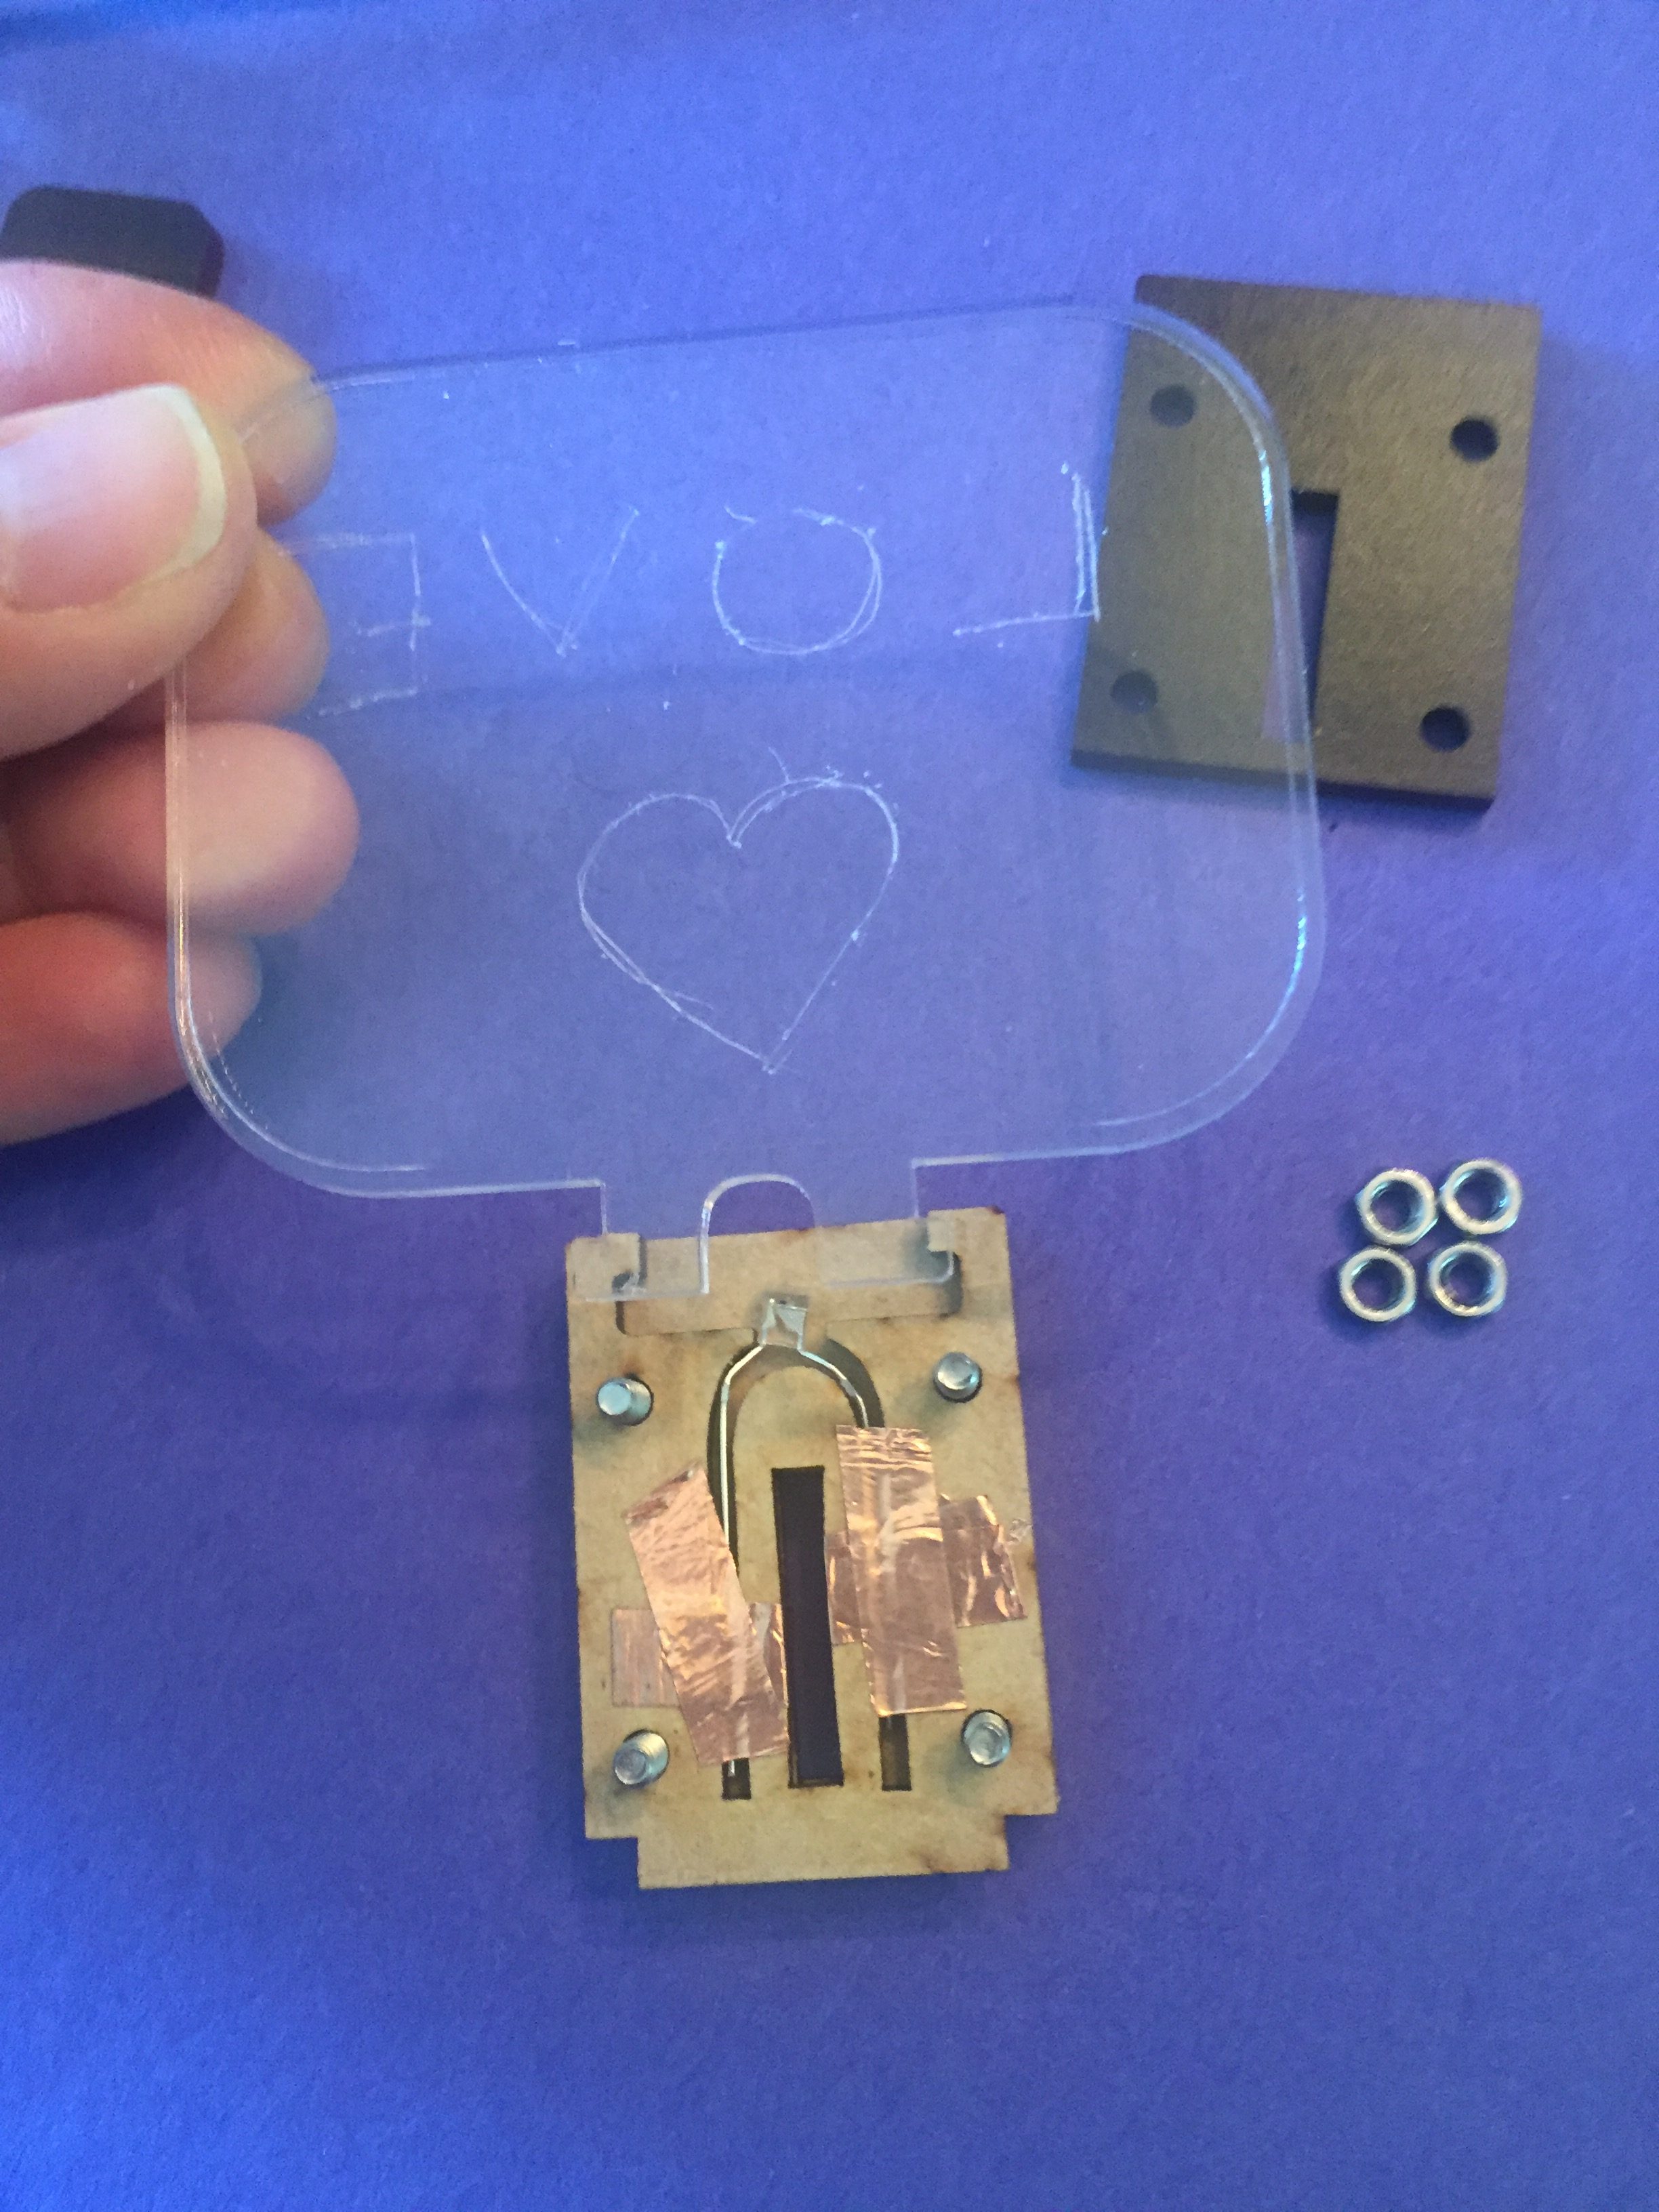
Etch a Design into the Acrylic:
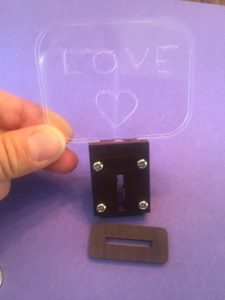
Using the file, scratch a design into the acrylic piece. It’s best to sketch the design onto a piece of paper then place the acrylic over the paper, so you can trace the lines you’ve drawn. If you will be including text, draw the image on one side of the paper, then flip it over and draw the reversed image on the back side. Etch the reversed image into the acrylic. Do this because edge-lit effects look best when the etching is on the back side of the acrylic, which requires inverting the text before etching it. If the image contains no text and you don’t care about the orientation, it’s not necessary to invert it.
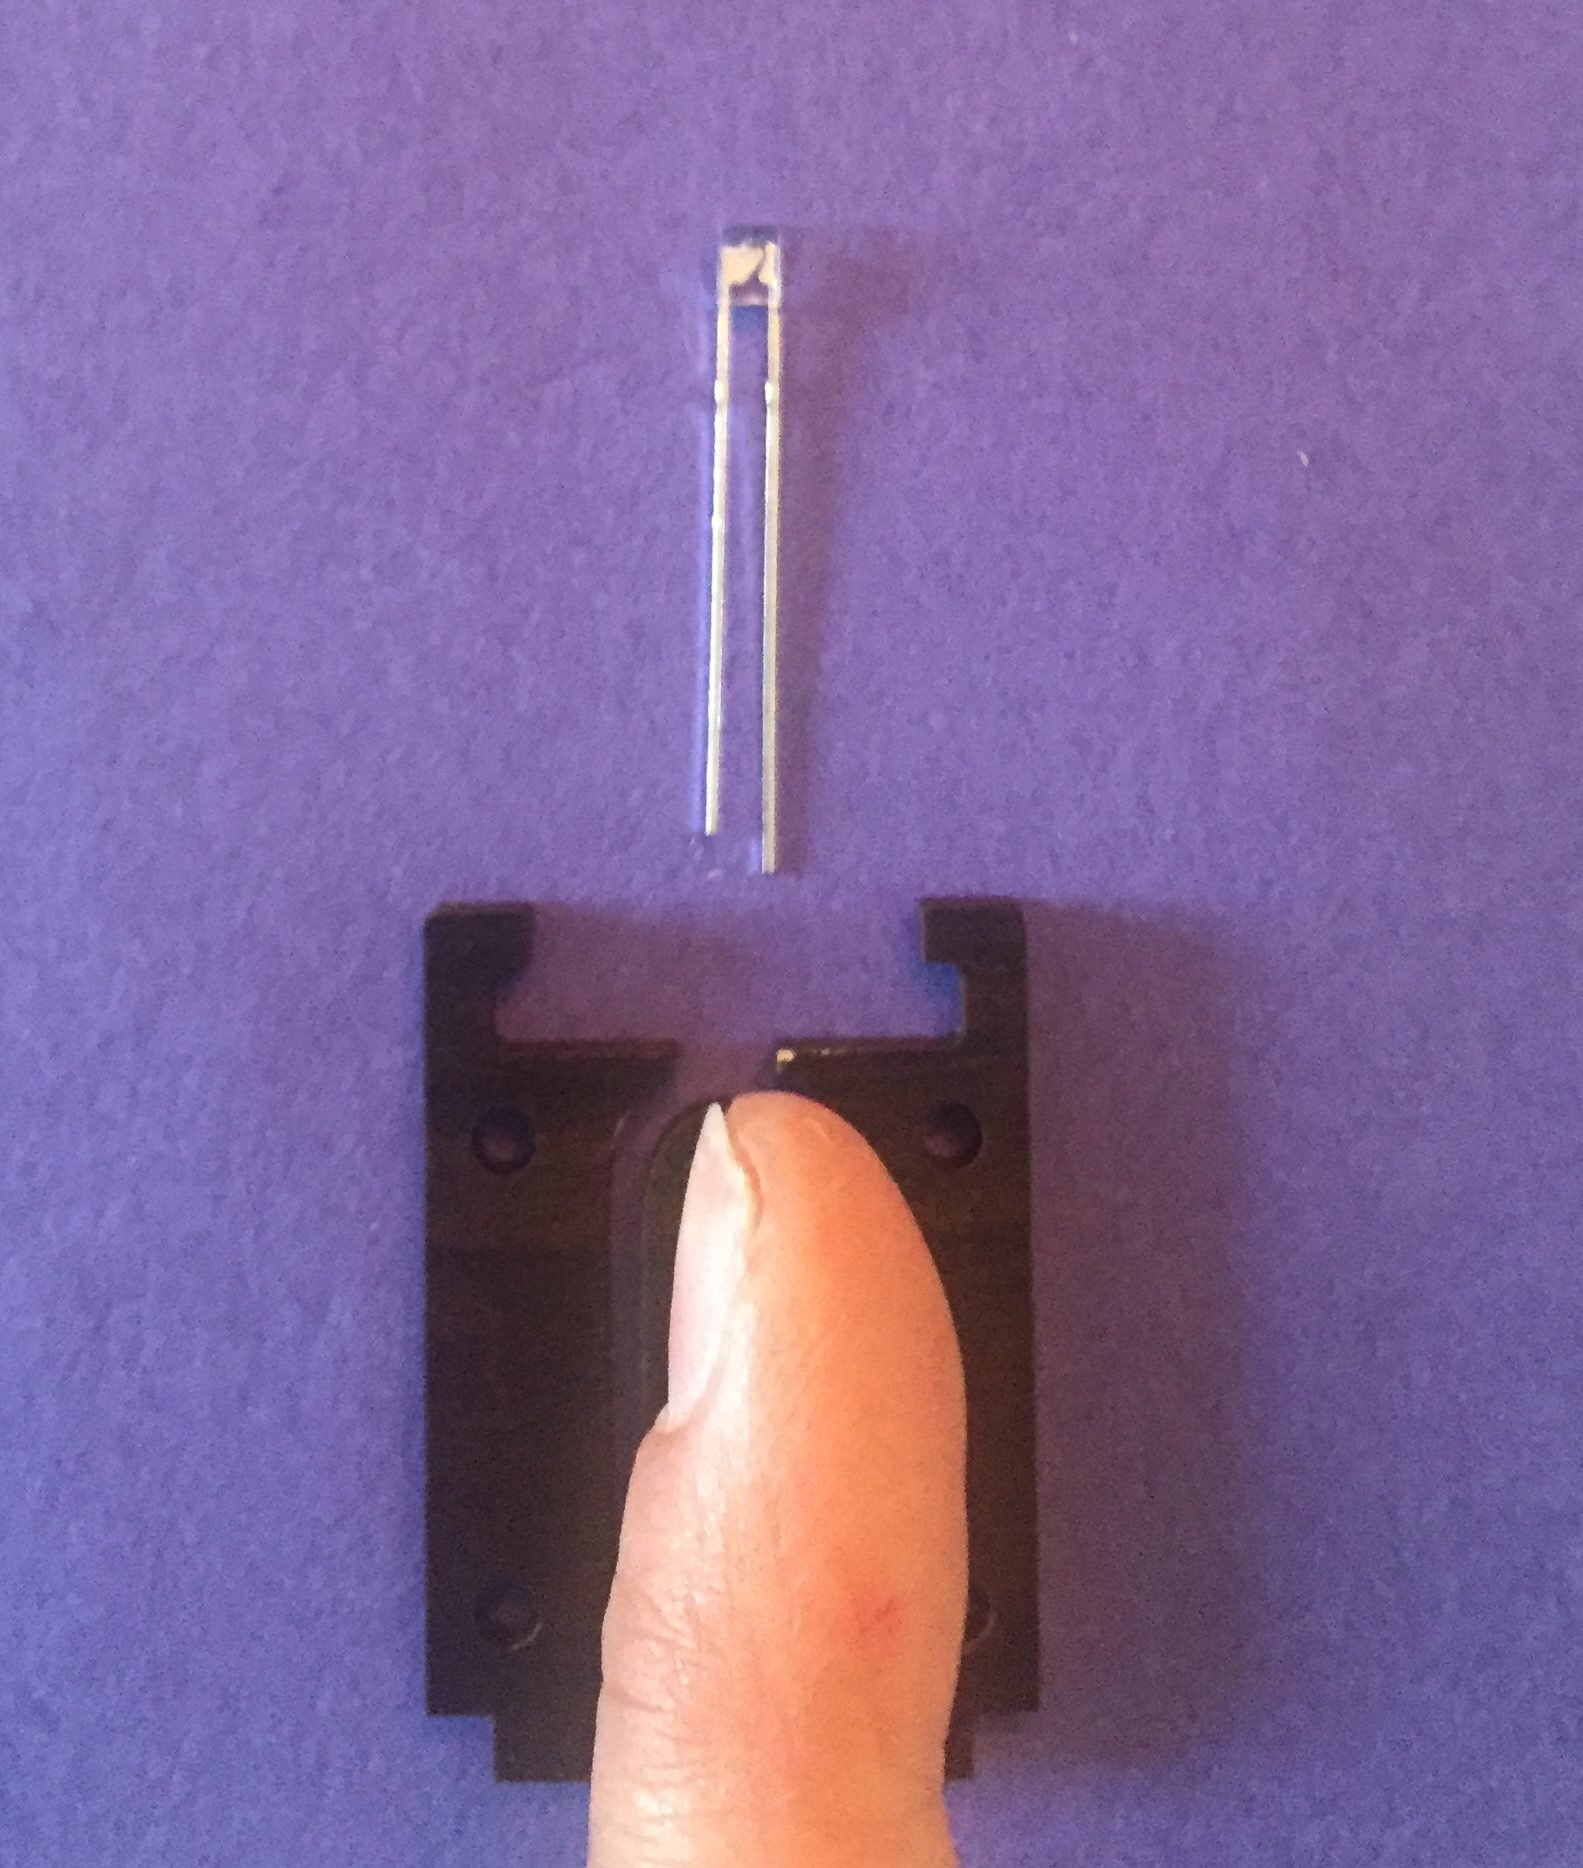
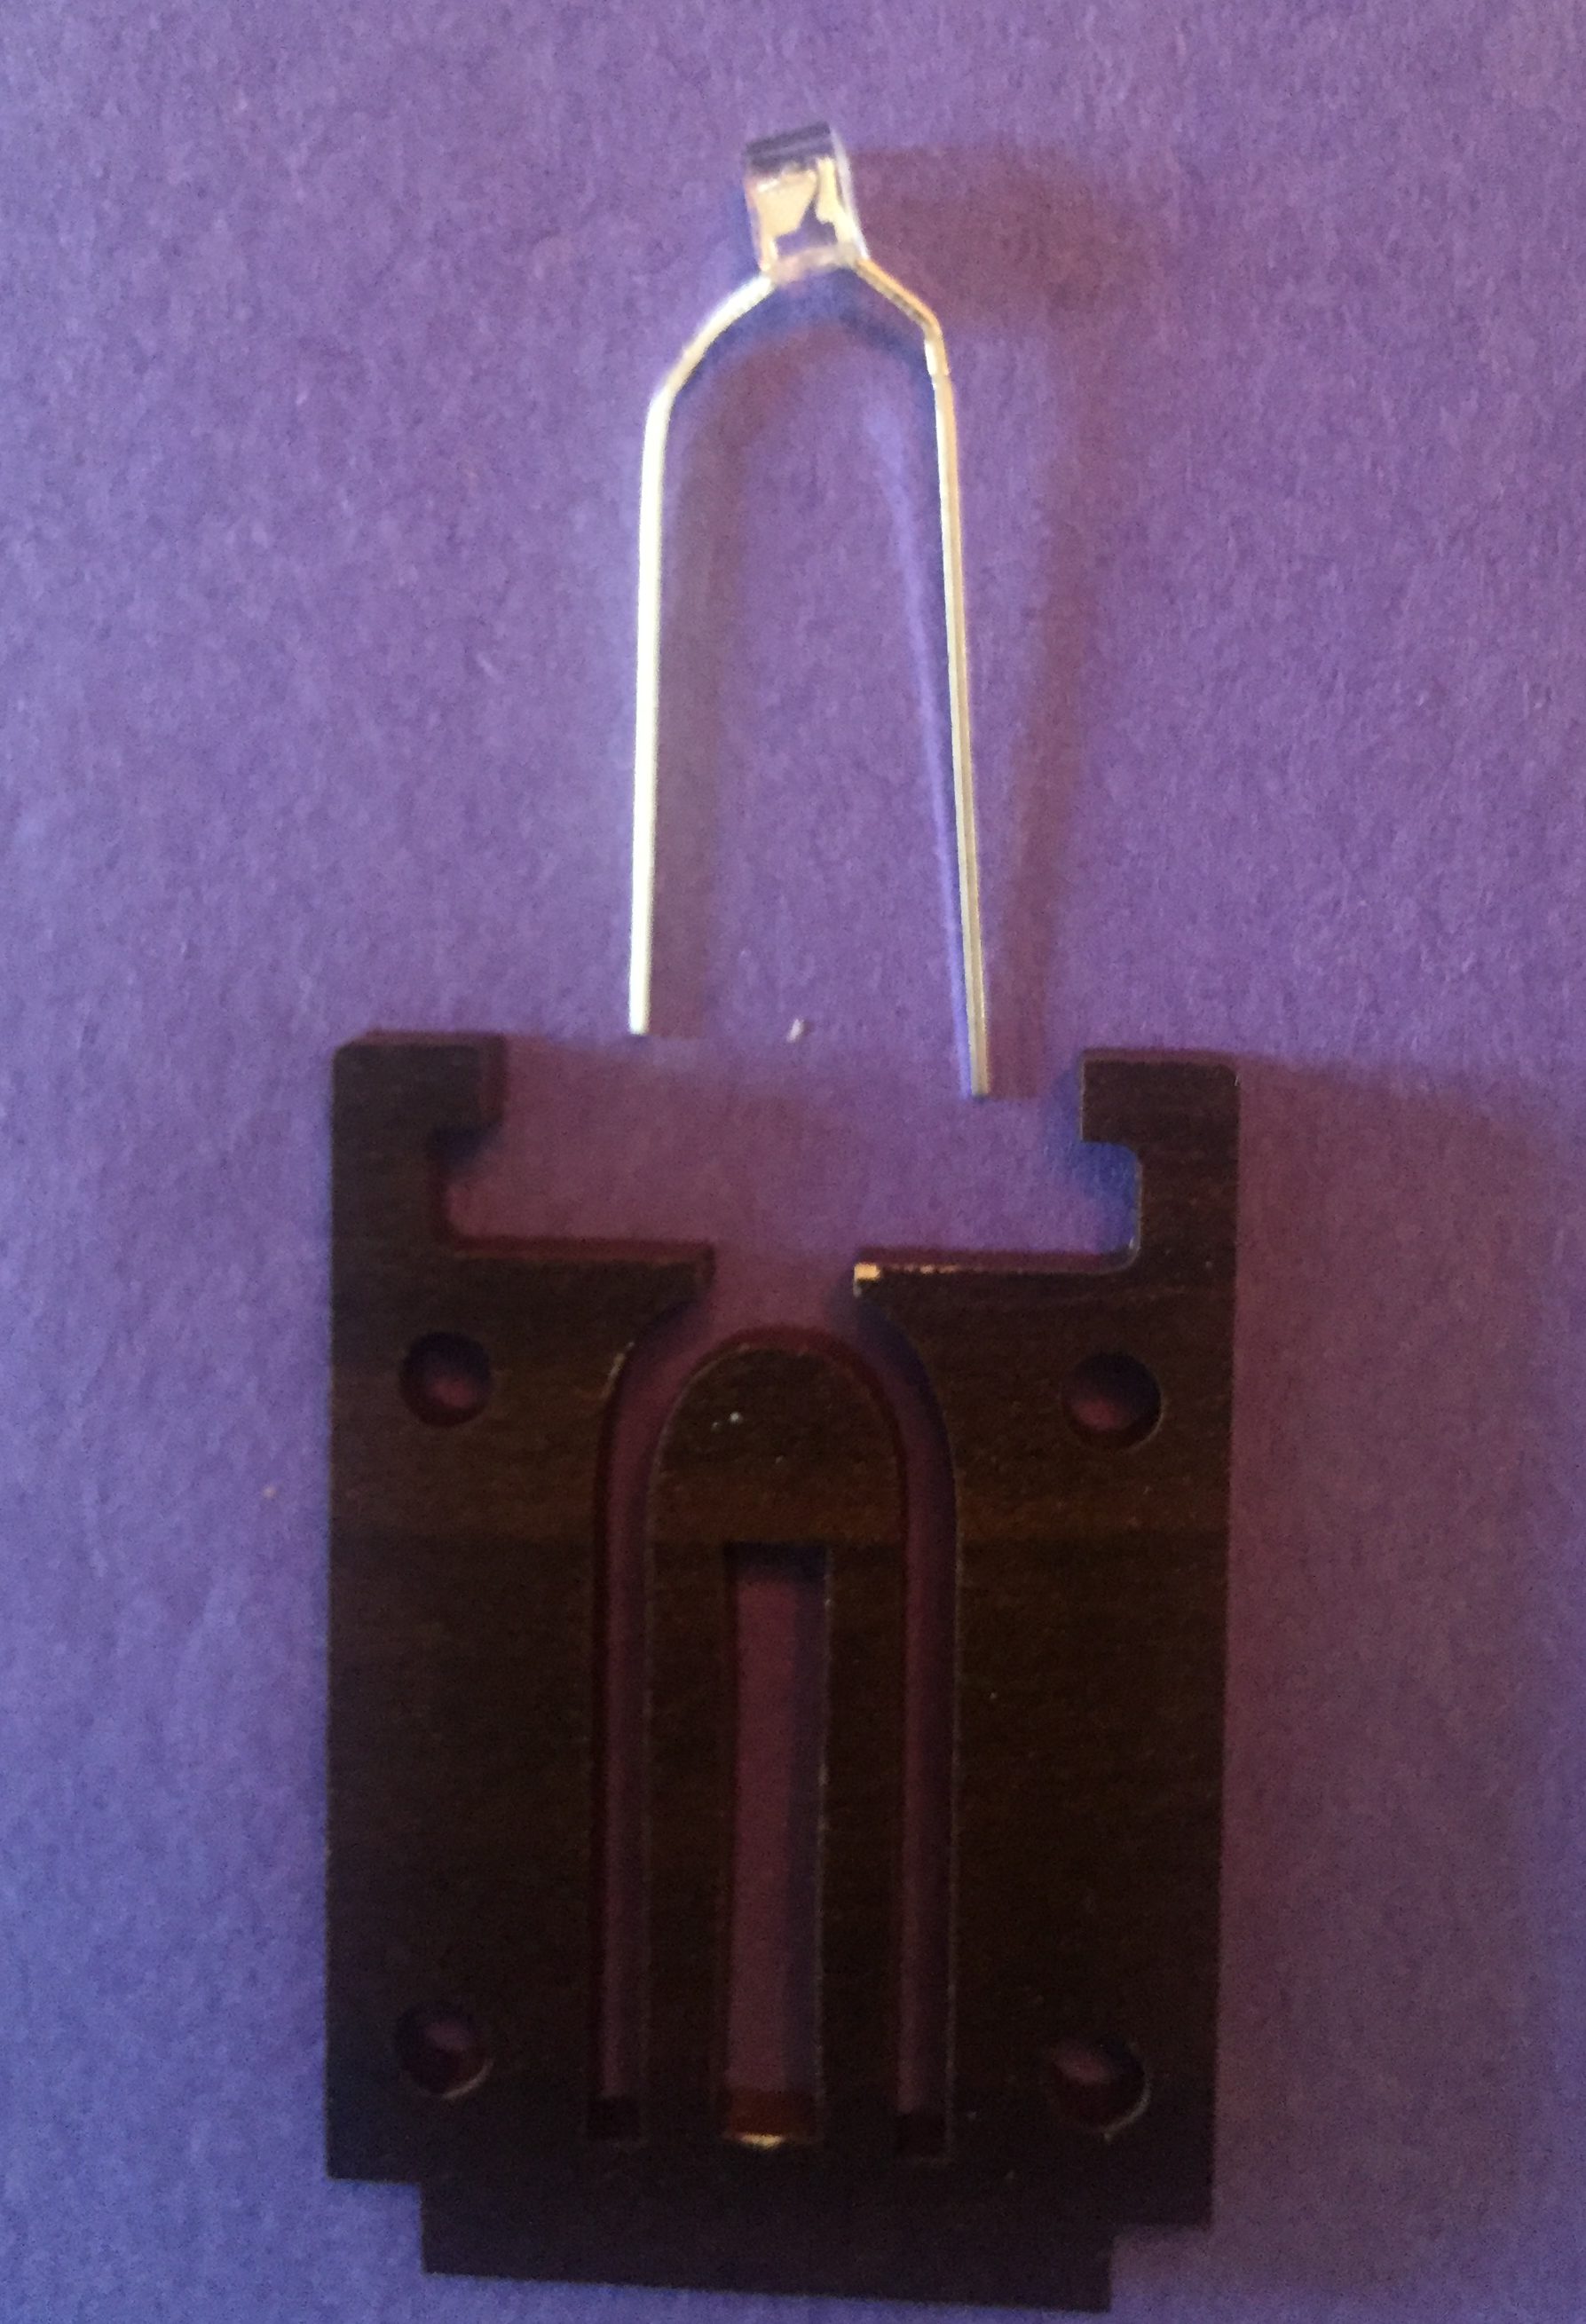
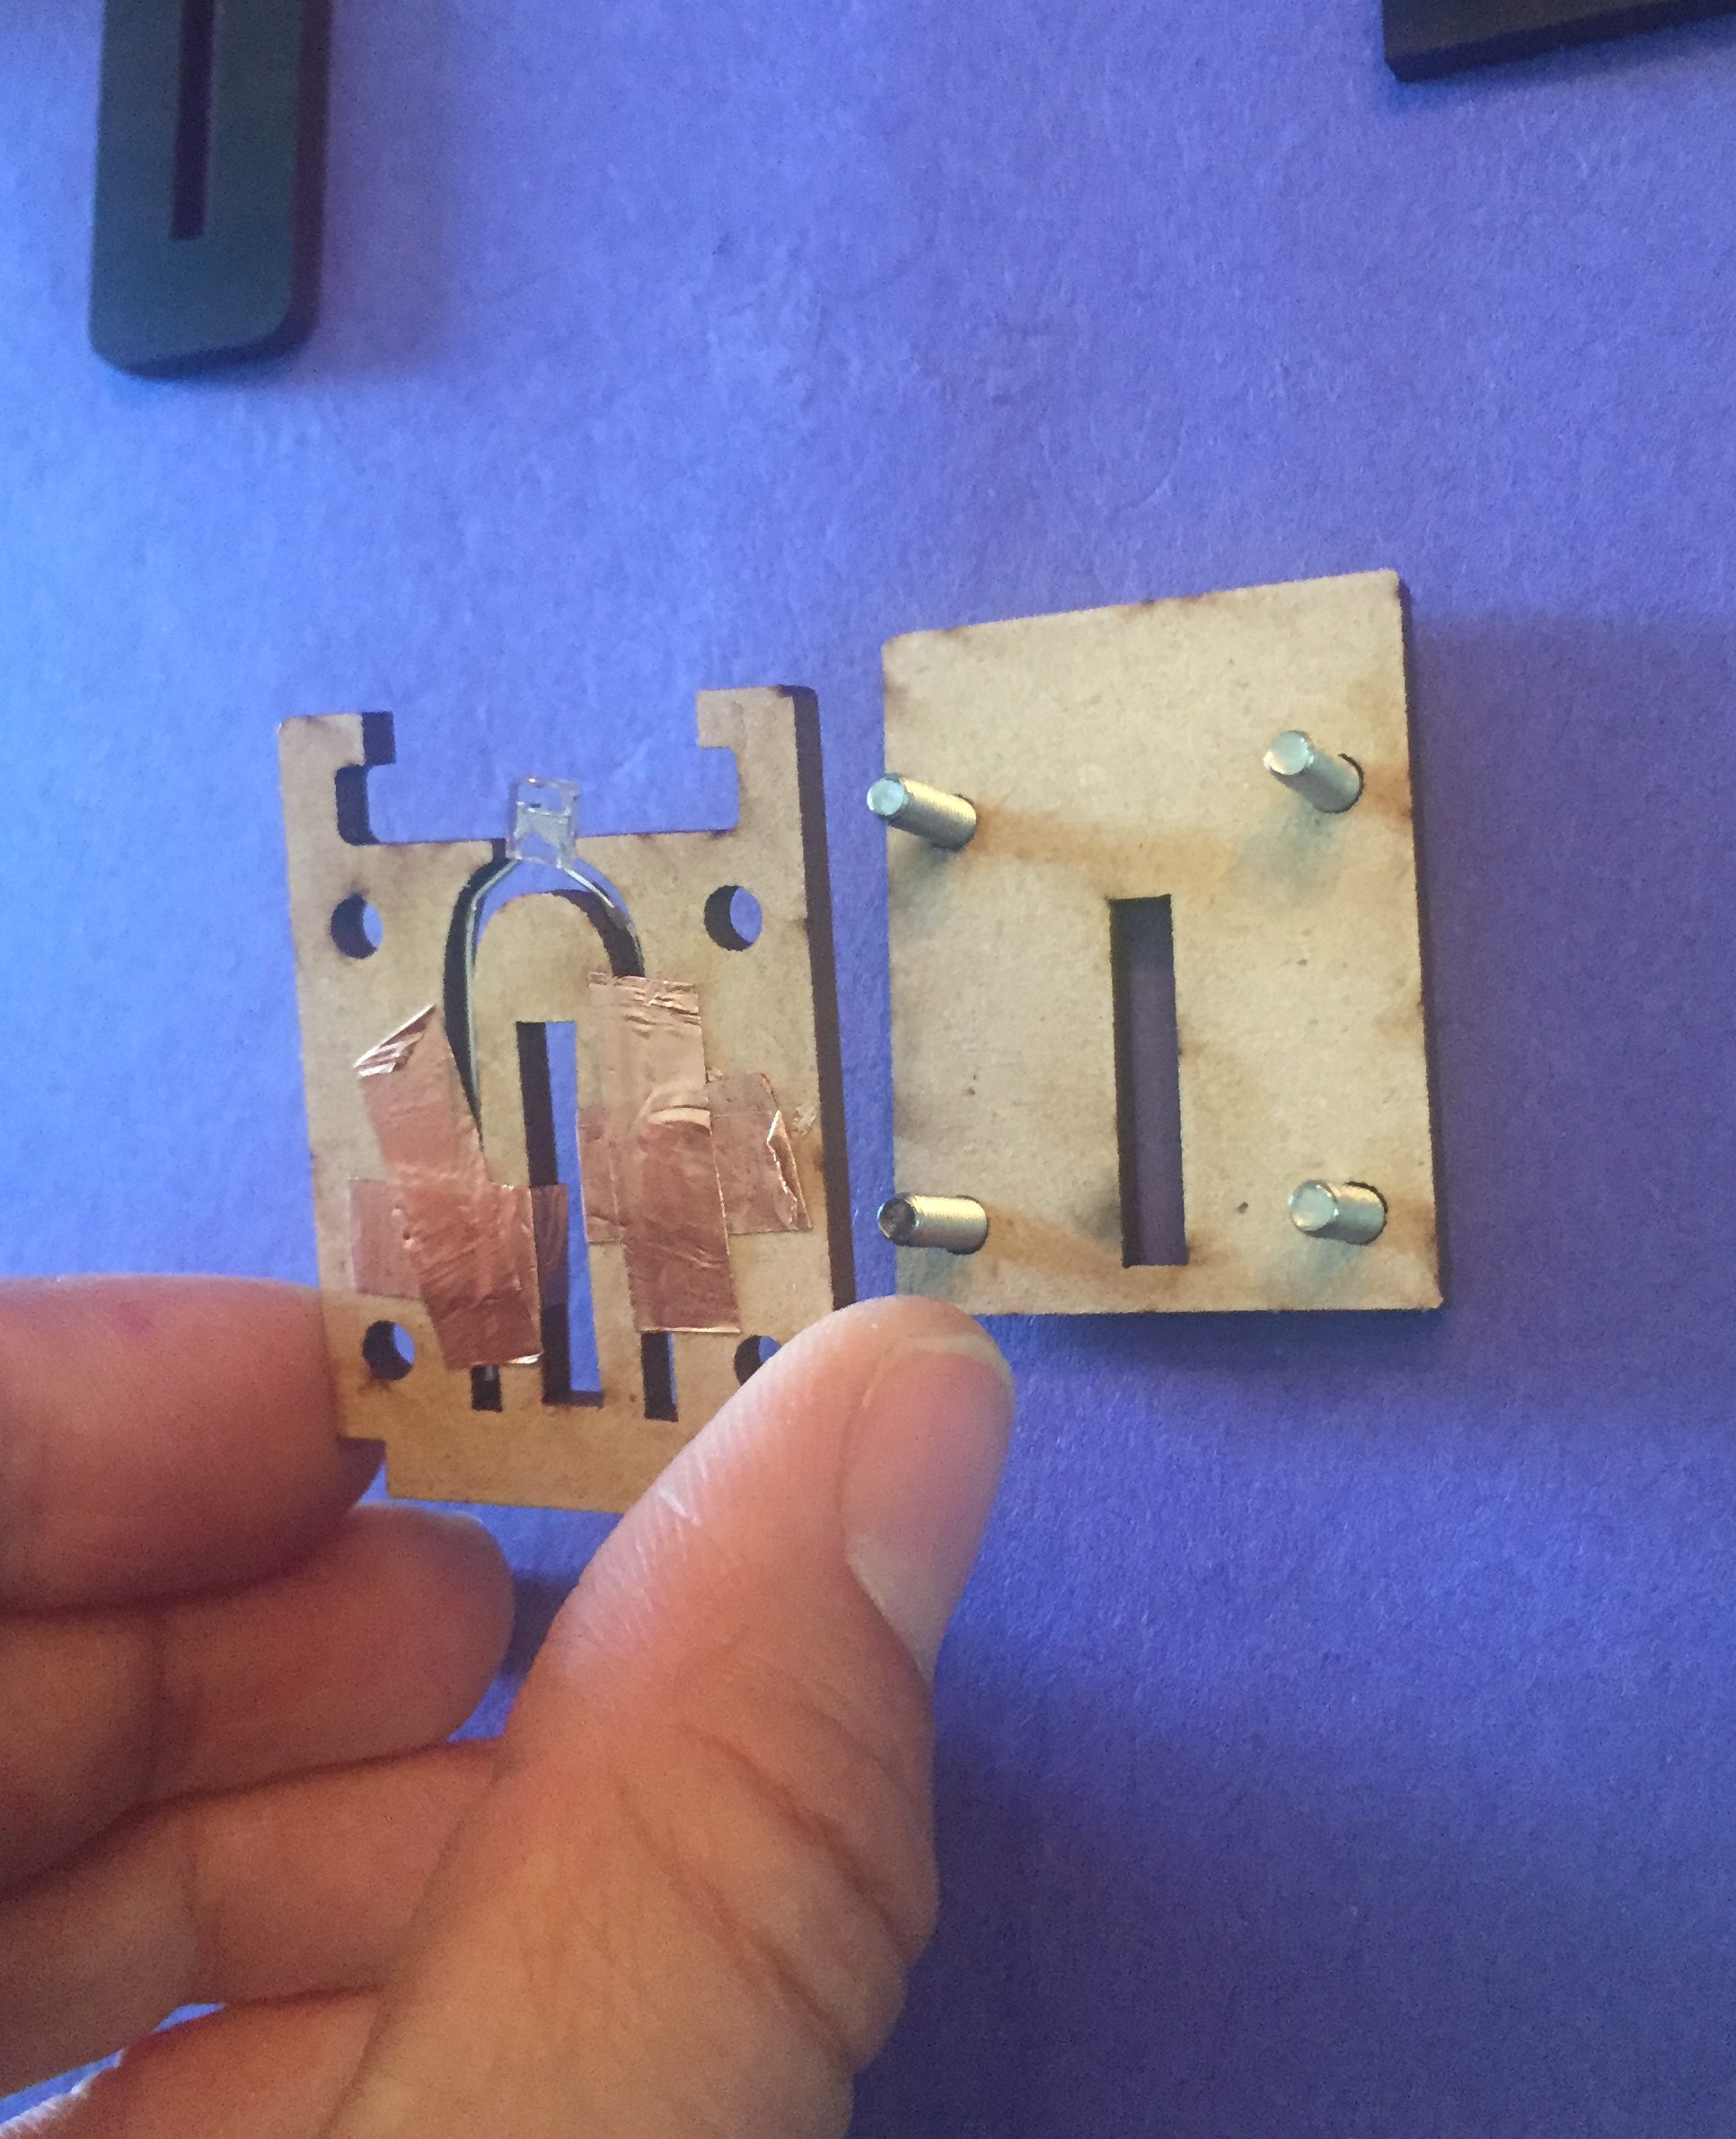
Prepare and Place the LED:
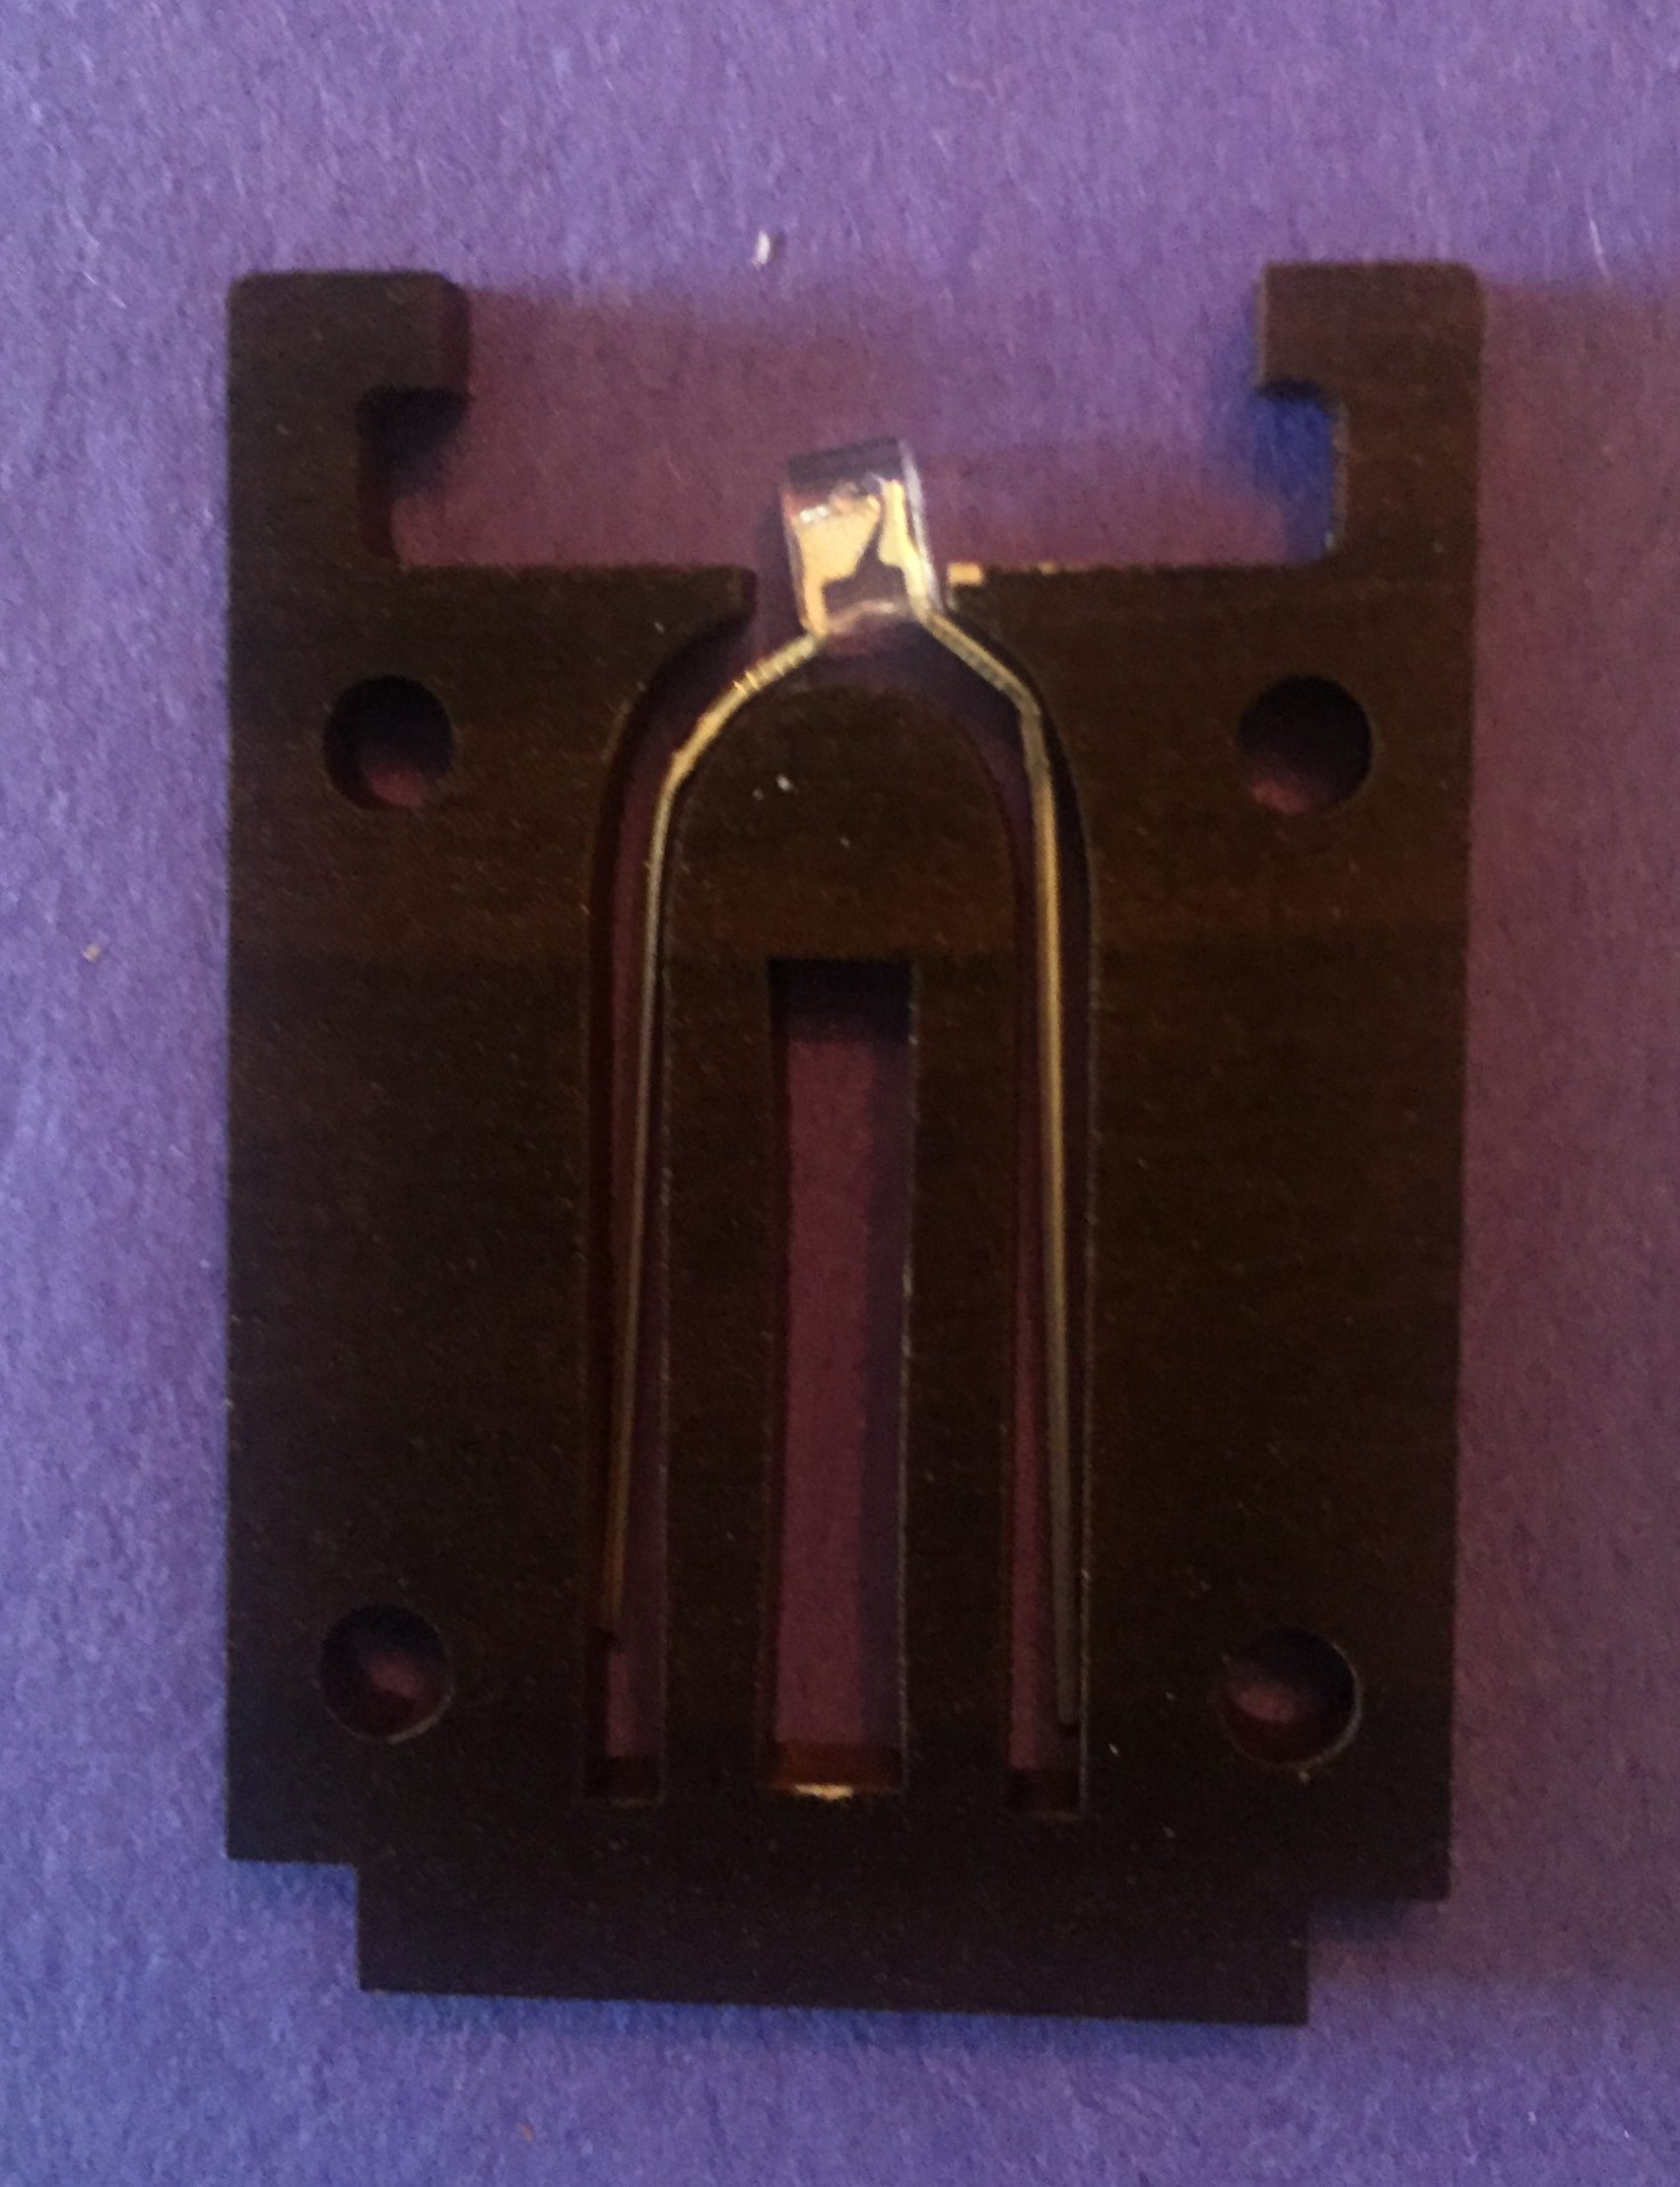
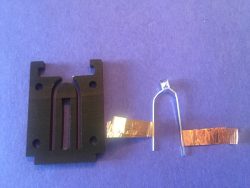
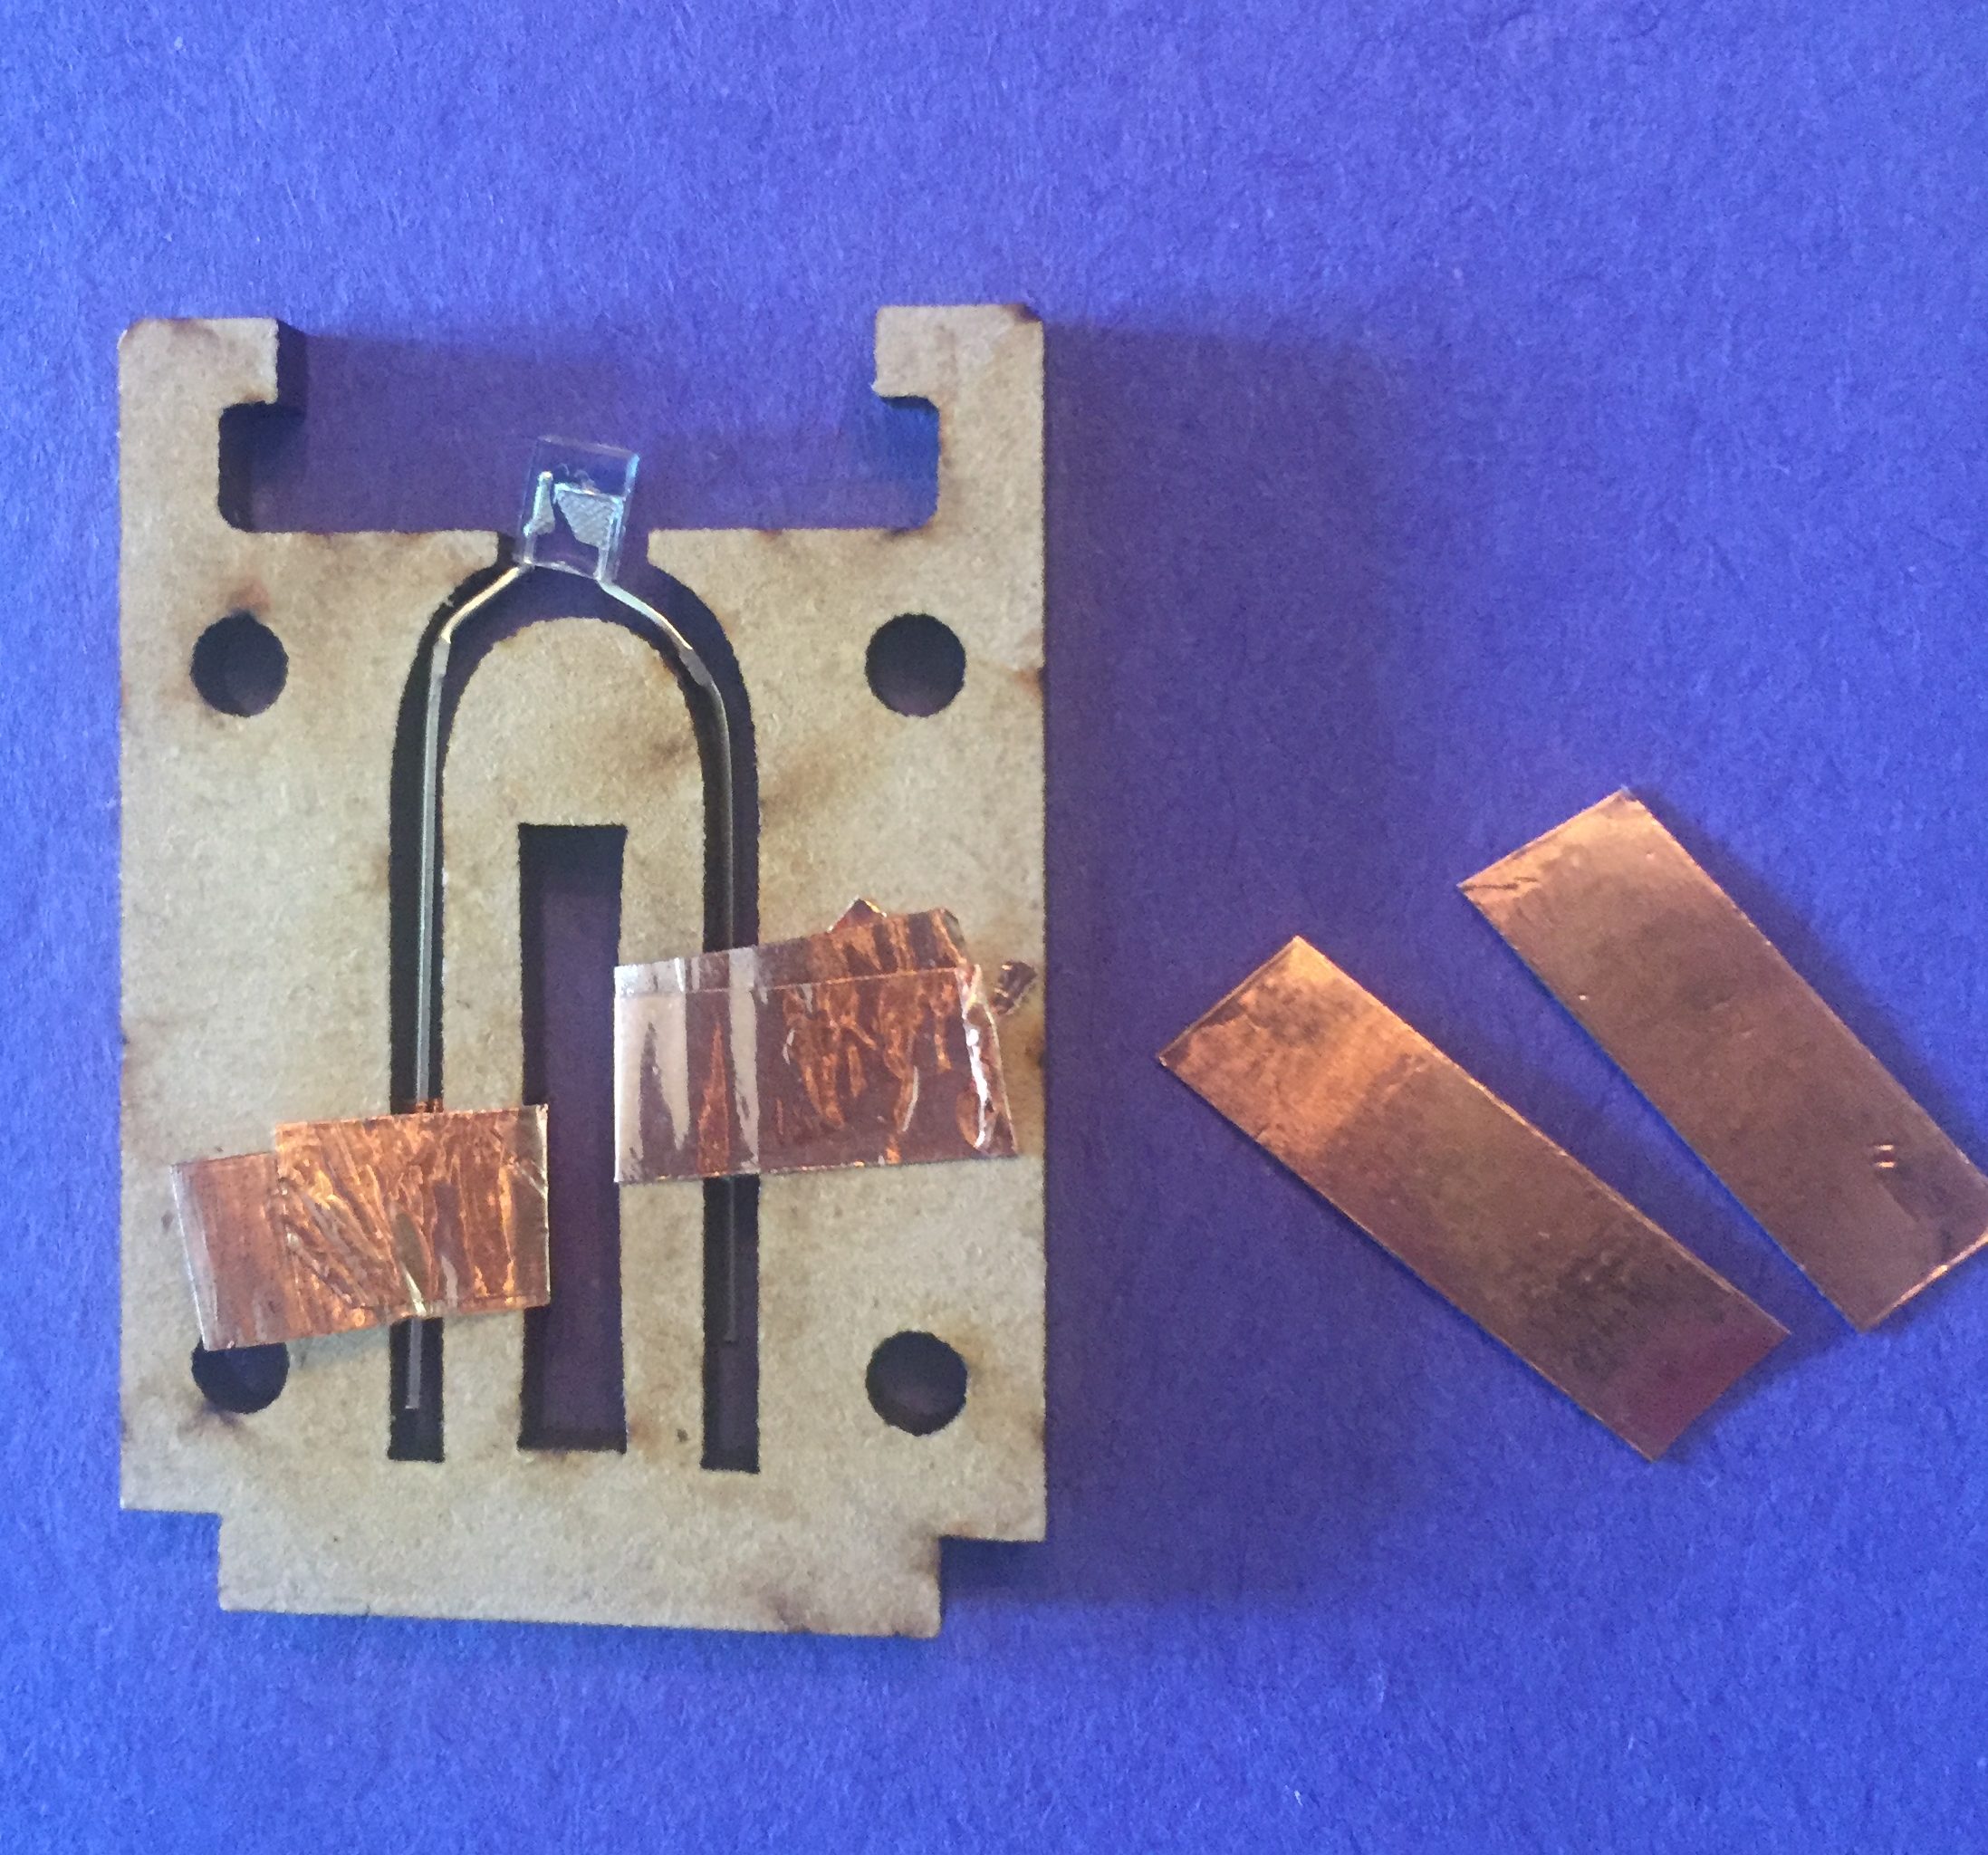
There are three pieces of laser-cut wood in the project. The two identical pieces are the outer layers, and the piece with the open notch on top will hold the LED and copper tape for the circuit. Bend the legs of the LED slightly outwards as shown in the images, so that it will fit in the curved channels in the middle wood layer. The U-shaped slot is about the size of a fingertip, so you may find it helpful to bend the LED around the tip of one of your (smaller) fingers. Test the LED to see if it fits in the slot. The head of the LED should sit in the open notch as shown.
Make the Copper Tape Circuit:
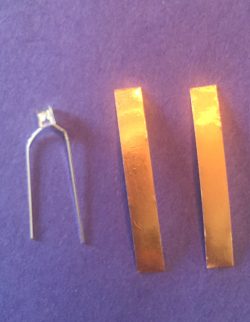
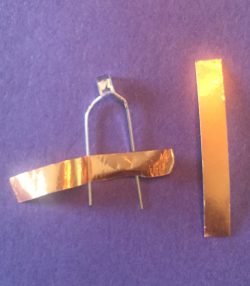
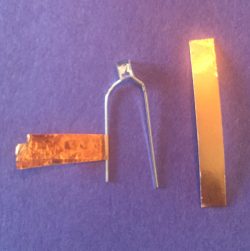
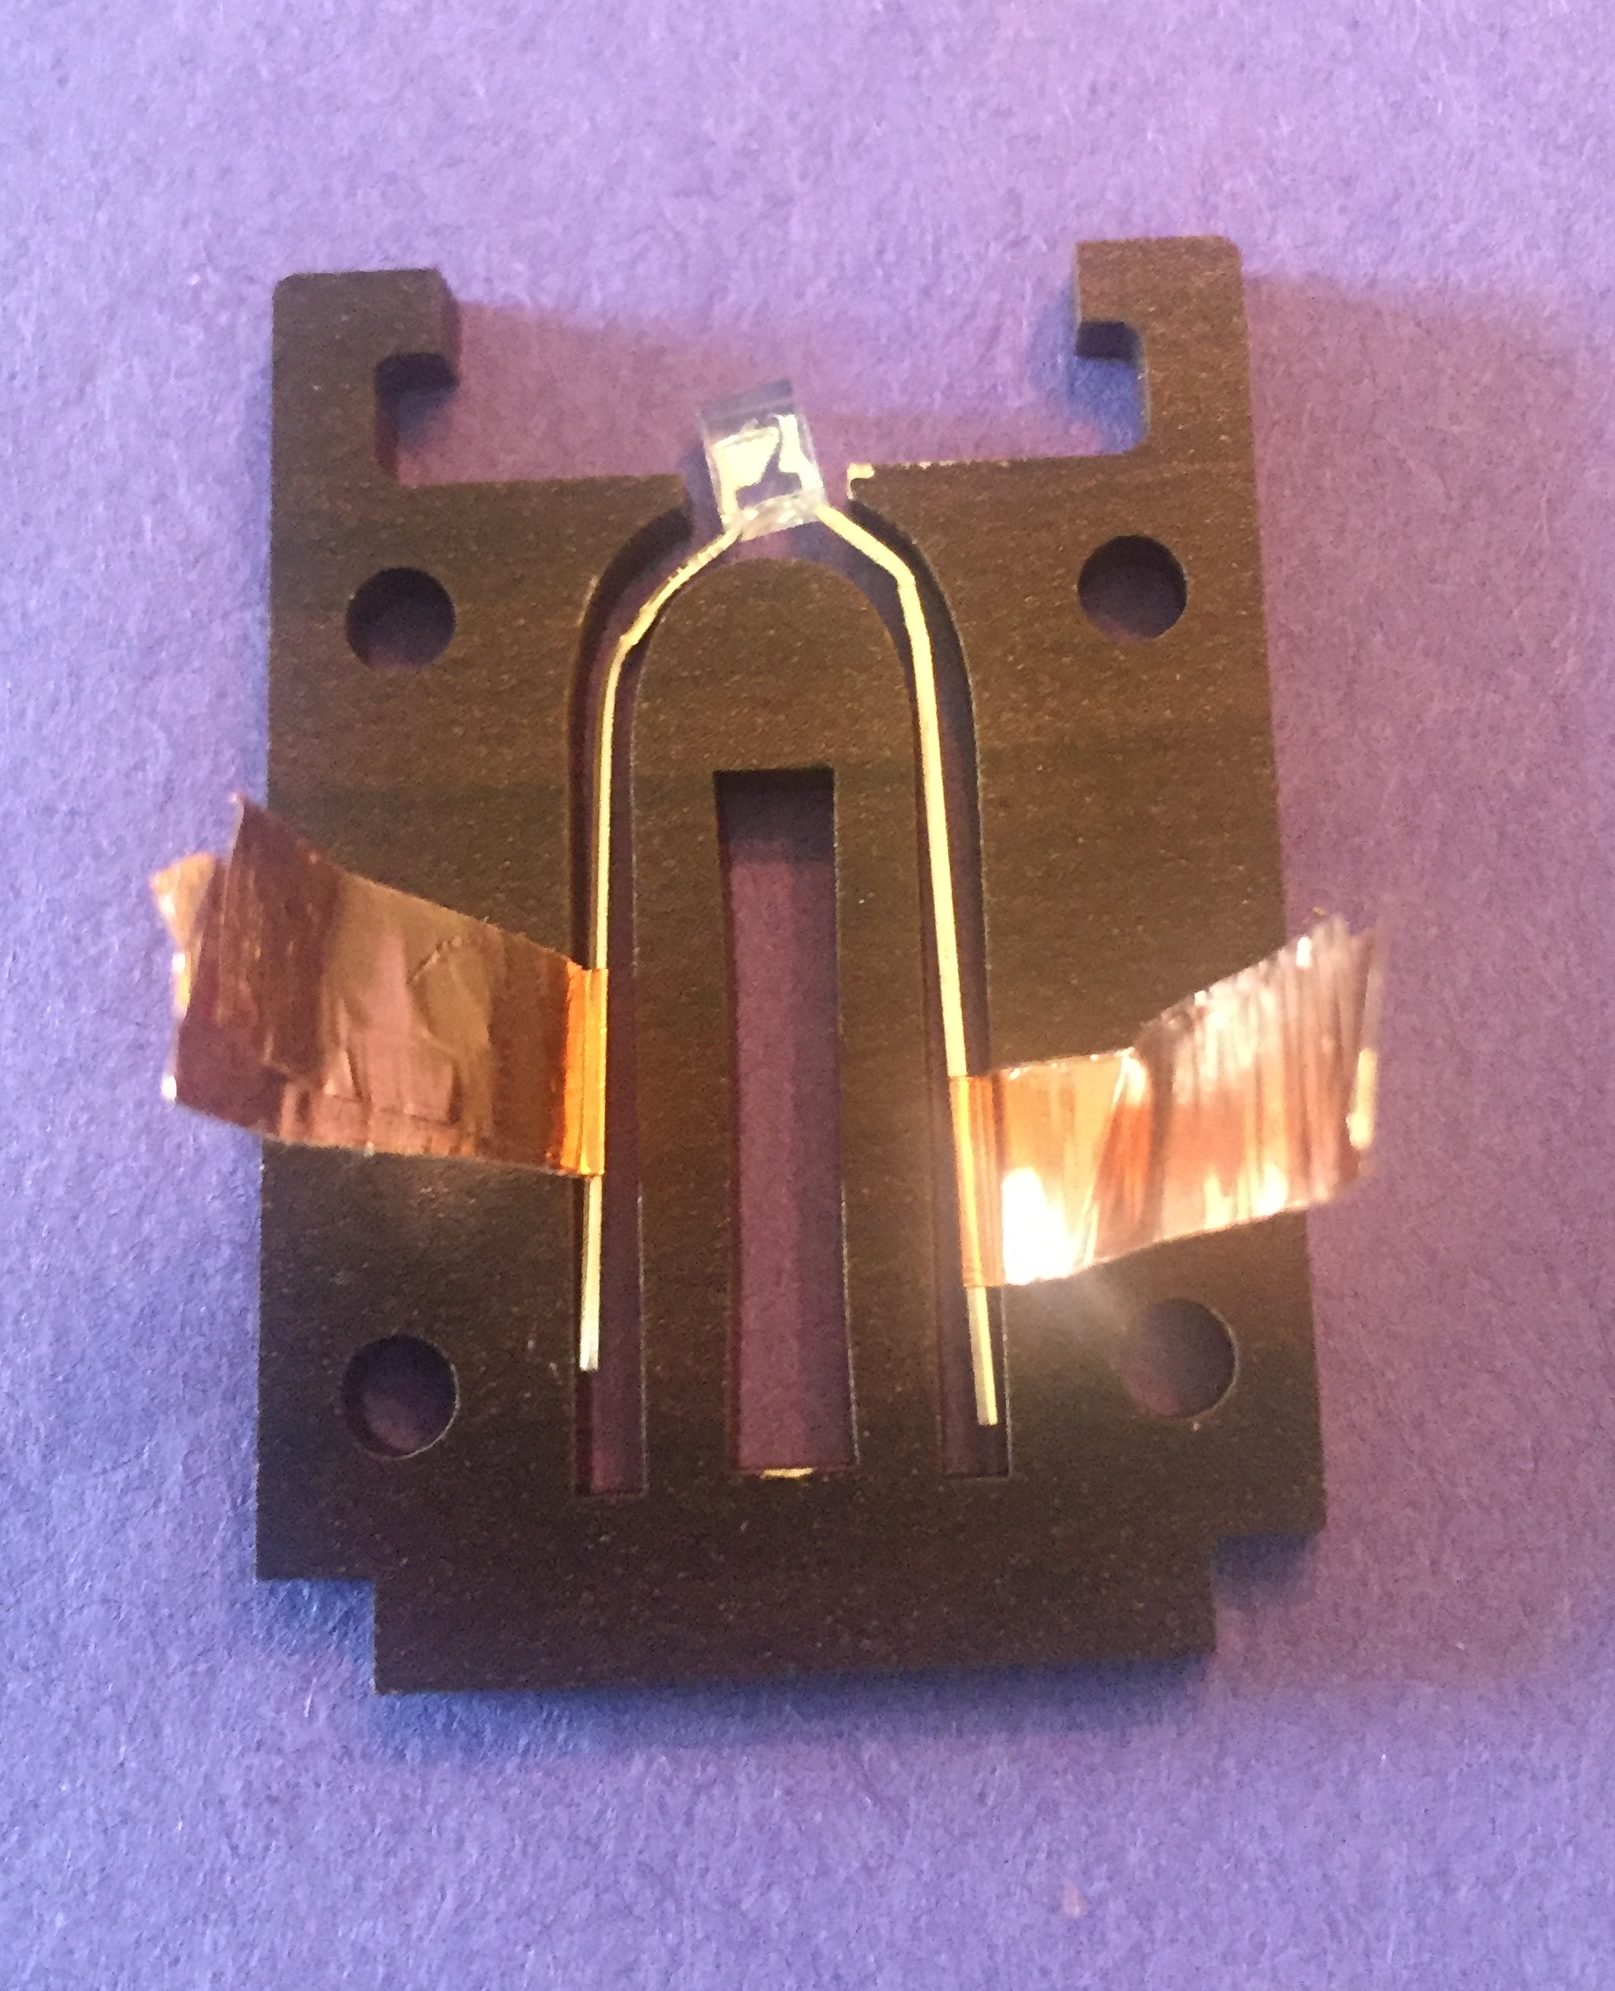
Once the LED is bent correctly, remove it from the wood piece so that you can attach the copper tape to the legs. Cut two pieces of copper tape that are about 1.5 inches long. Peel the backing off the tape and fold each piece of tape together around one of the LED legs as shown. The tape should be positioned about 3/4 of the way down the legs.
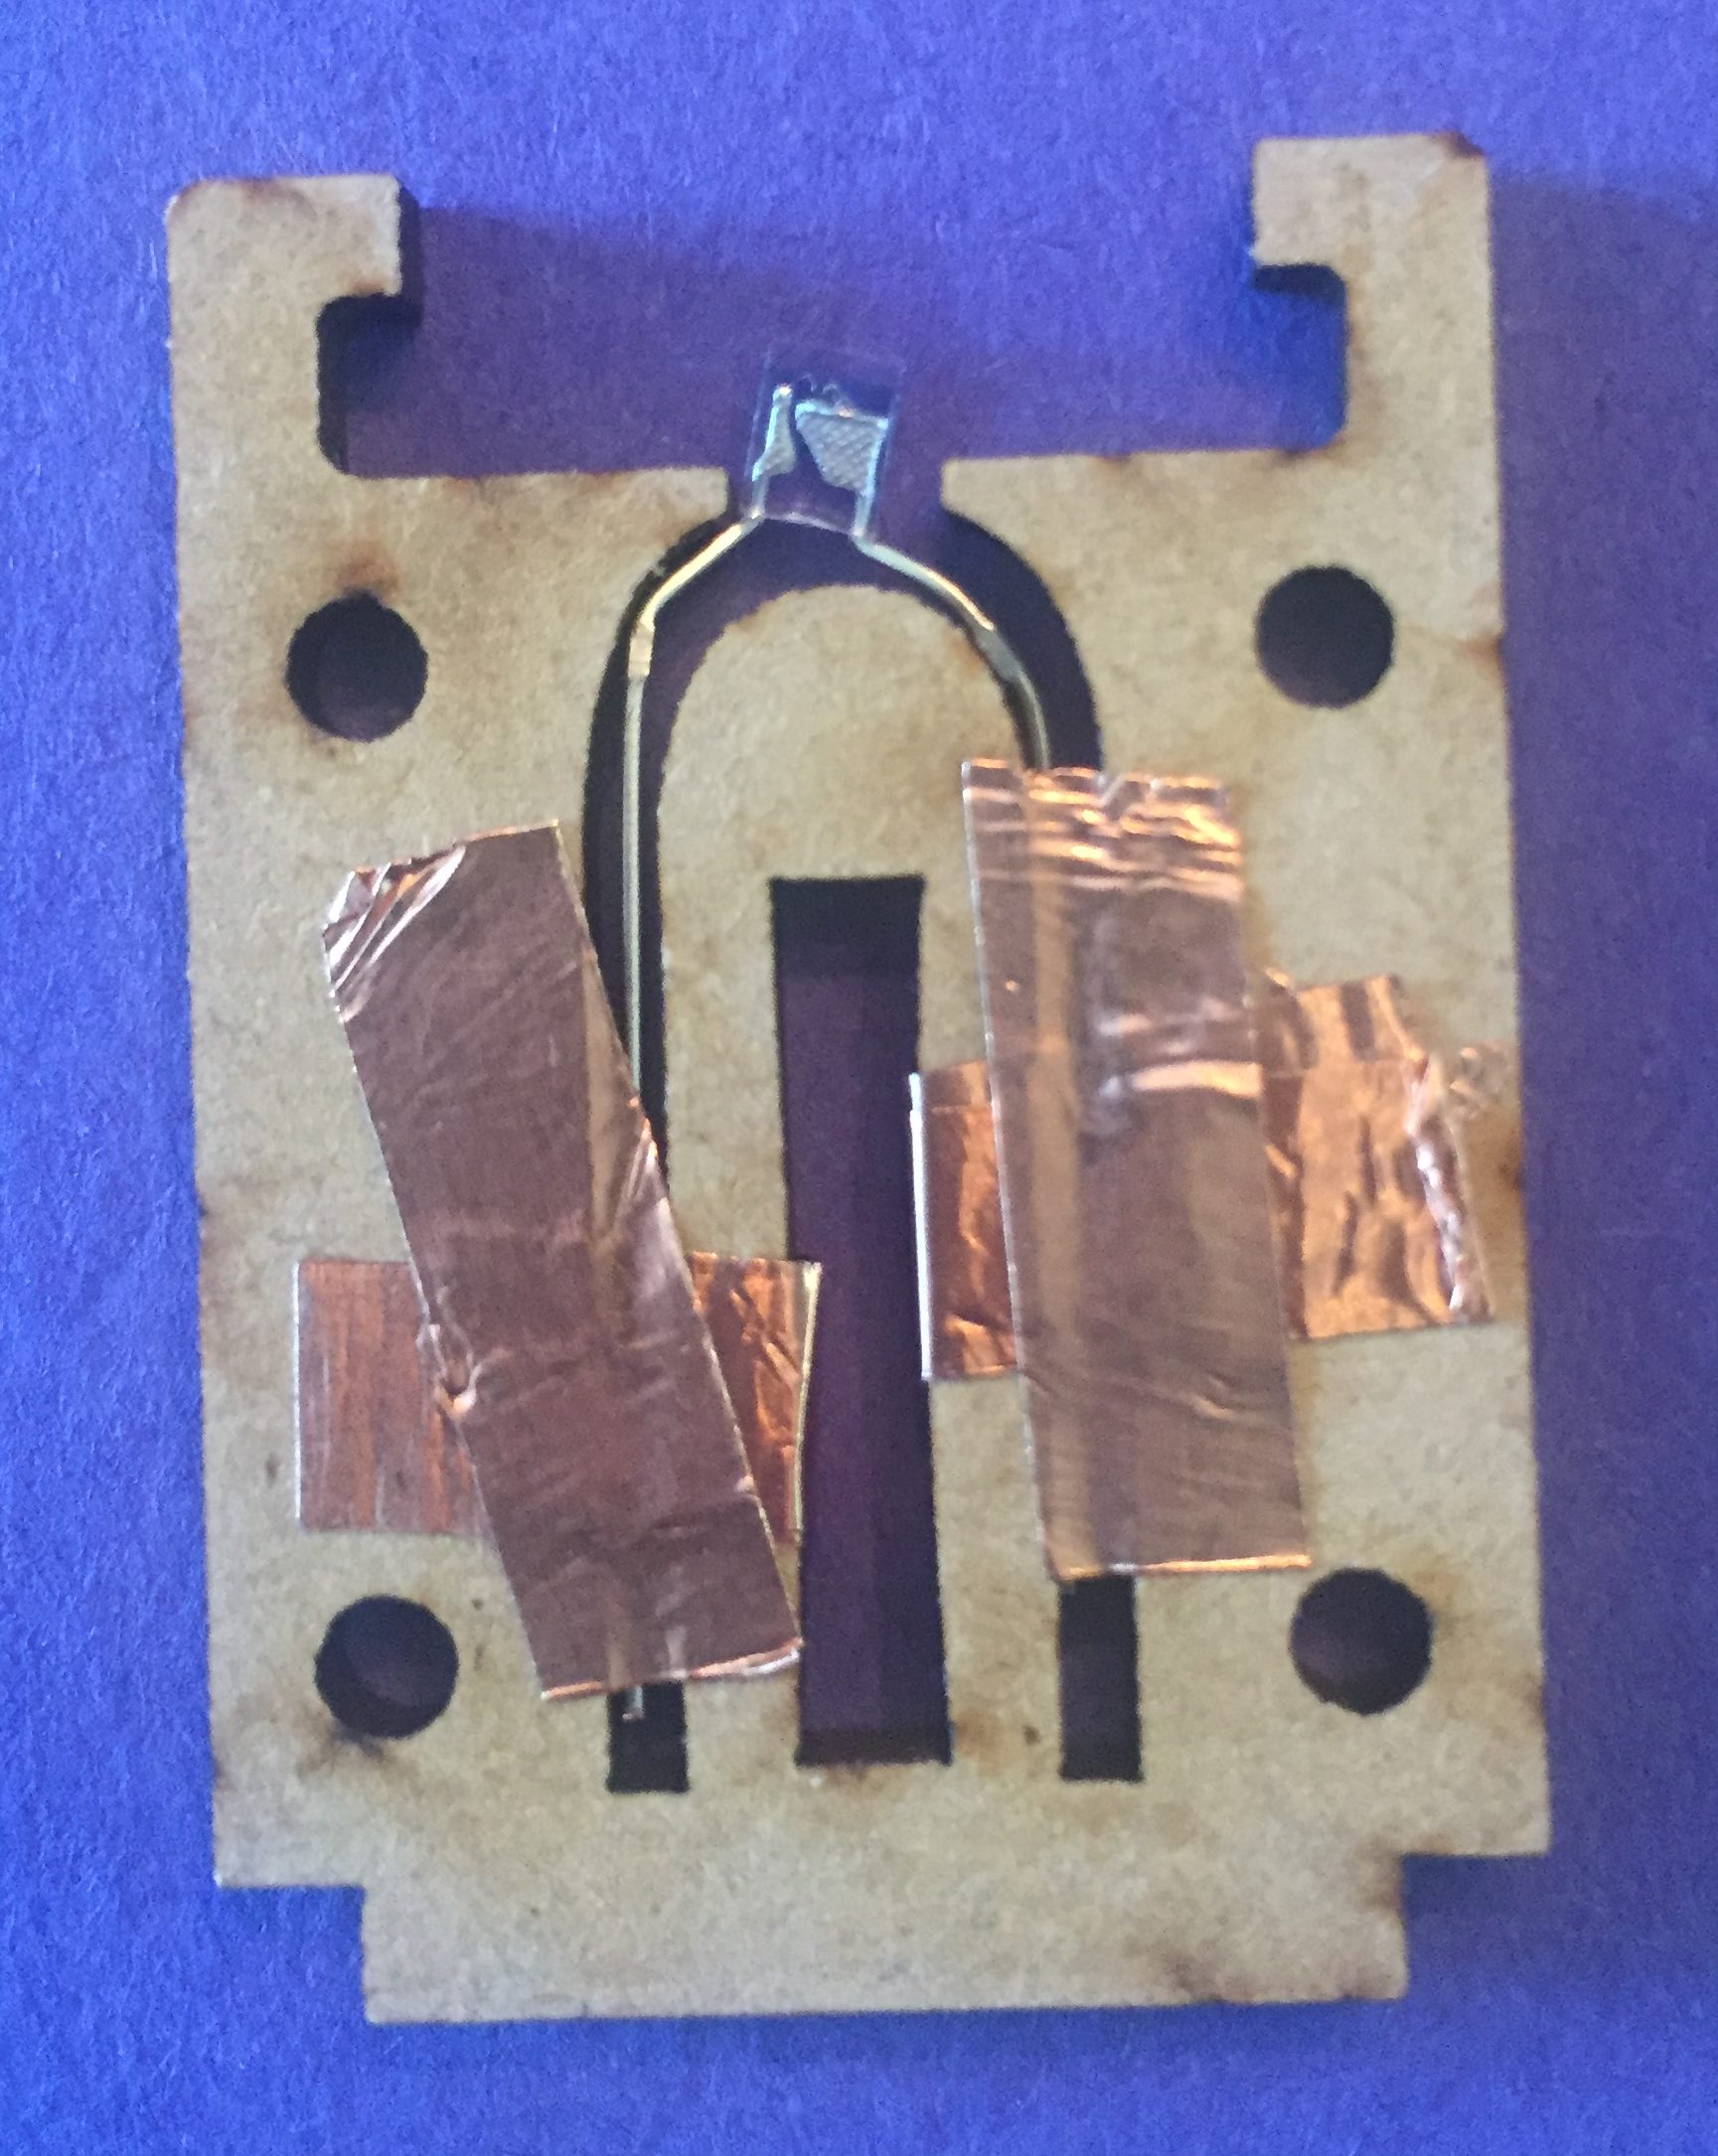
Place the LED back inside the middle wood piece so that the head of the LED sits in the notch at the top and the legs each fit inside a side channel with the copper tape sticking up out of the channels.
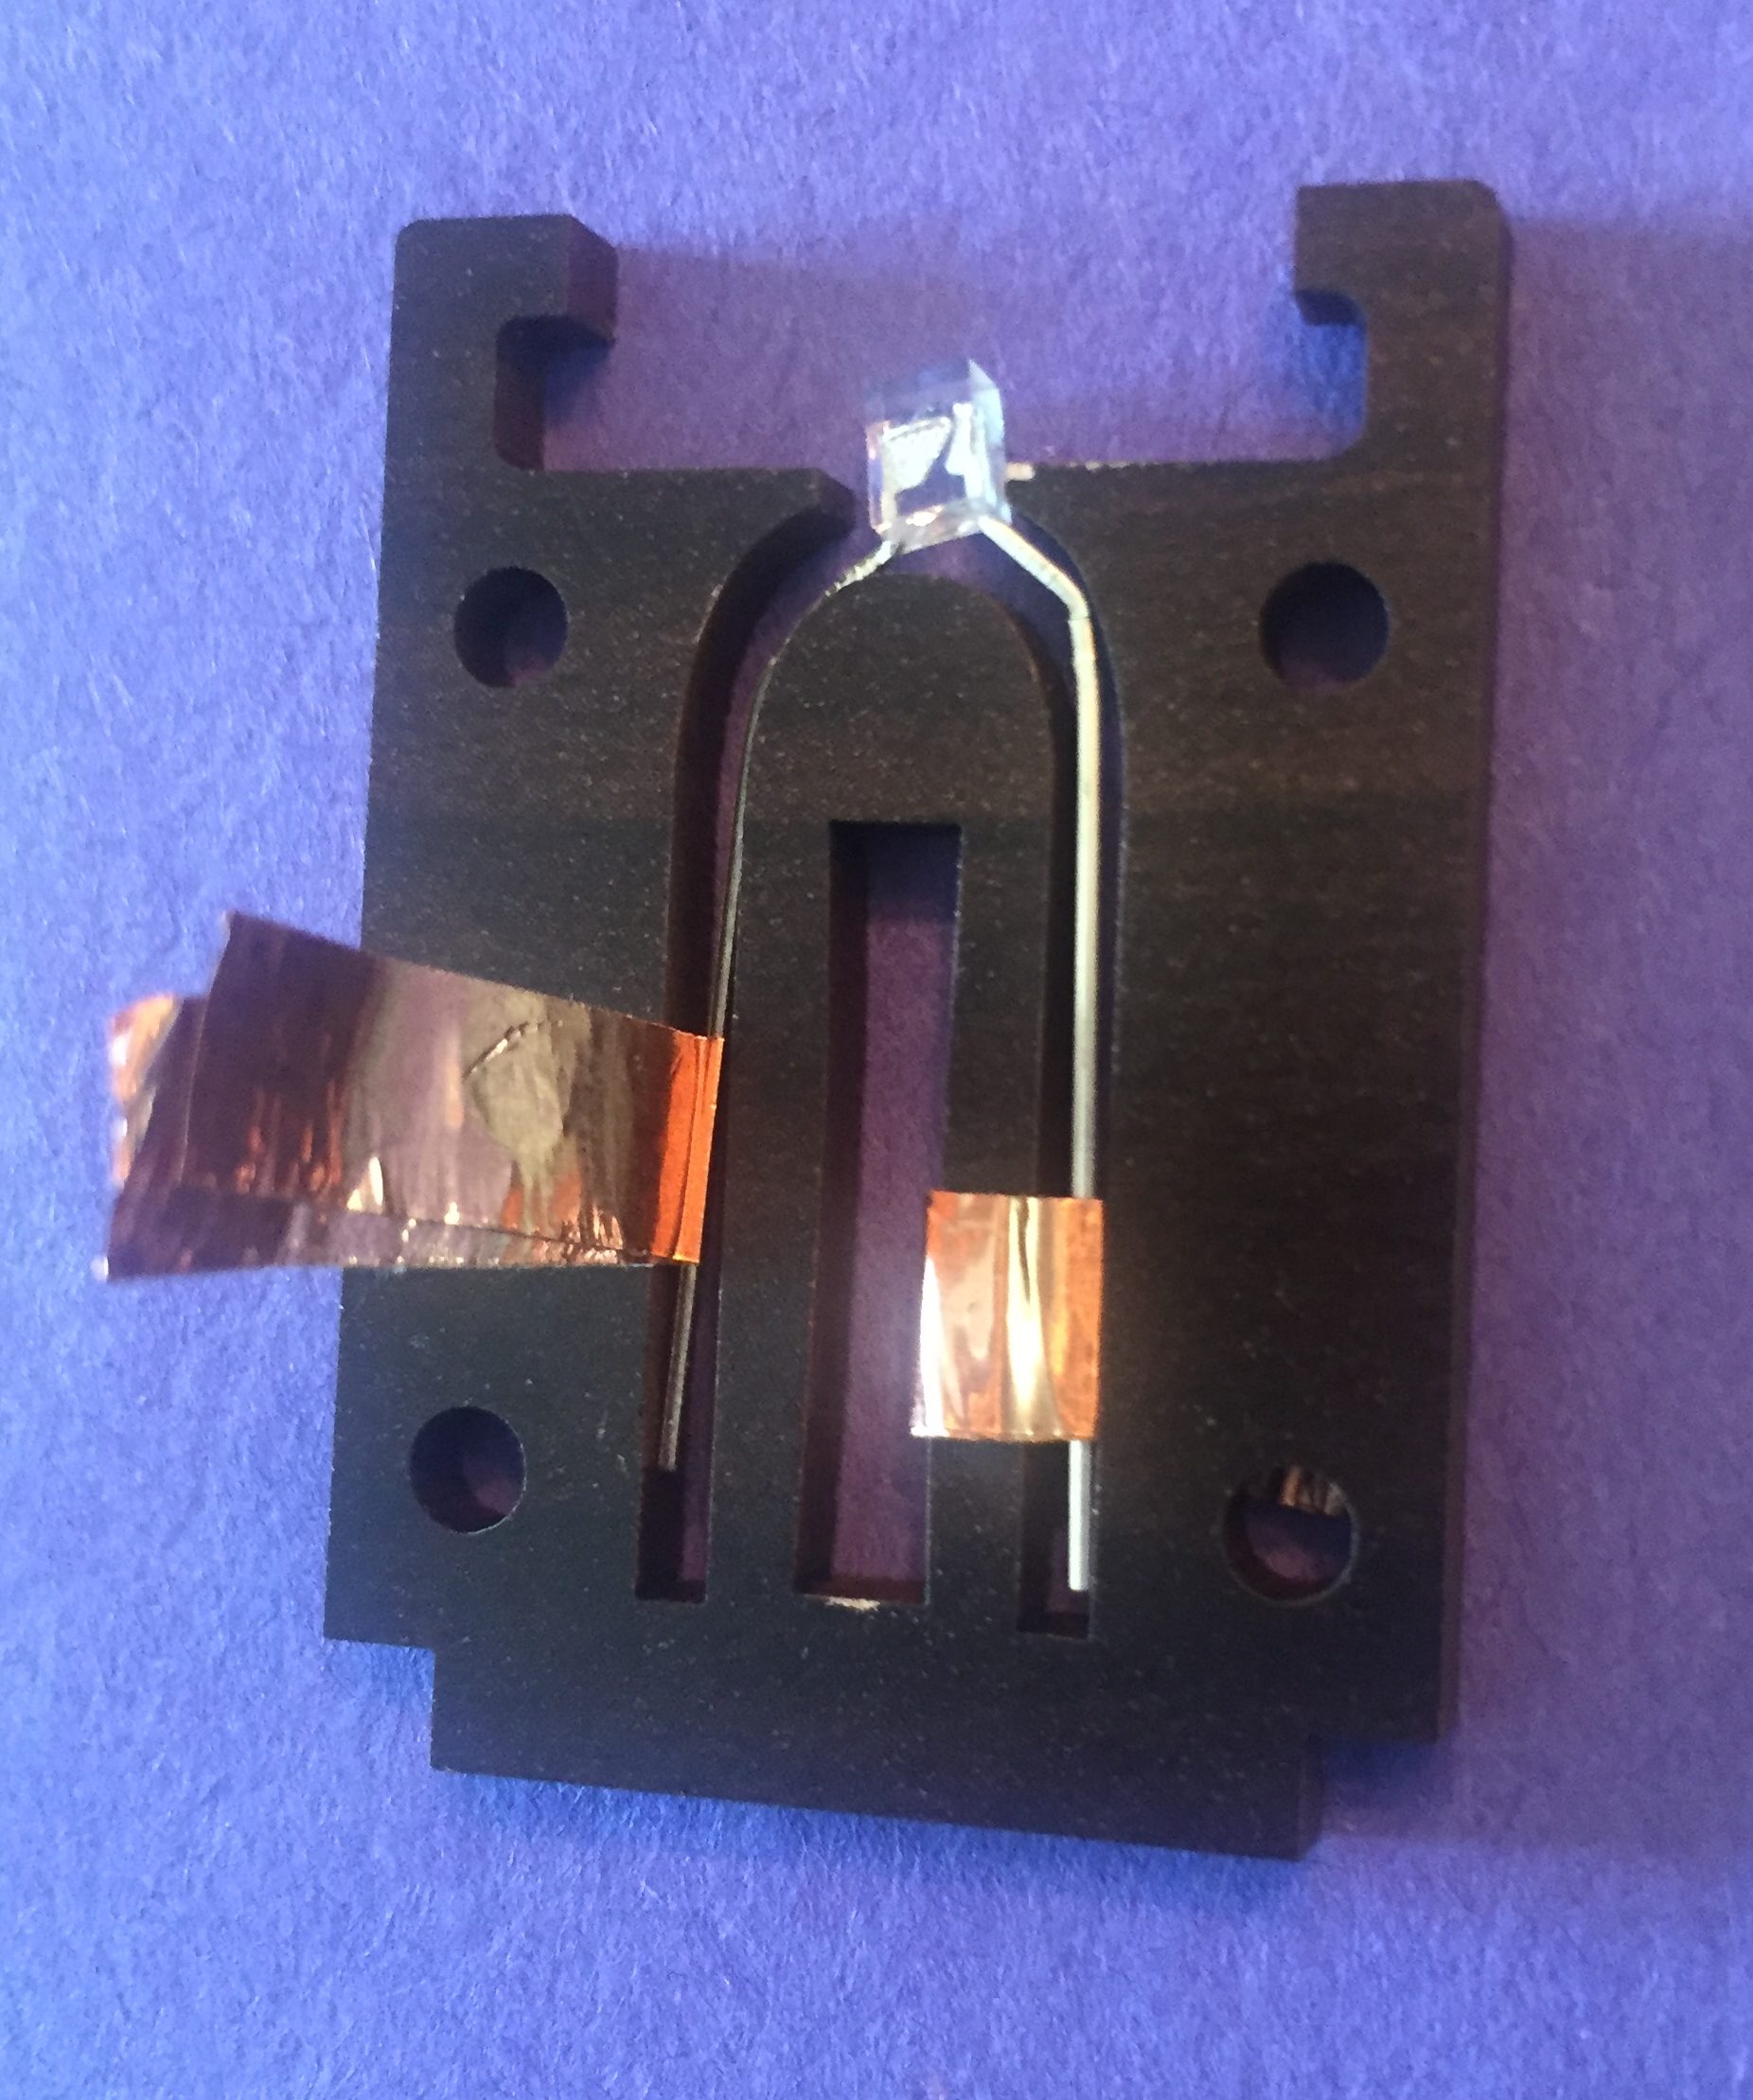
Then, being careful that the LED stays in place, bend the ends of both pieces of copper tape down towards the center rectangular hole. Push the ends of the tape through the rectangular hole and gently pull them out the back side of the wood until there is no slack in the tape. You may find a fine-nosed pliers helpful here.
Flip the wooden piece over, and fold the ends of the tape towards the outside edges of the wooden piece. Smooth the tape down and gently crease it at the corners so it wraps around the wood and sits flush at the surfaces.
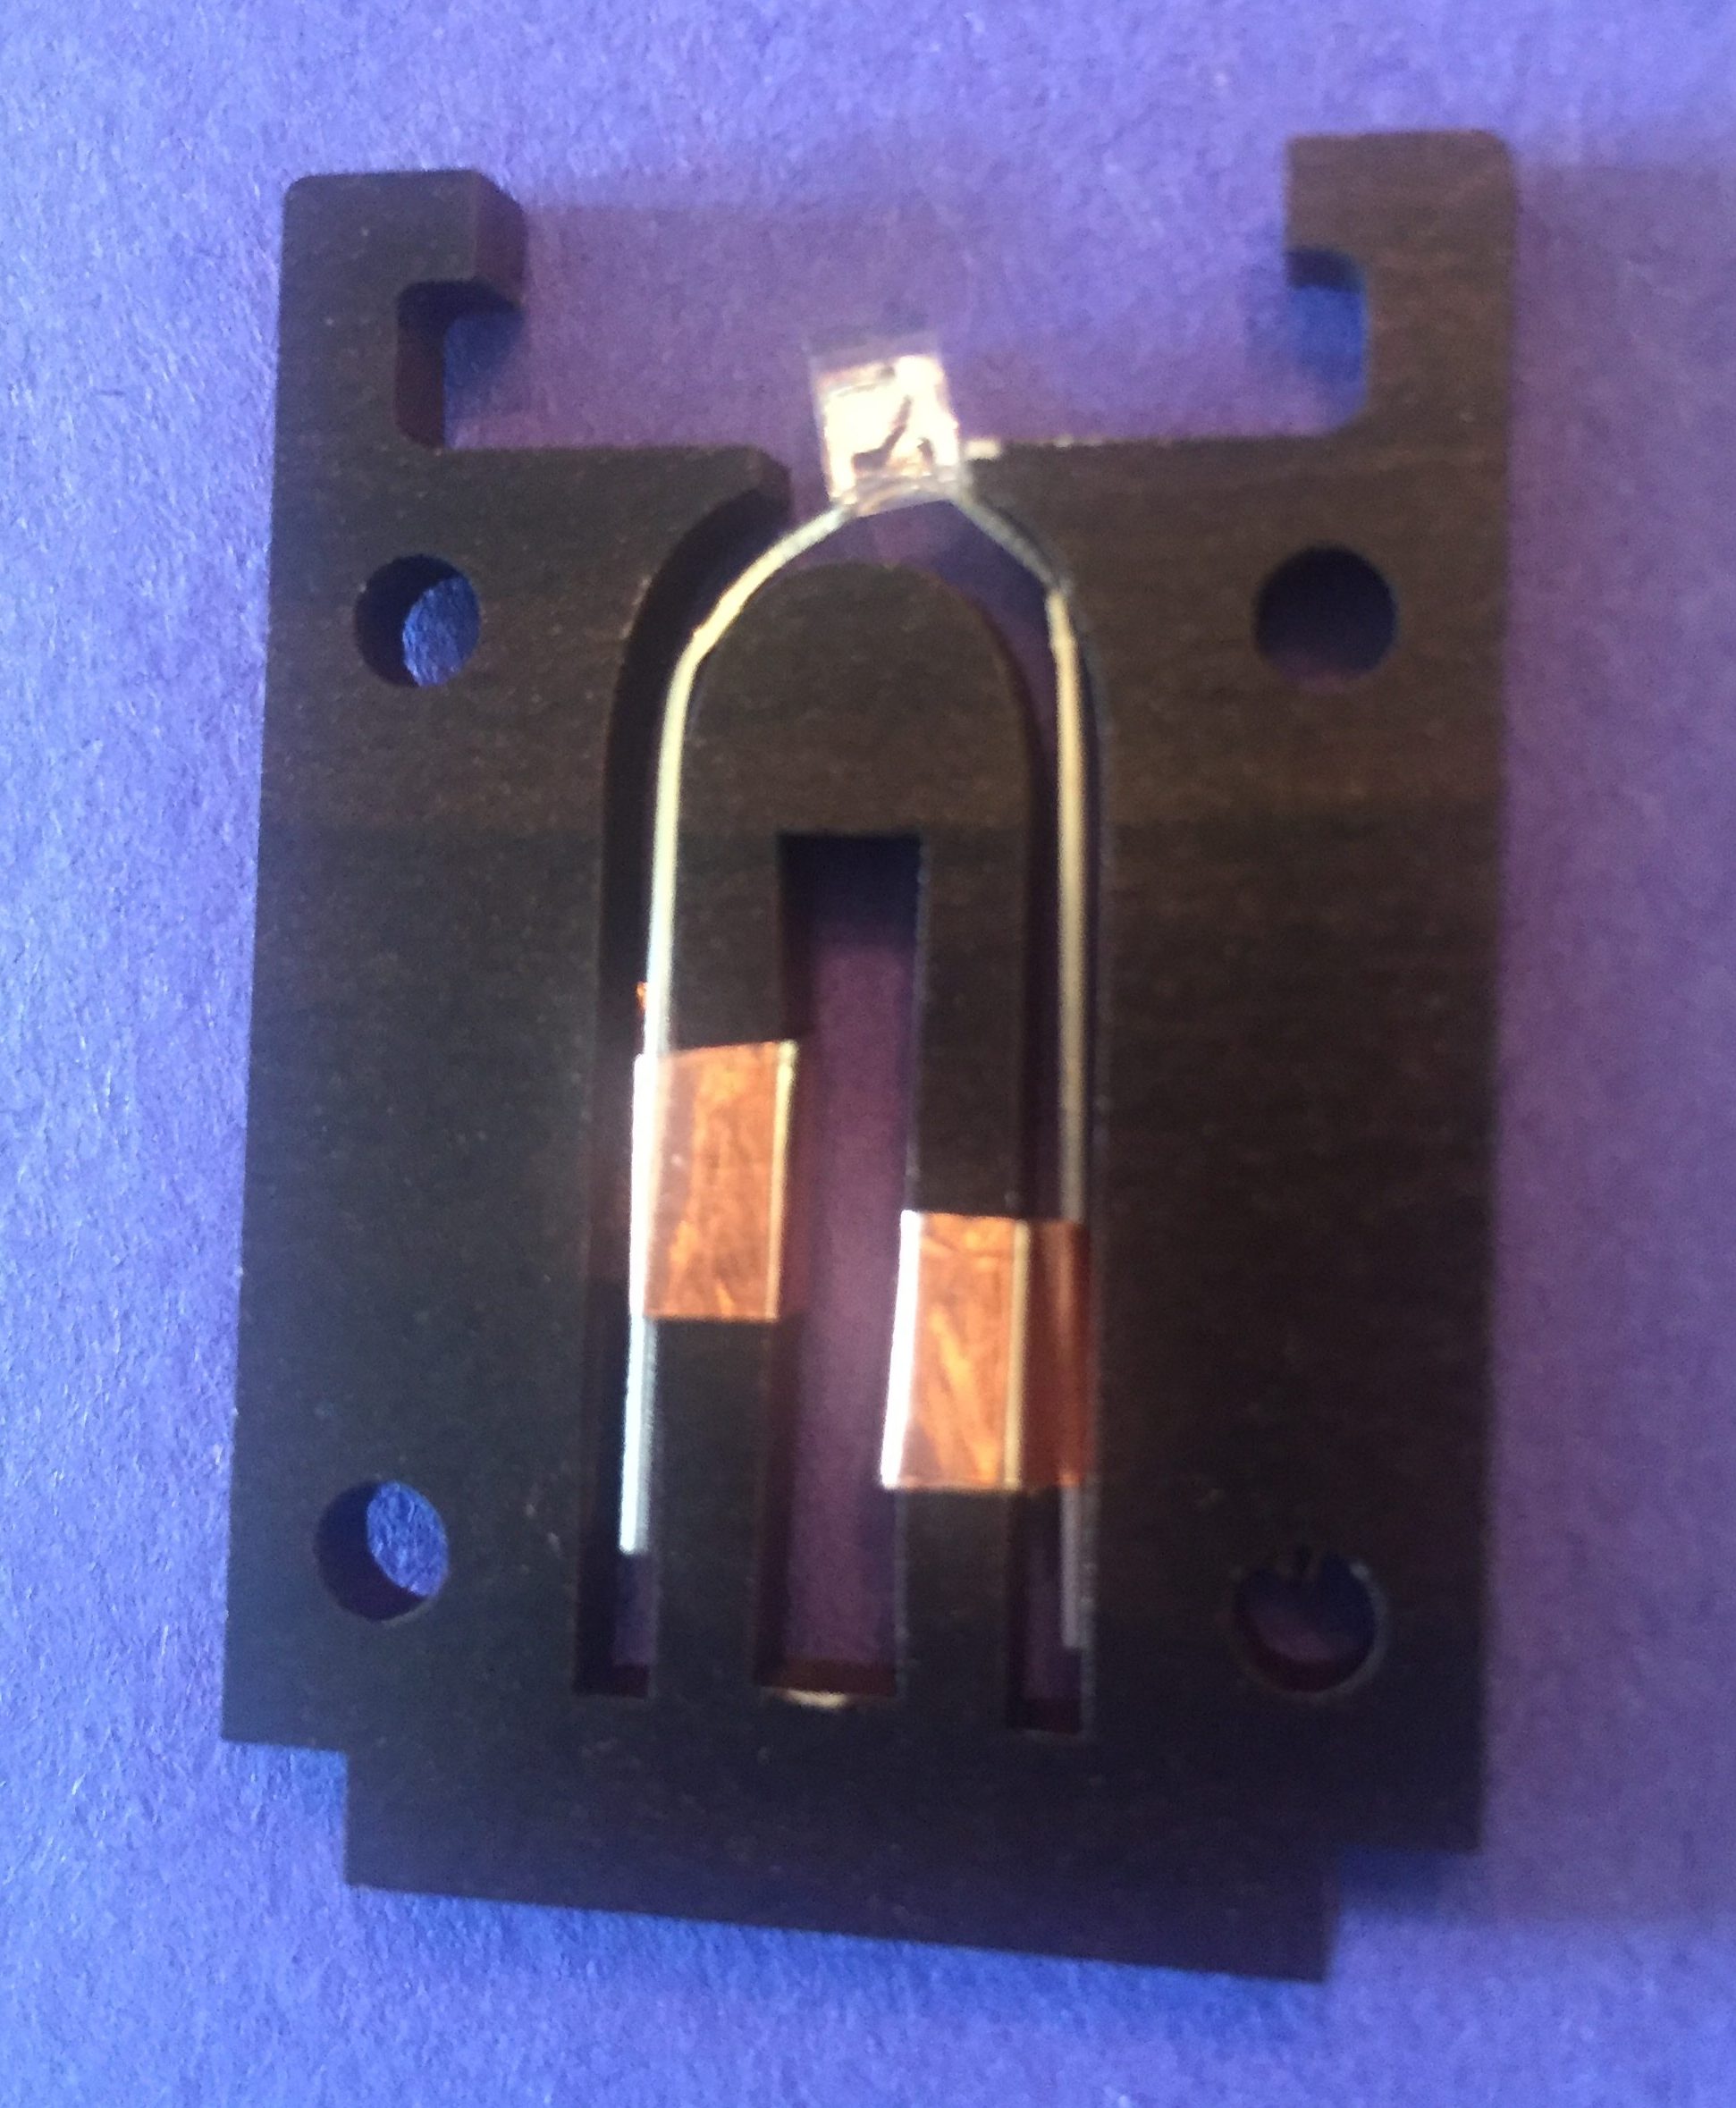
Place the middle wooden piece containing the LED on a table upside down so that the loose ends of the folded copper tape are on top of the wood. Cut two smaller pieces of copper tape – about 1/2″ apiece. Press the loose ends of the folded copper tape down against the wood, and use the smaller copper tape pieces to stick the ends down on the wood. Lay the smaller pieces of tape vertically along the channels in the wood as shown below. Smooth the tape down so it sticks well to the wood and that it sits as flush as possible.
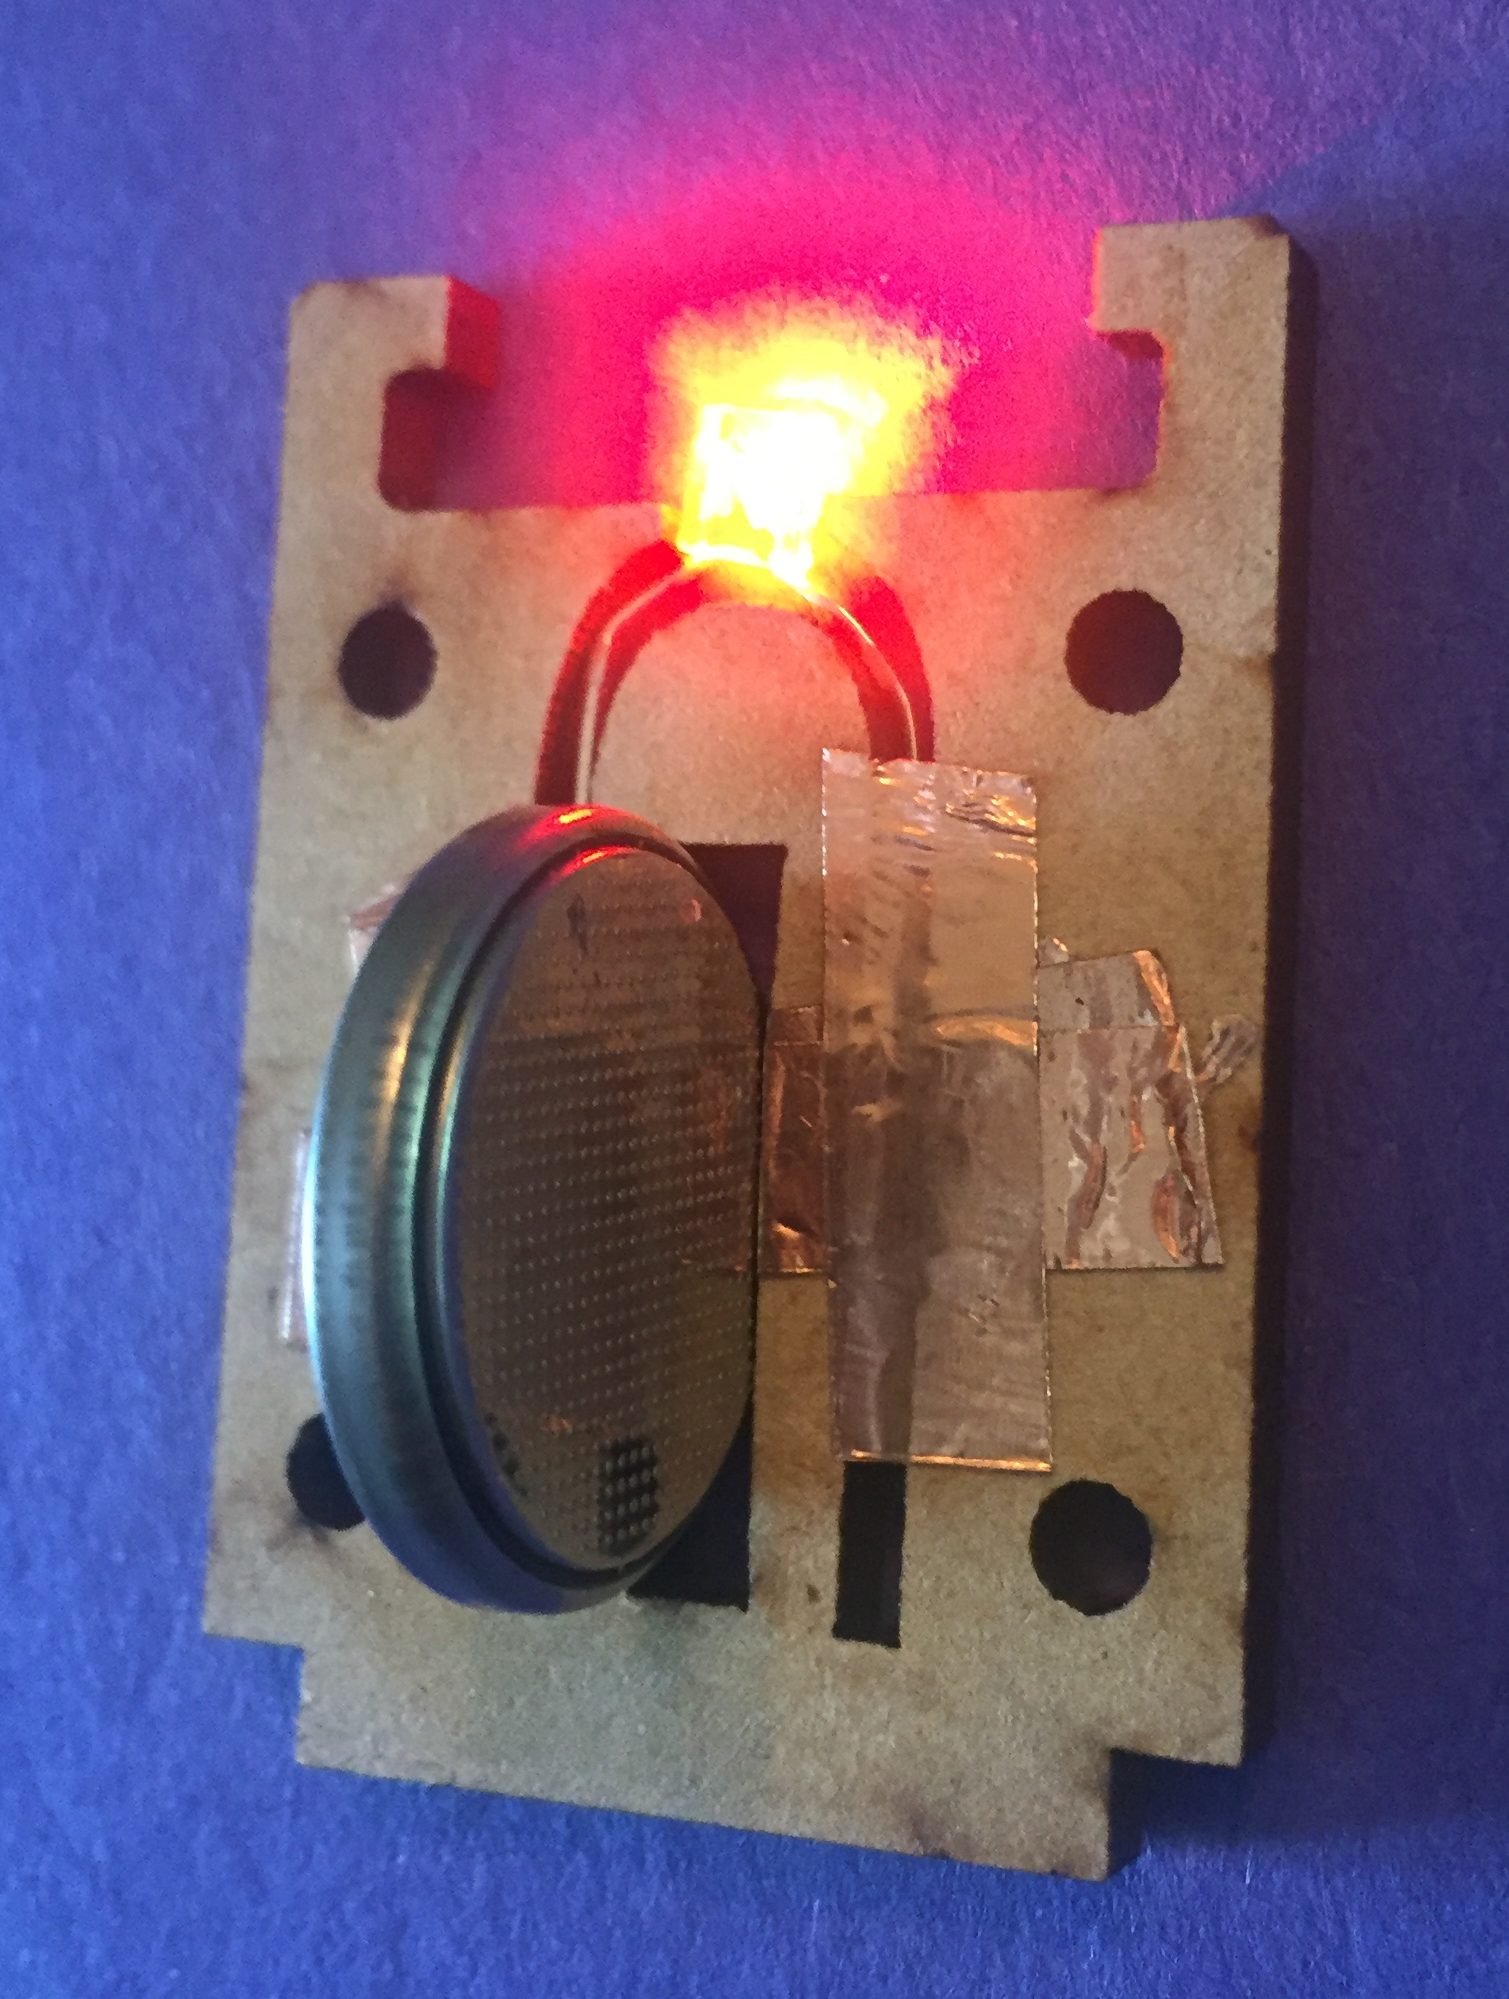
Test the Circuit:
Before assembling the pieces of the pendant, test the copper tape circuit by placing the coin cell battery into the middle slot of the middle wooden piece. If all has gone well, the LED should light up. Remember that the circuit only works with the battery in one orientation, so if it doesn’t light up at first attempt, flip the battery around and try it again the other way. Once you are sure that the electrical connection is good, remove the coin cell battery and set it and the copper tape circuit aside for now.

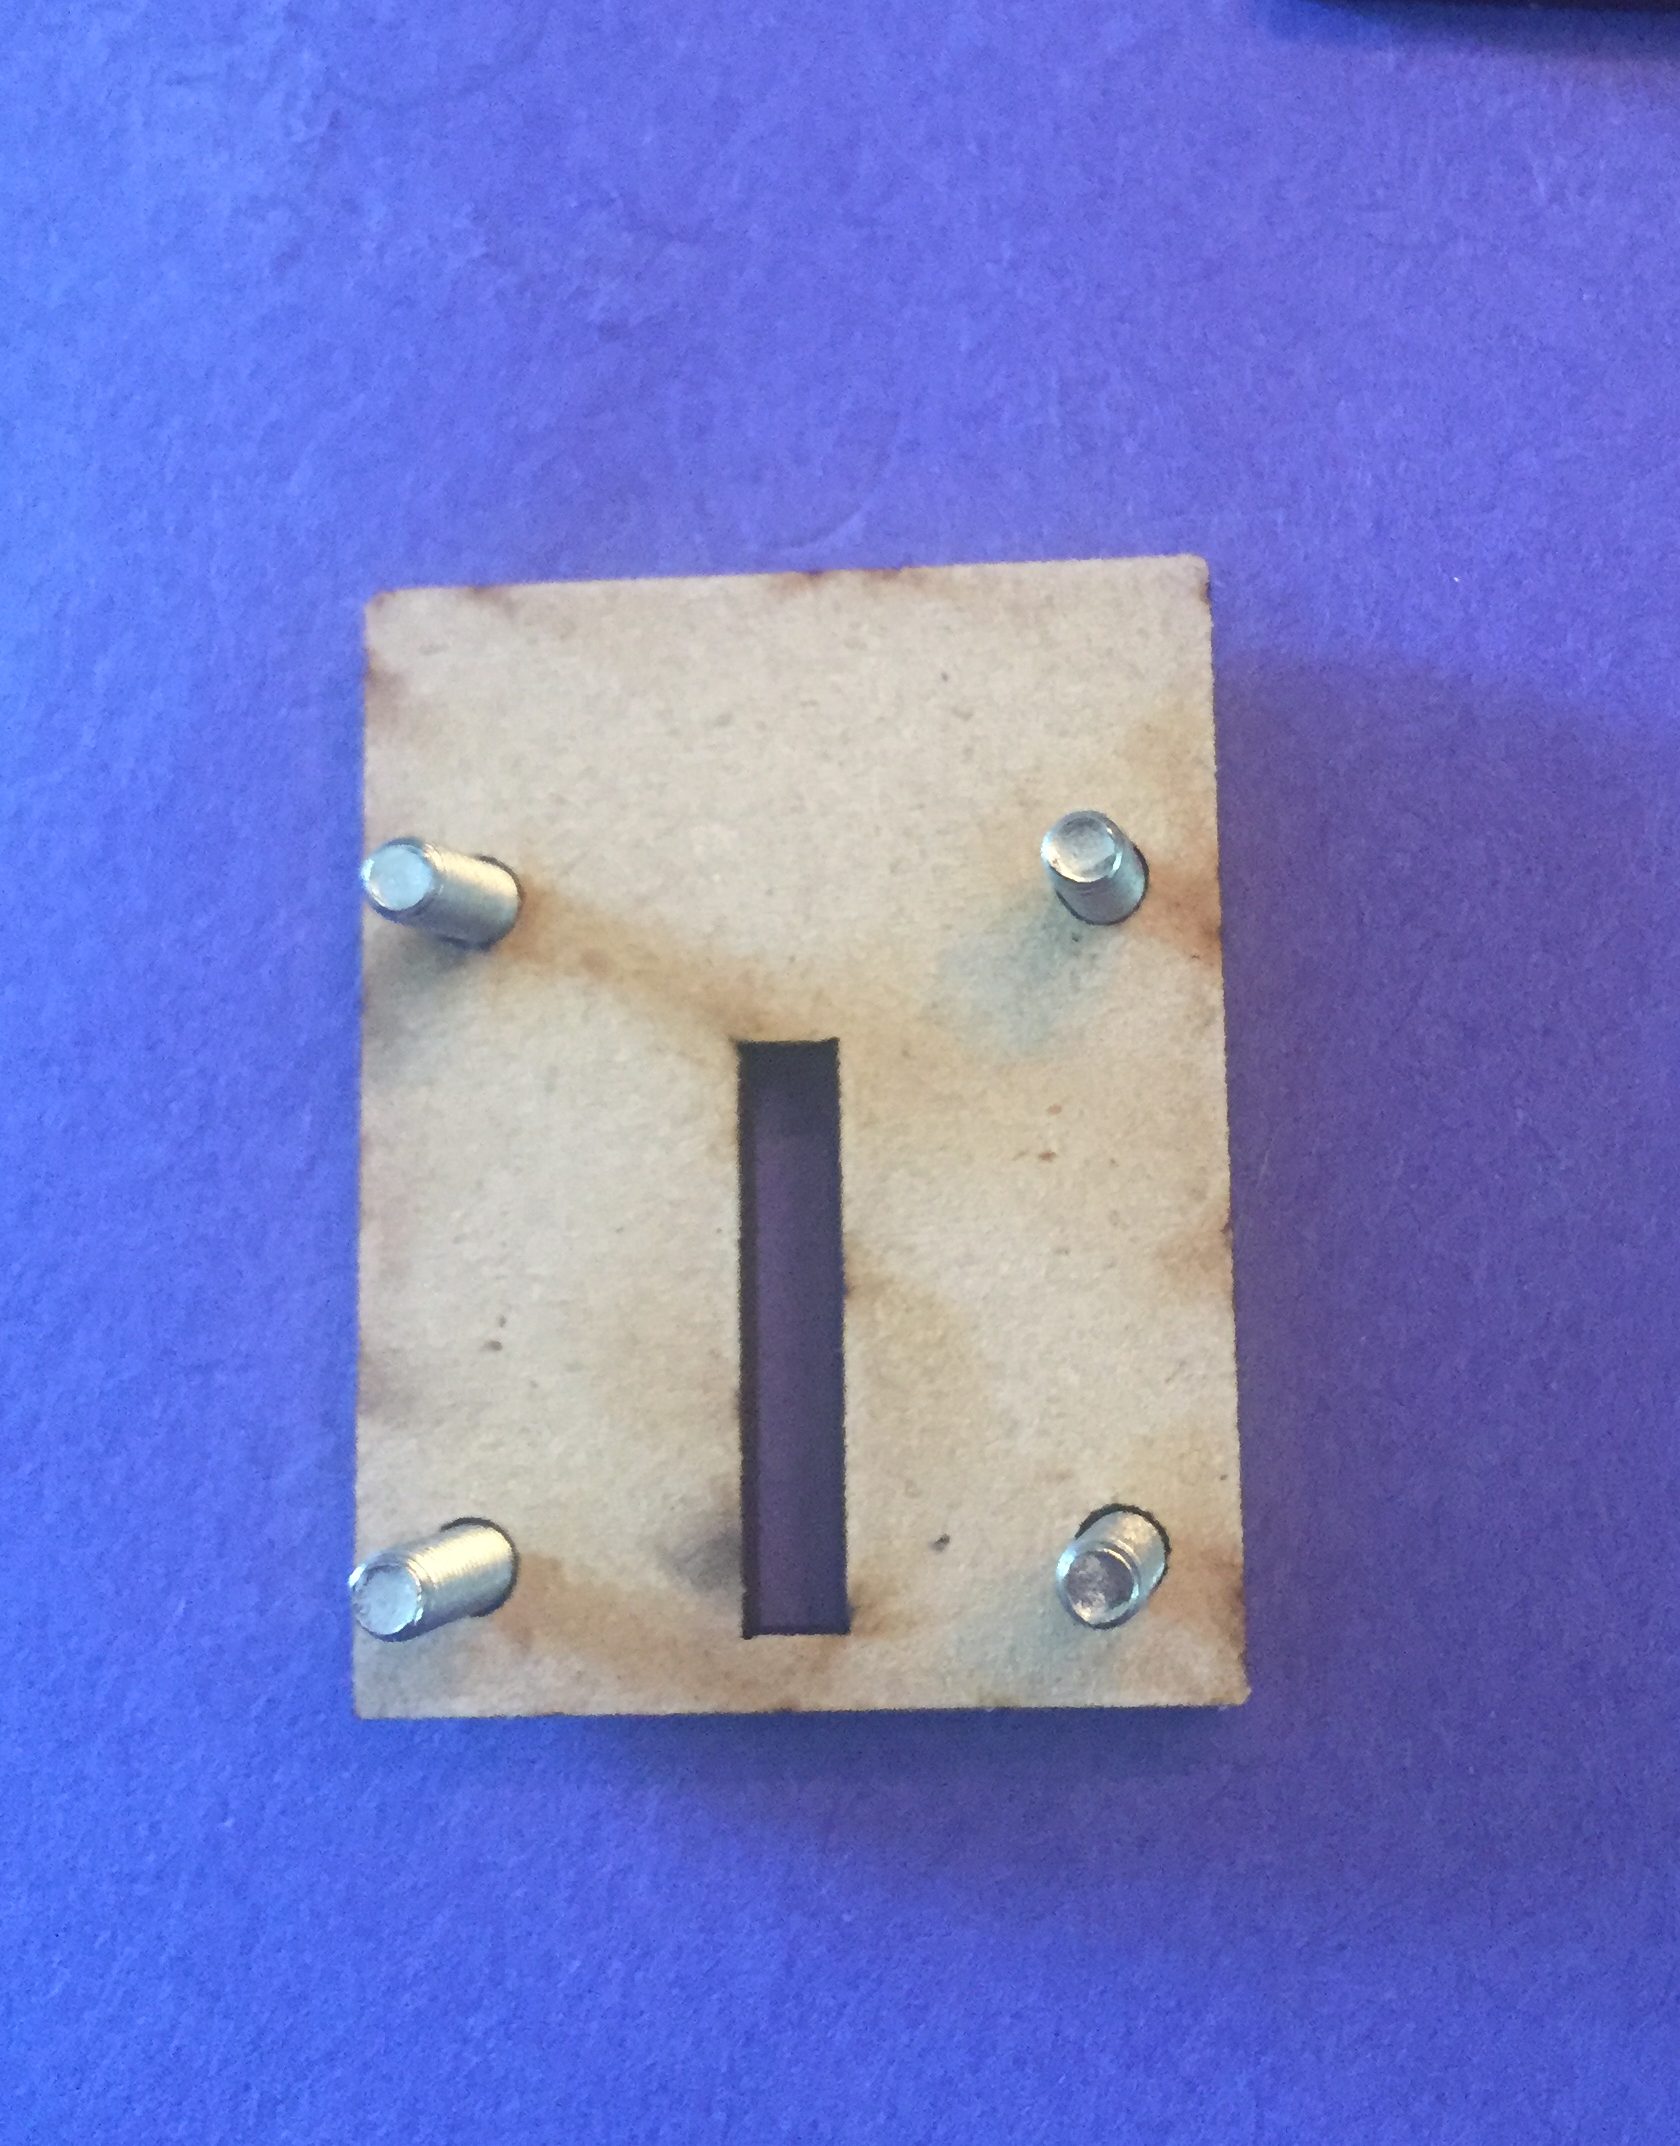
Assemble the Display:
Take one of the two identical wooden base pieces, and place the 12mm M3 screws into the holes from the outside (pretty side of the wood if there is one) to the inside, then place the piece down on the table so that the screws point upwards. Place the middle base layer (the one with the LED and copper tape) over the screws, and place the acrylic display into the middle base layer so that its “legs” fit into the slots around the LED. Slide the last wooden layer over the screws, and twist the nuts over the end of the screws using your fingers. Once all four nuts are on, tighten them with a screwdriver.
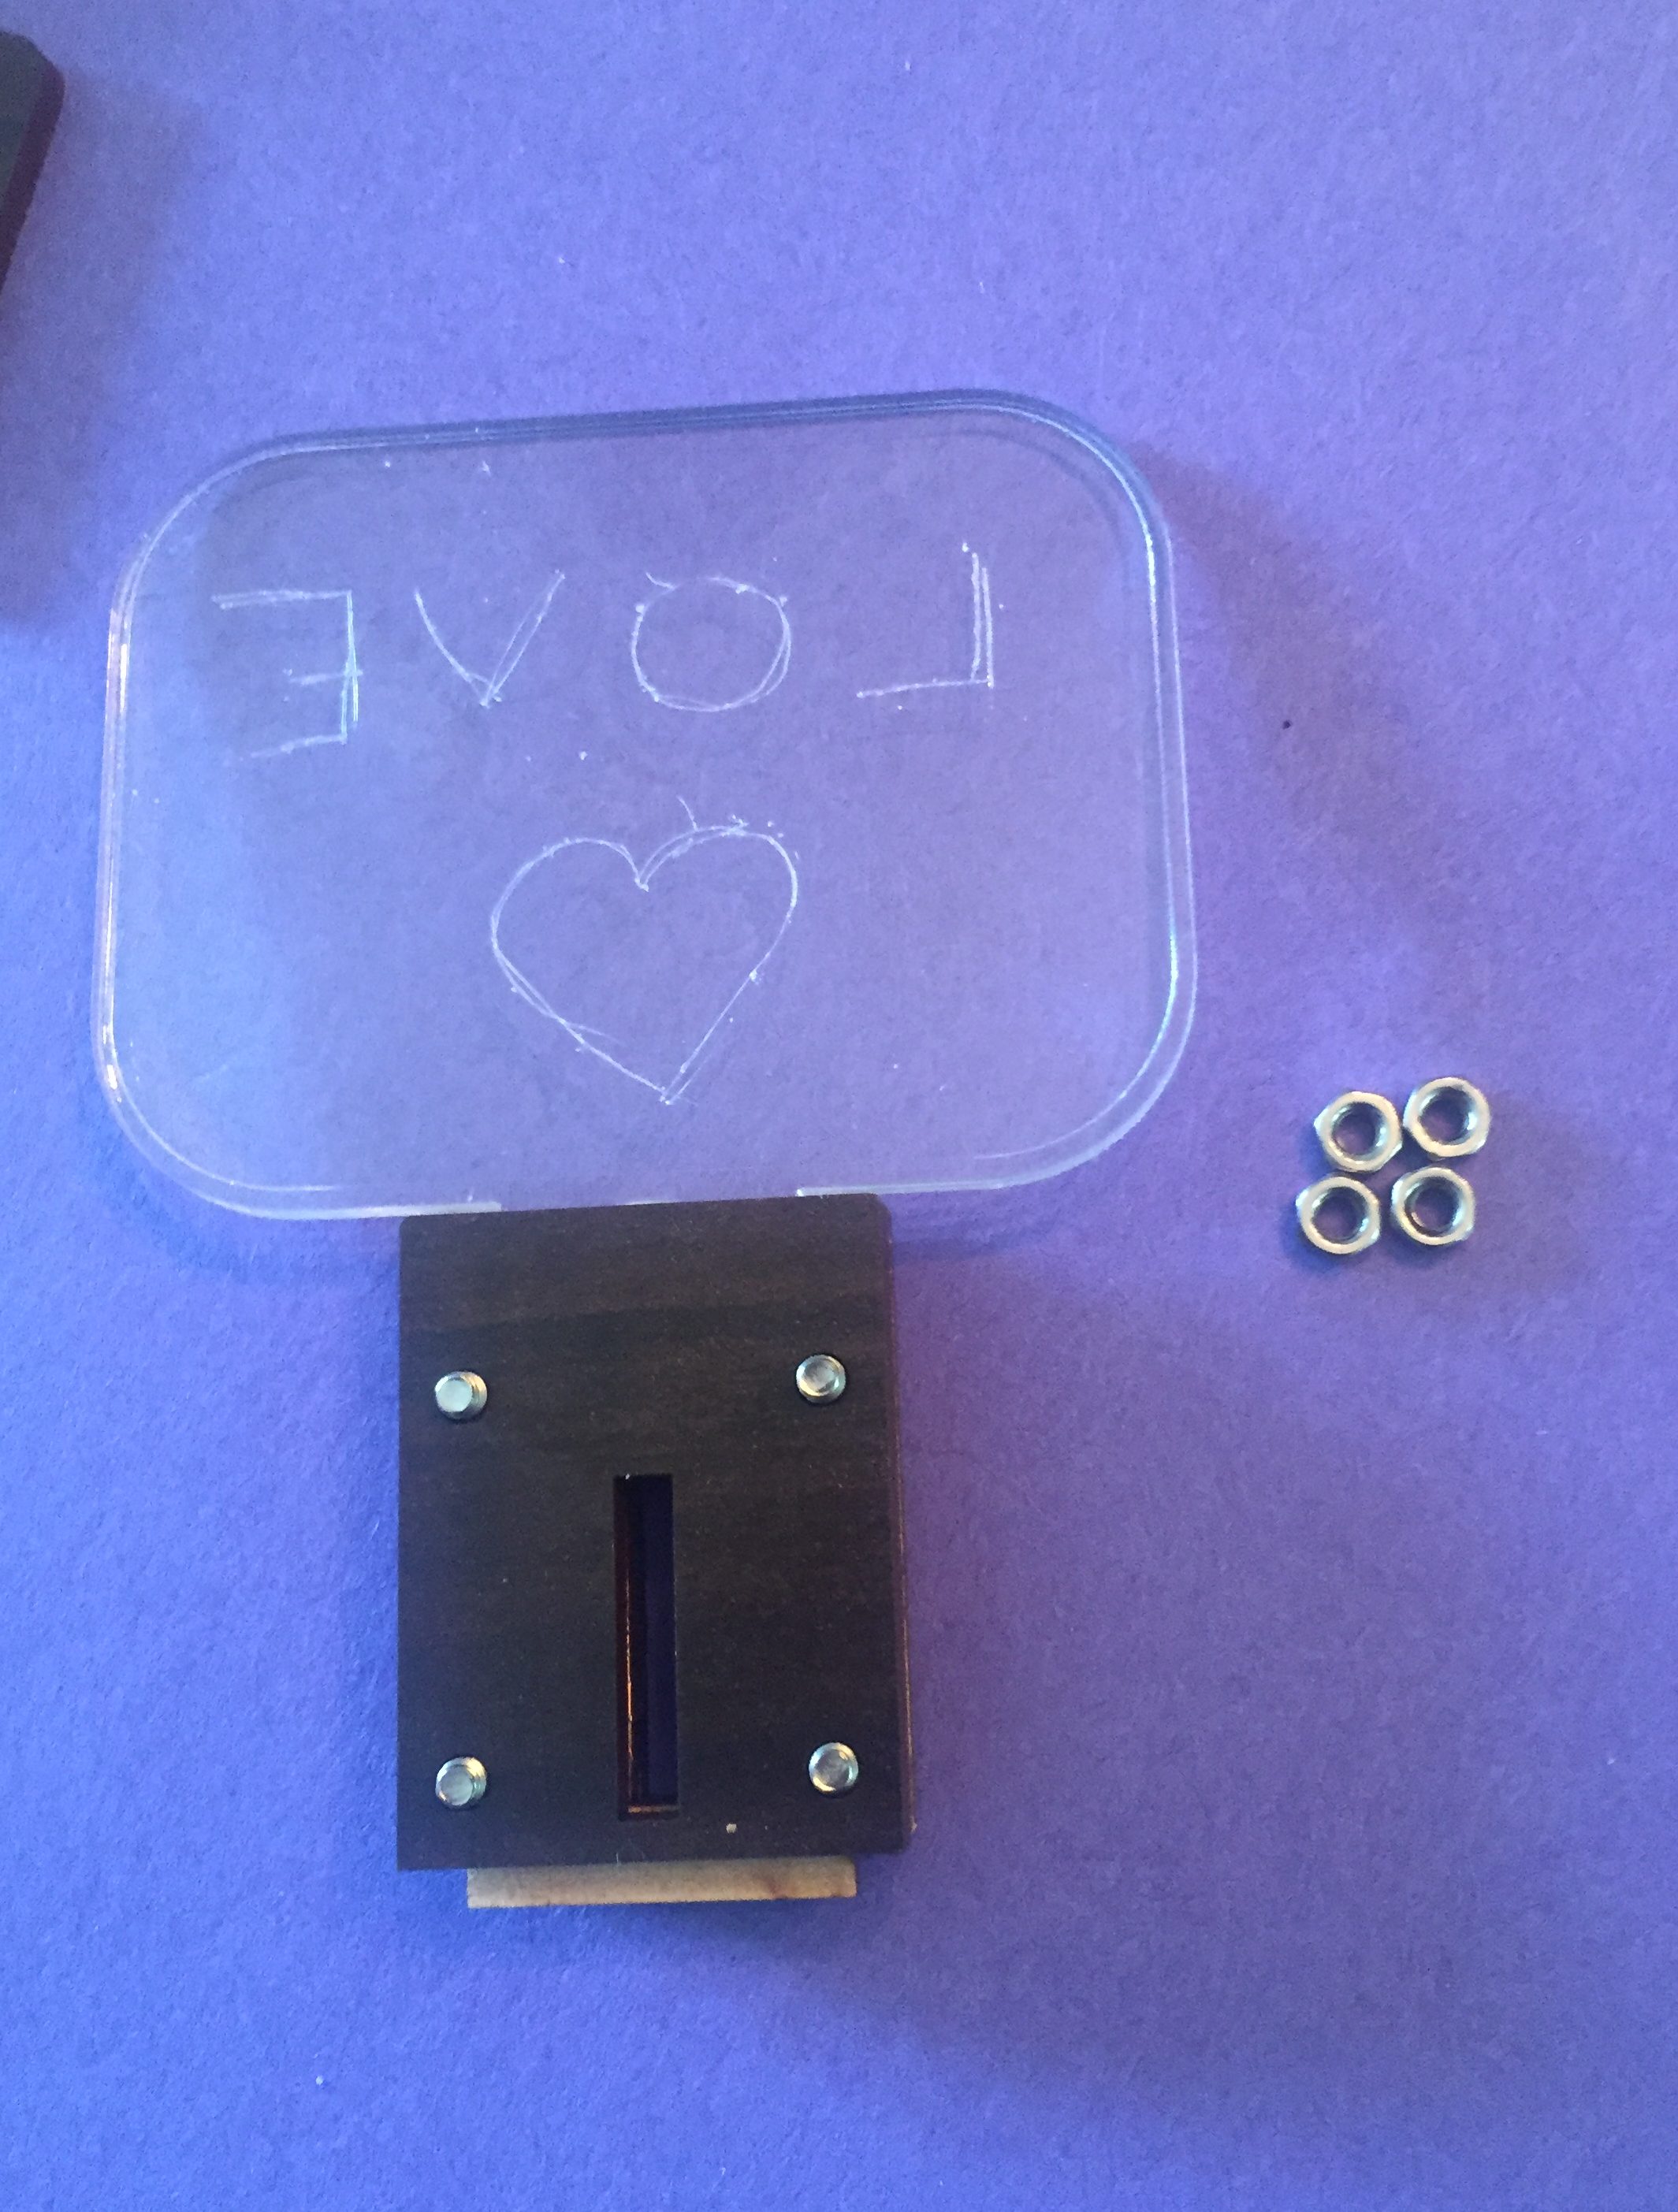
Slot the base into the small stand piece. You may want to add a touch of glue to help the stand stay in the base if the fit isn’t tight.
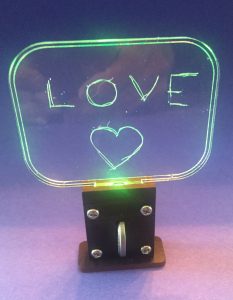
Show it Off:
Insert the coin cell battery into the slot to make the display light up, and place it somewhere you’ll enjoy it. Remember to be careful with a coin cell battery around young children. Never leave it anywhere a small child could ingest it.
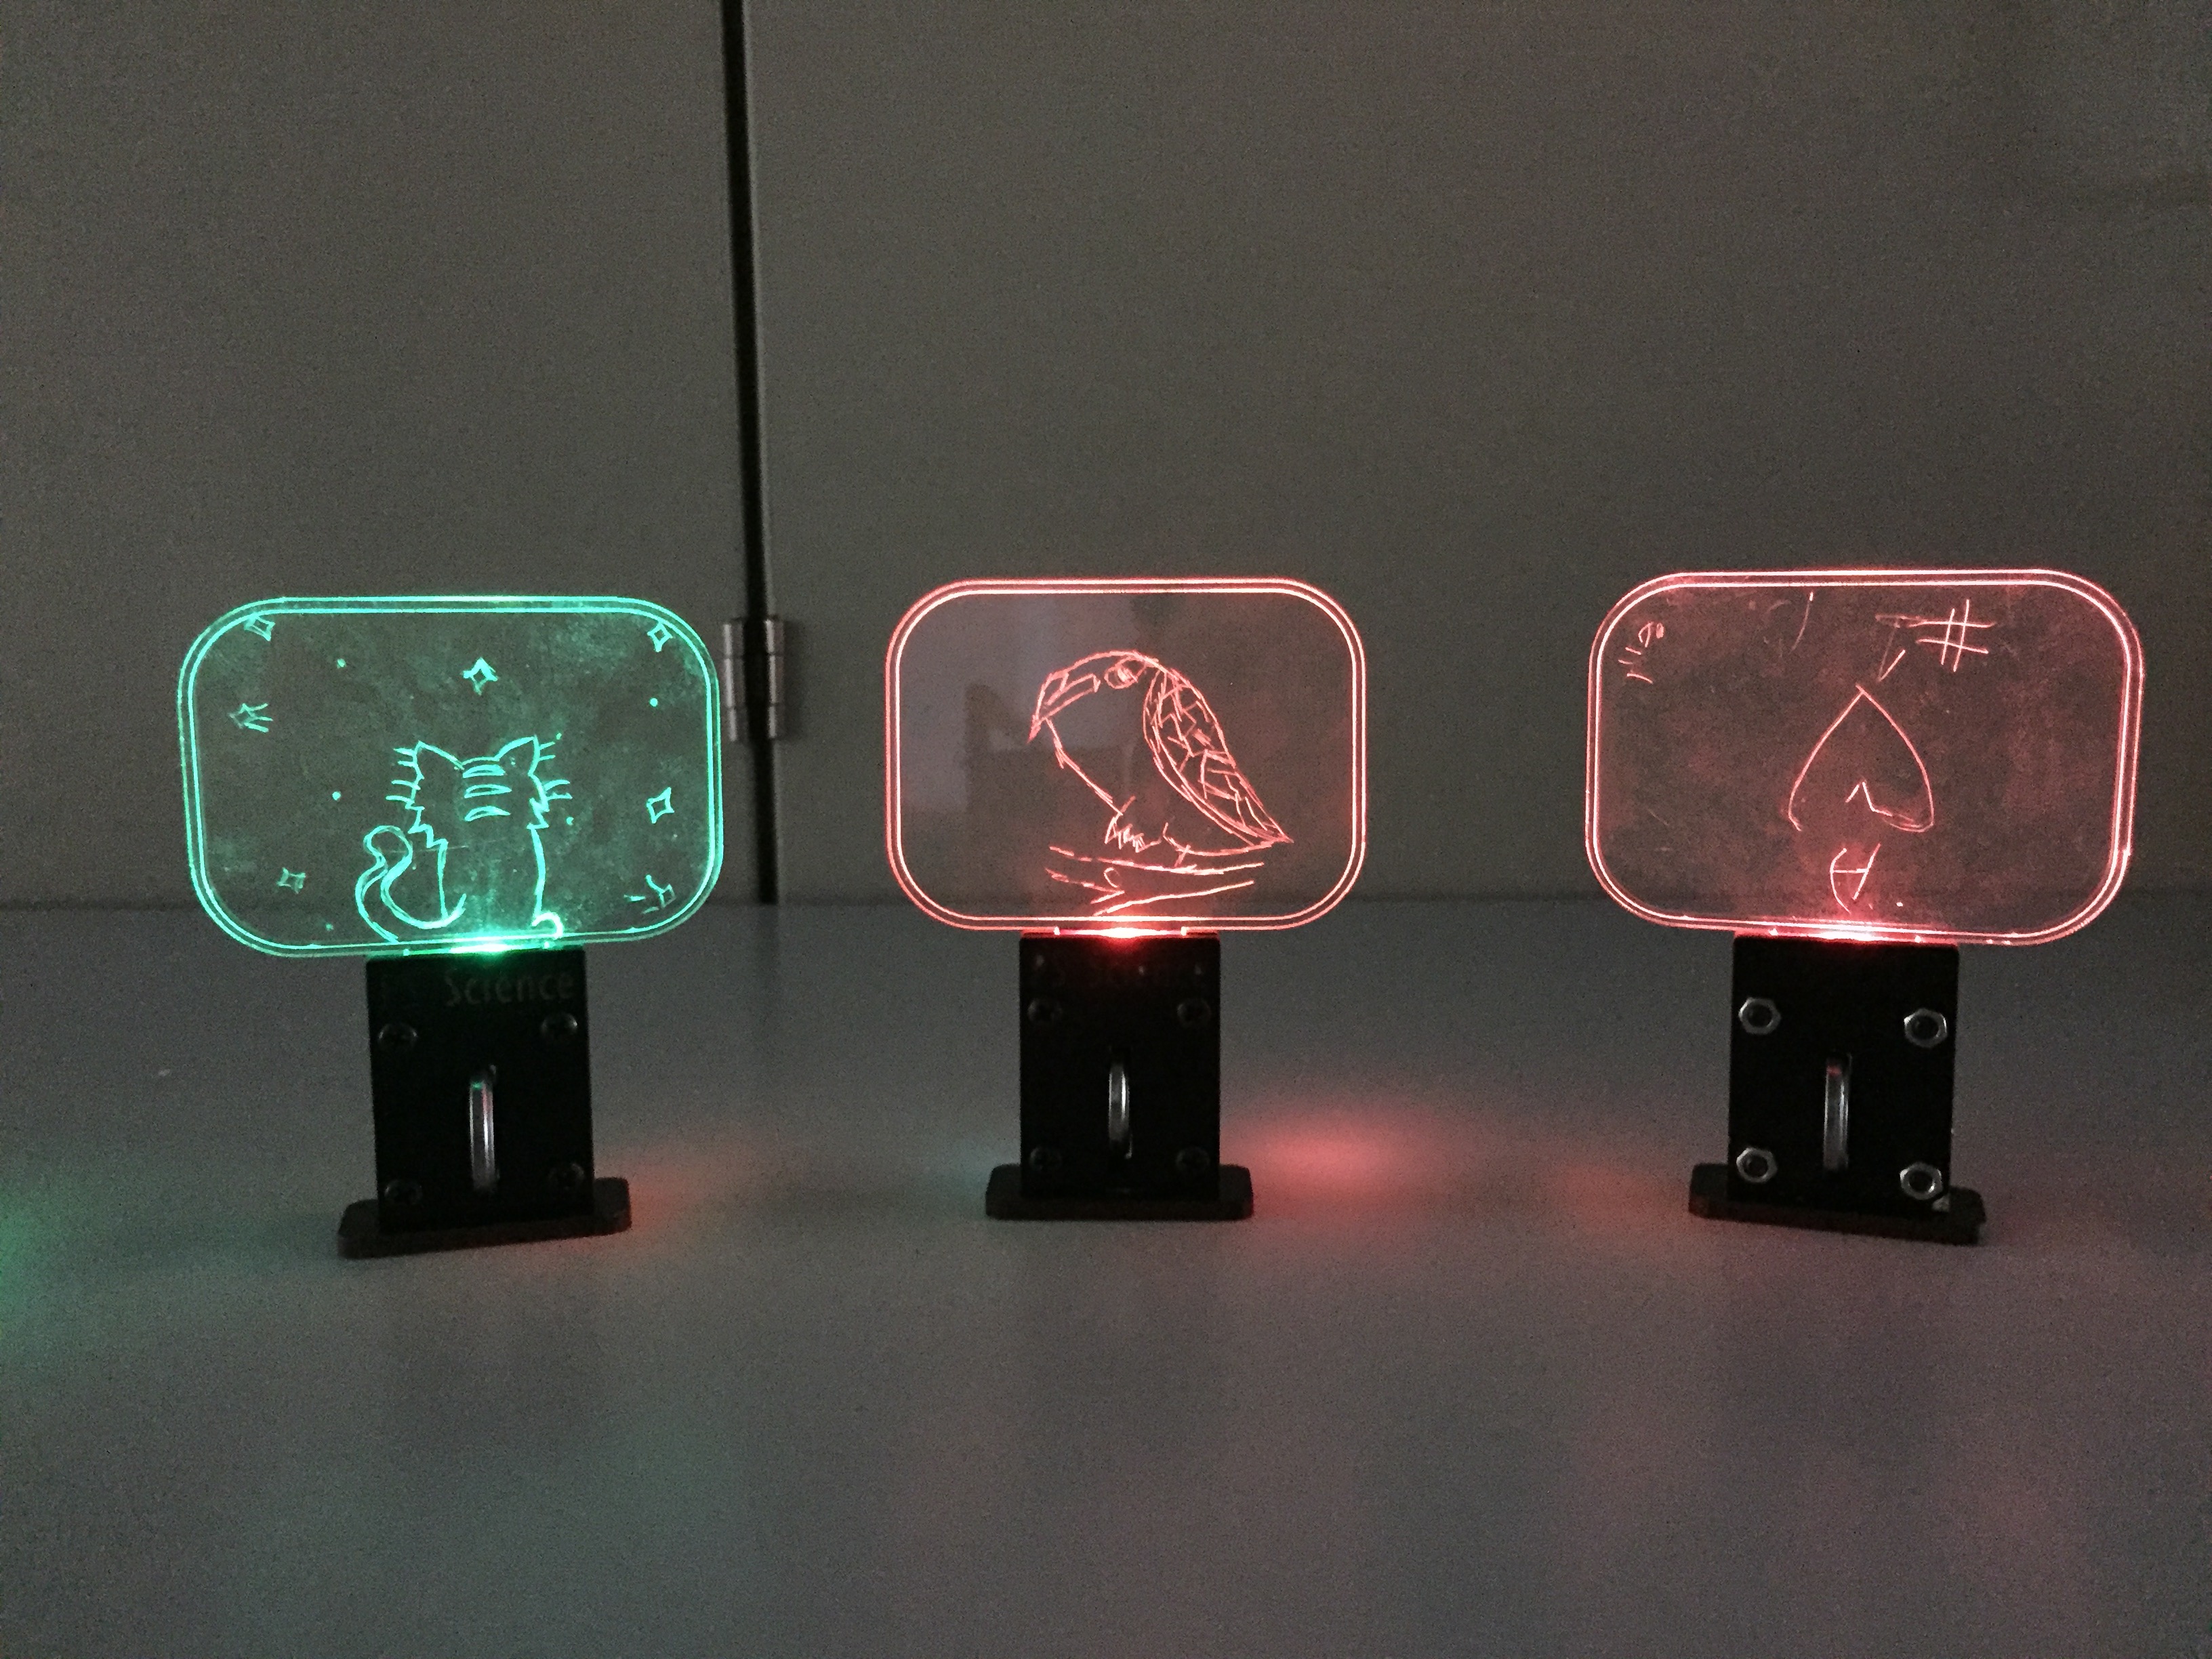
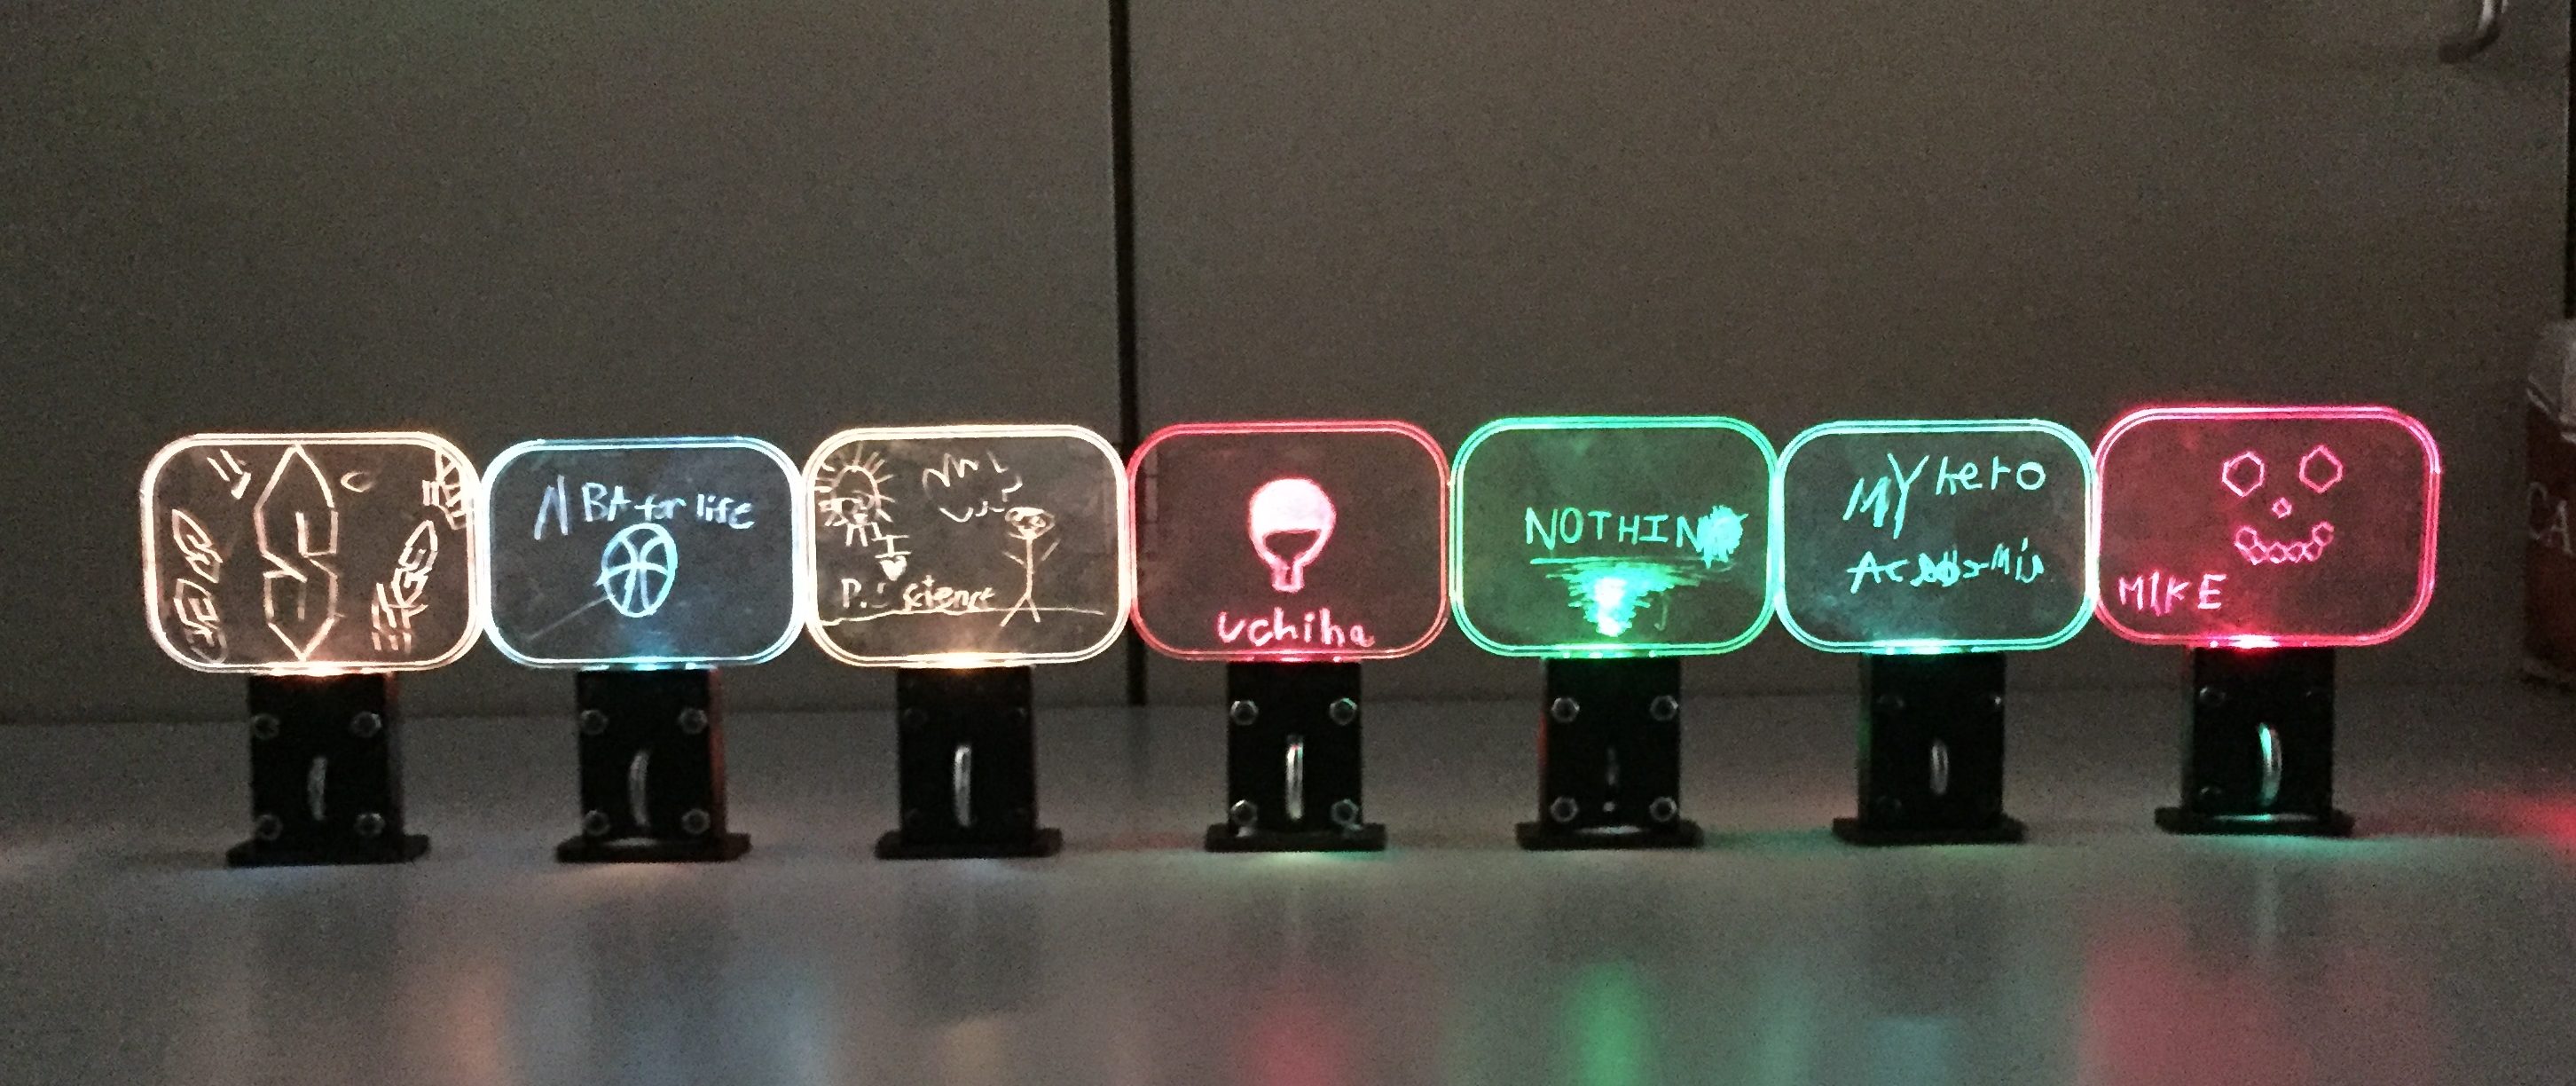
Here are some examples of the wonderful displays the campers at PS Science summer camp made this year:
Marvelous. Smart and impressive. Thank you for inspiration.
/Kålle