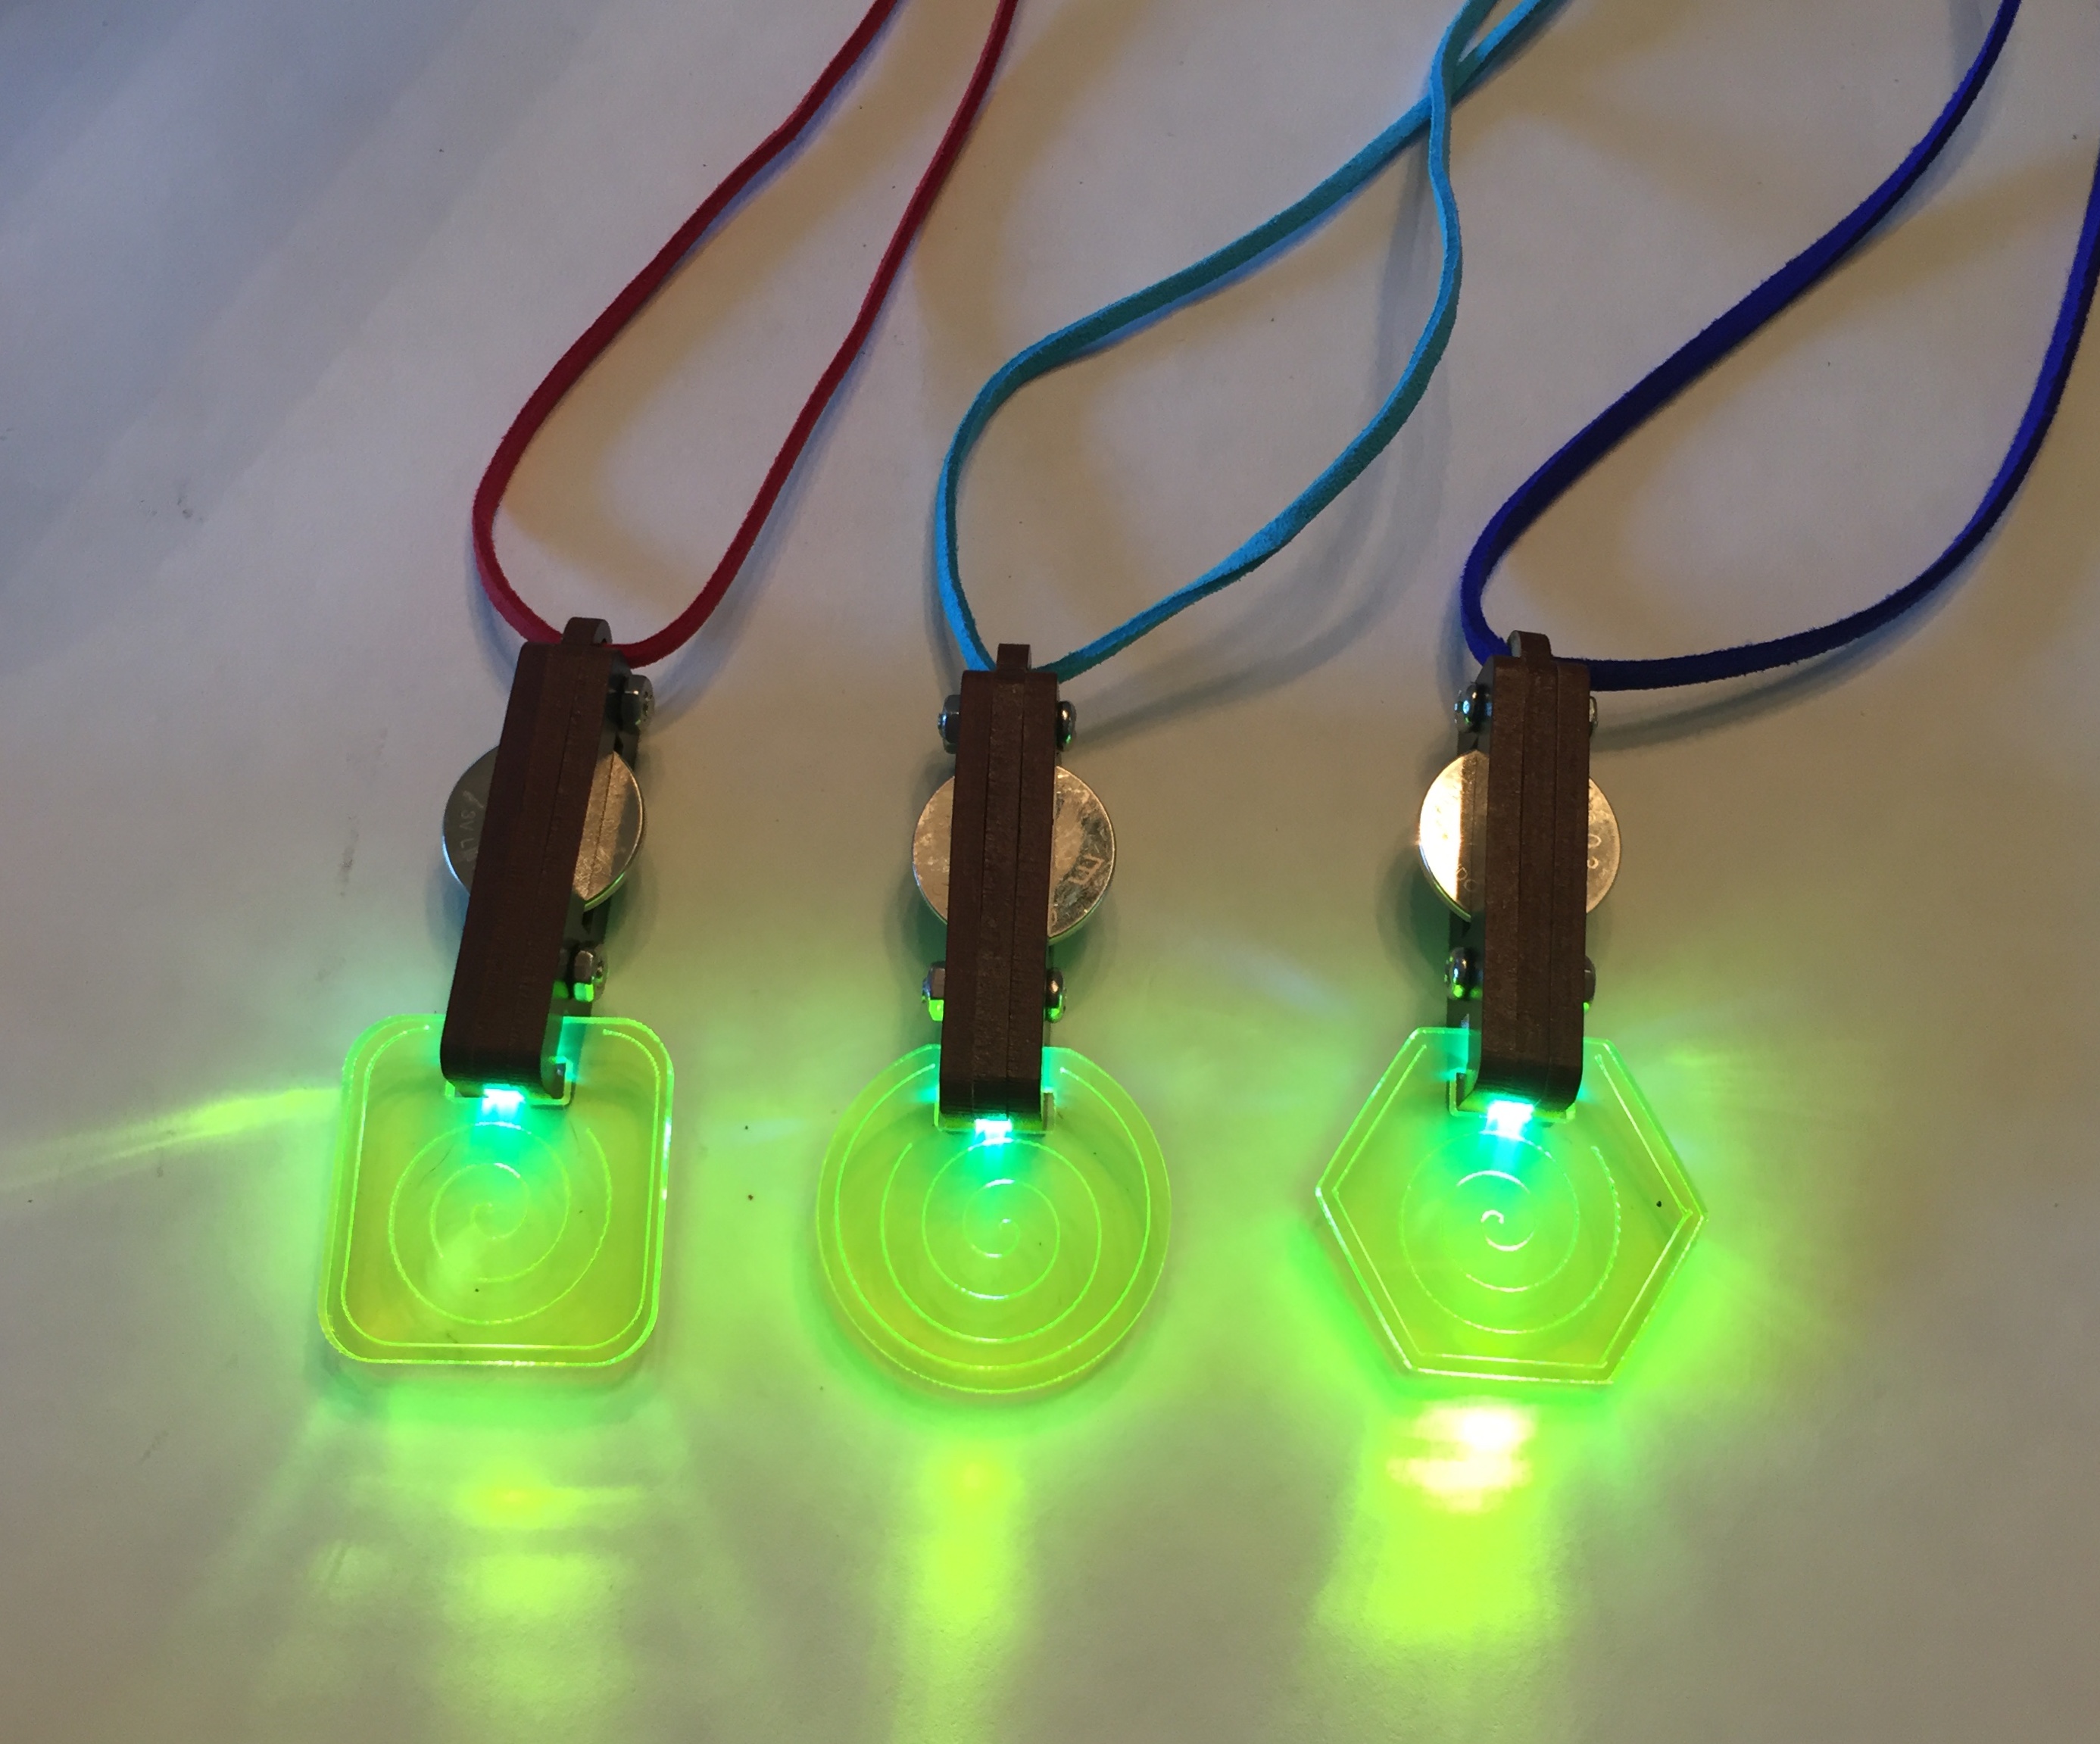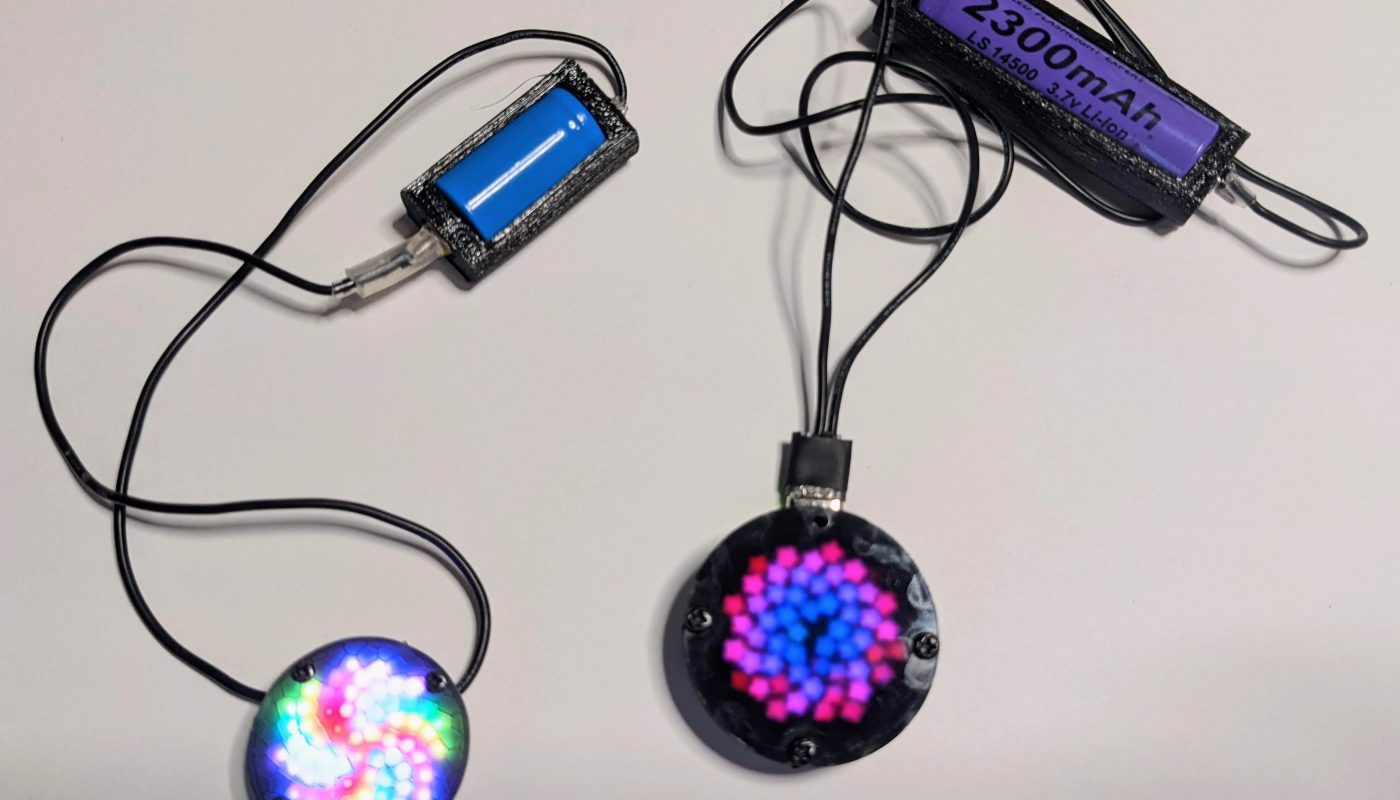
The behind-the-neck battery holder design continues to evolve from its initial laser-cut form, to a 3D printed PLA design, to the latest, flexible filament-based version described here. This revision feels like a significant improvement. Not only is it easier to print (at least on my Prusa MINI+ which handles flex filament beautifully), but also much easier to assemble and use. Because the holder can bend, inserting and removing a battery is much easier, and it’s softer against the skin if you choose to wear it behind your neck to power a pendant, like the ones shown above.
Components
Materials
- 26 AWG stranded wire
- Parts For the Main Holder Body
- Flexible Filament (I used MatterHackers Pro TPU in black. It has a Shore Hardness of 95A/48D)
- 1x M3 4 to 6mm Flathead screw and nut (if you find the head of this screw isn’t making good contact with the positive battery terminal, which can be a problem for batteries with flat positive terminals, then you may want to use a machine screw of the same length instead)
- 1x M3 ring terminal (uninsulated), like this or this
- small piece of 3mm (approx) shrink tube
- Parts for Negative Terminal Connector
Tools
- 3D printer (or 3D printing service)
- Wire stripper
- Screwdriver
- Crimp tool or pliers
- Heat source (hot air gun, etc.) for shrink tube
Design Files
The holder body was designed in Tinkercad and the CAD files are available here: https://www.tinkercad.com/things/dnBWwnWSj43
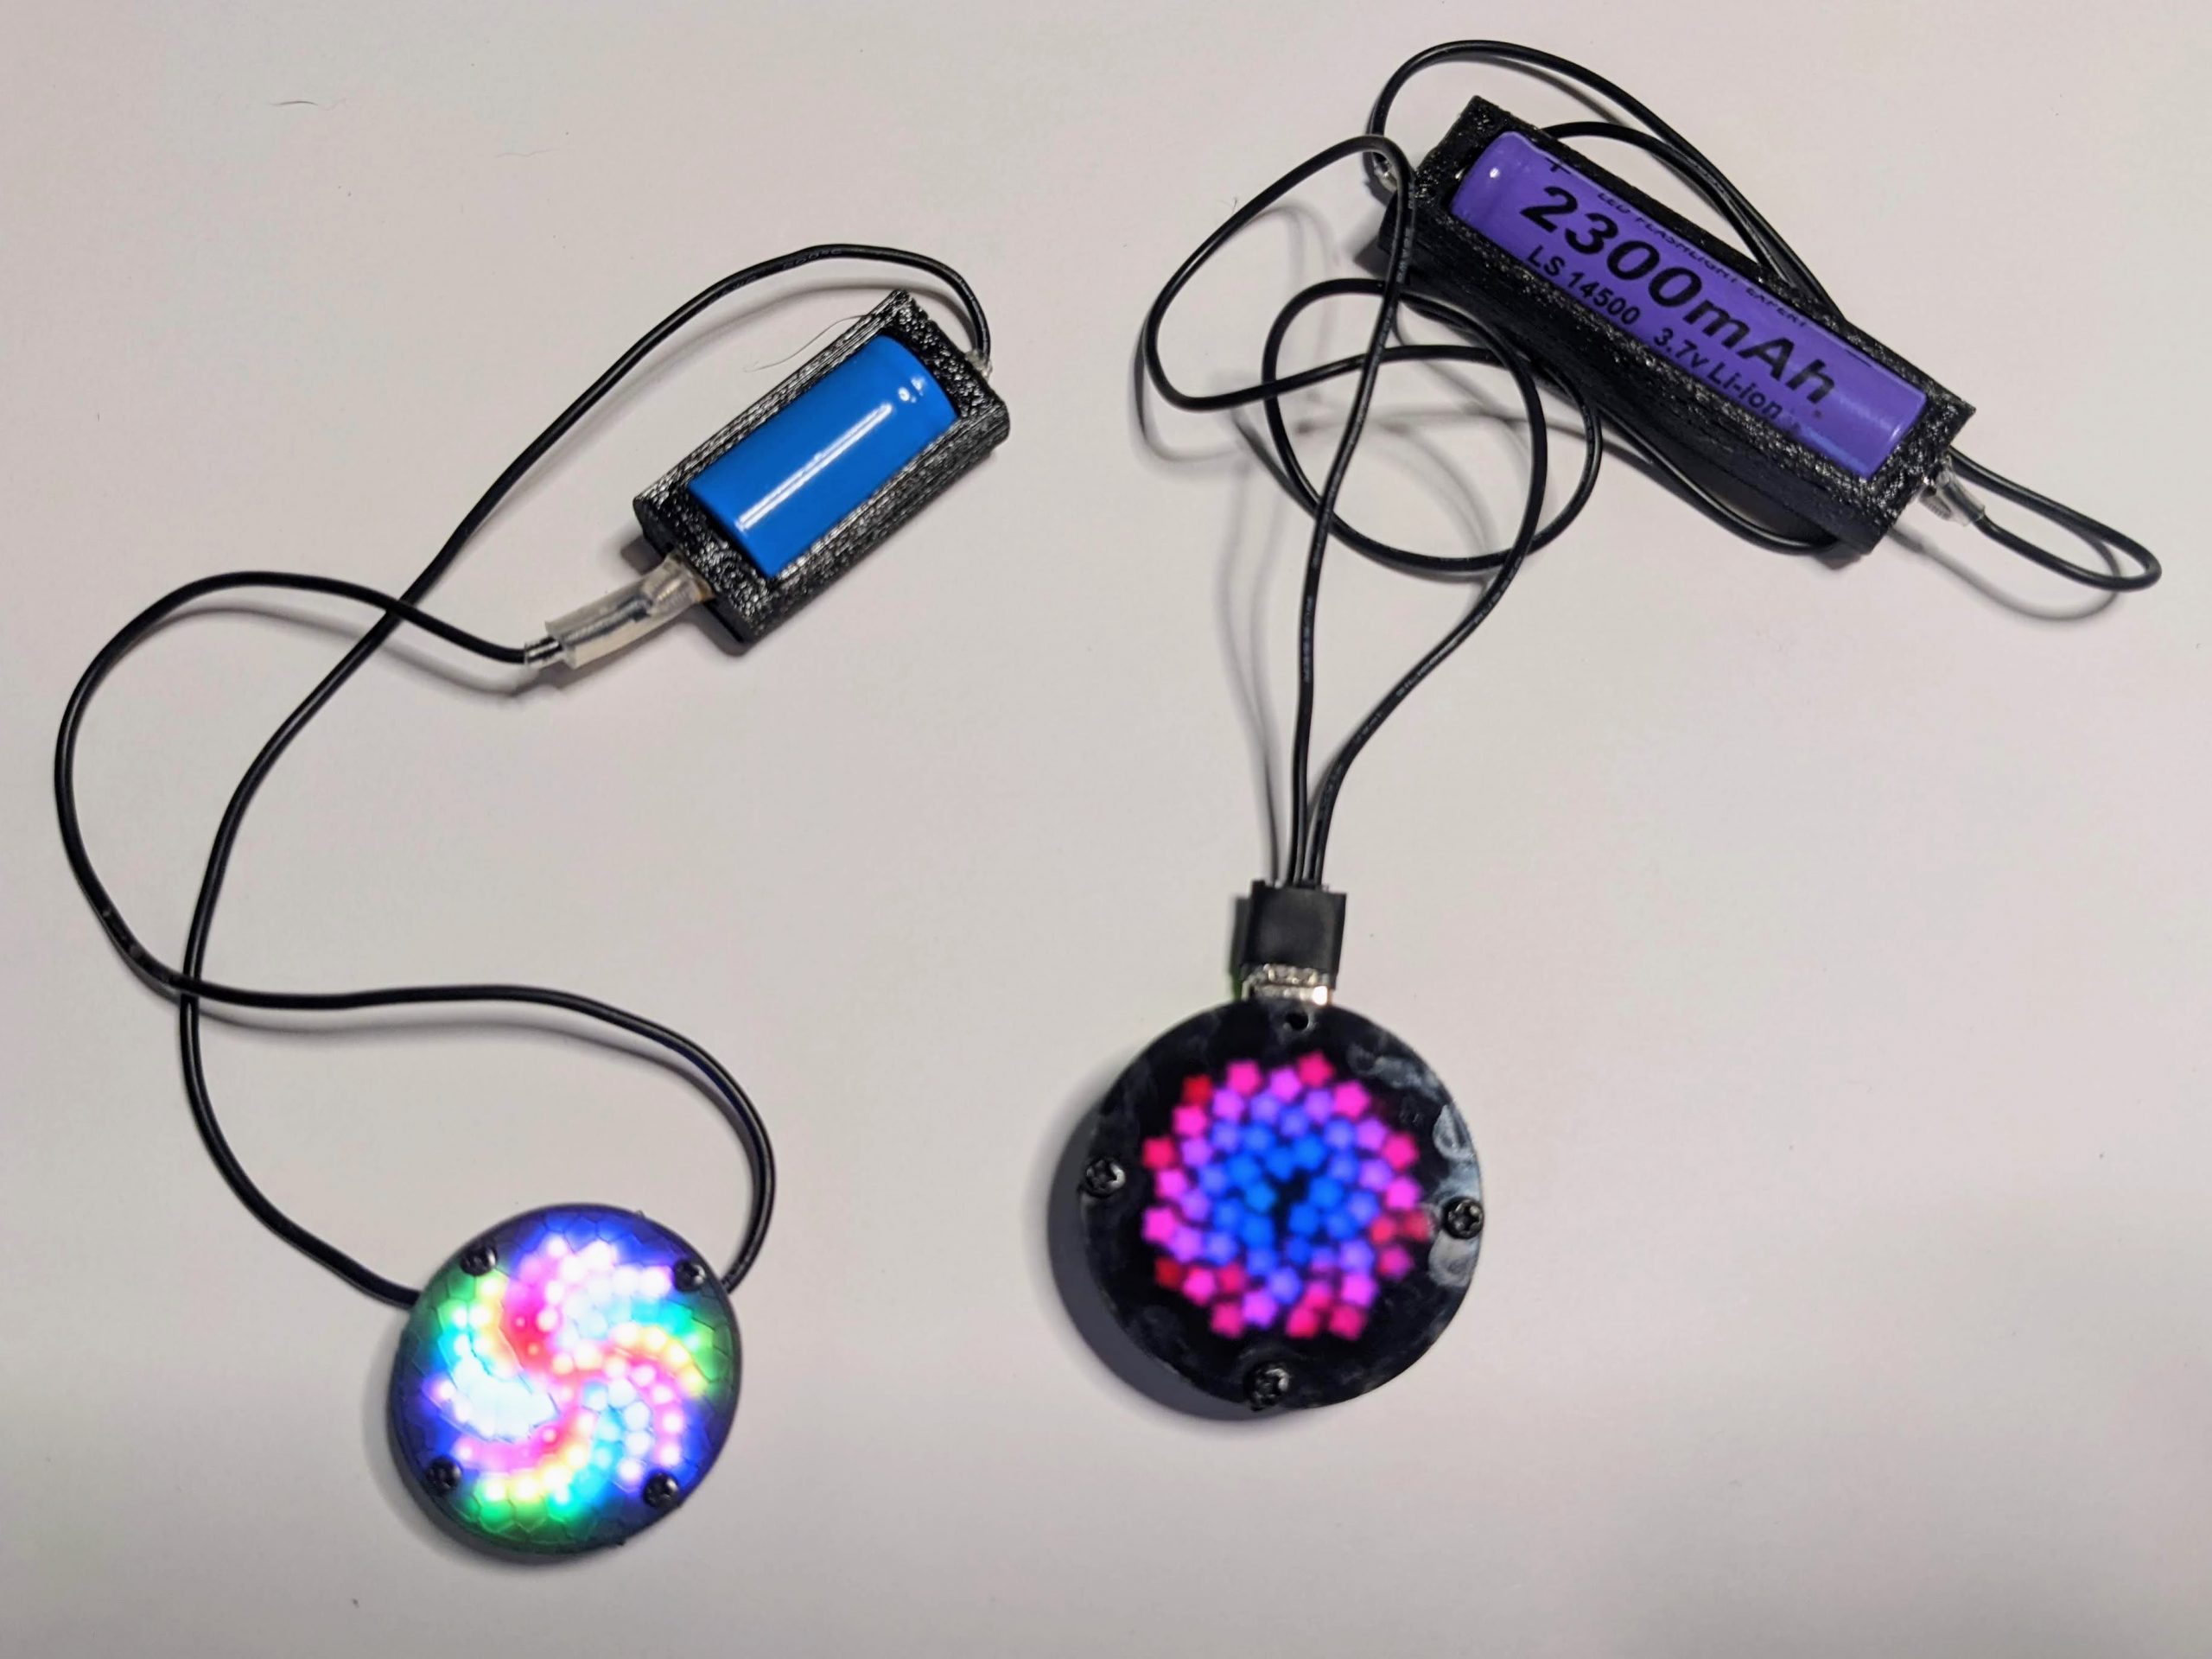
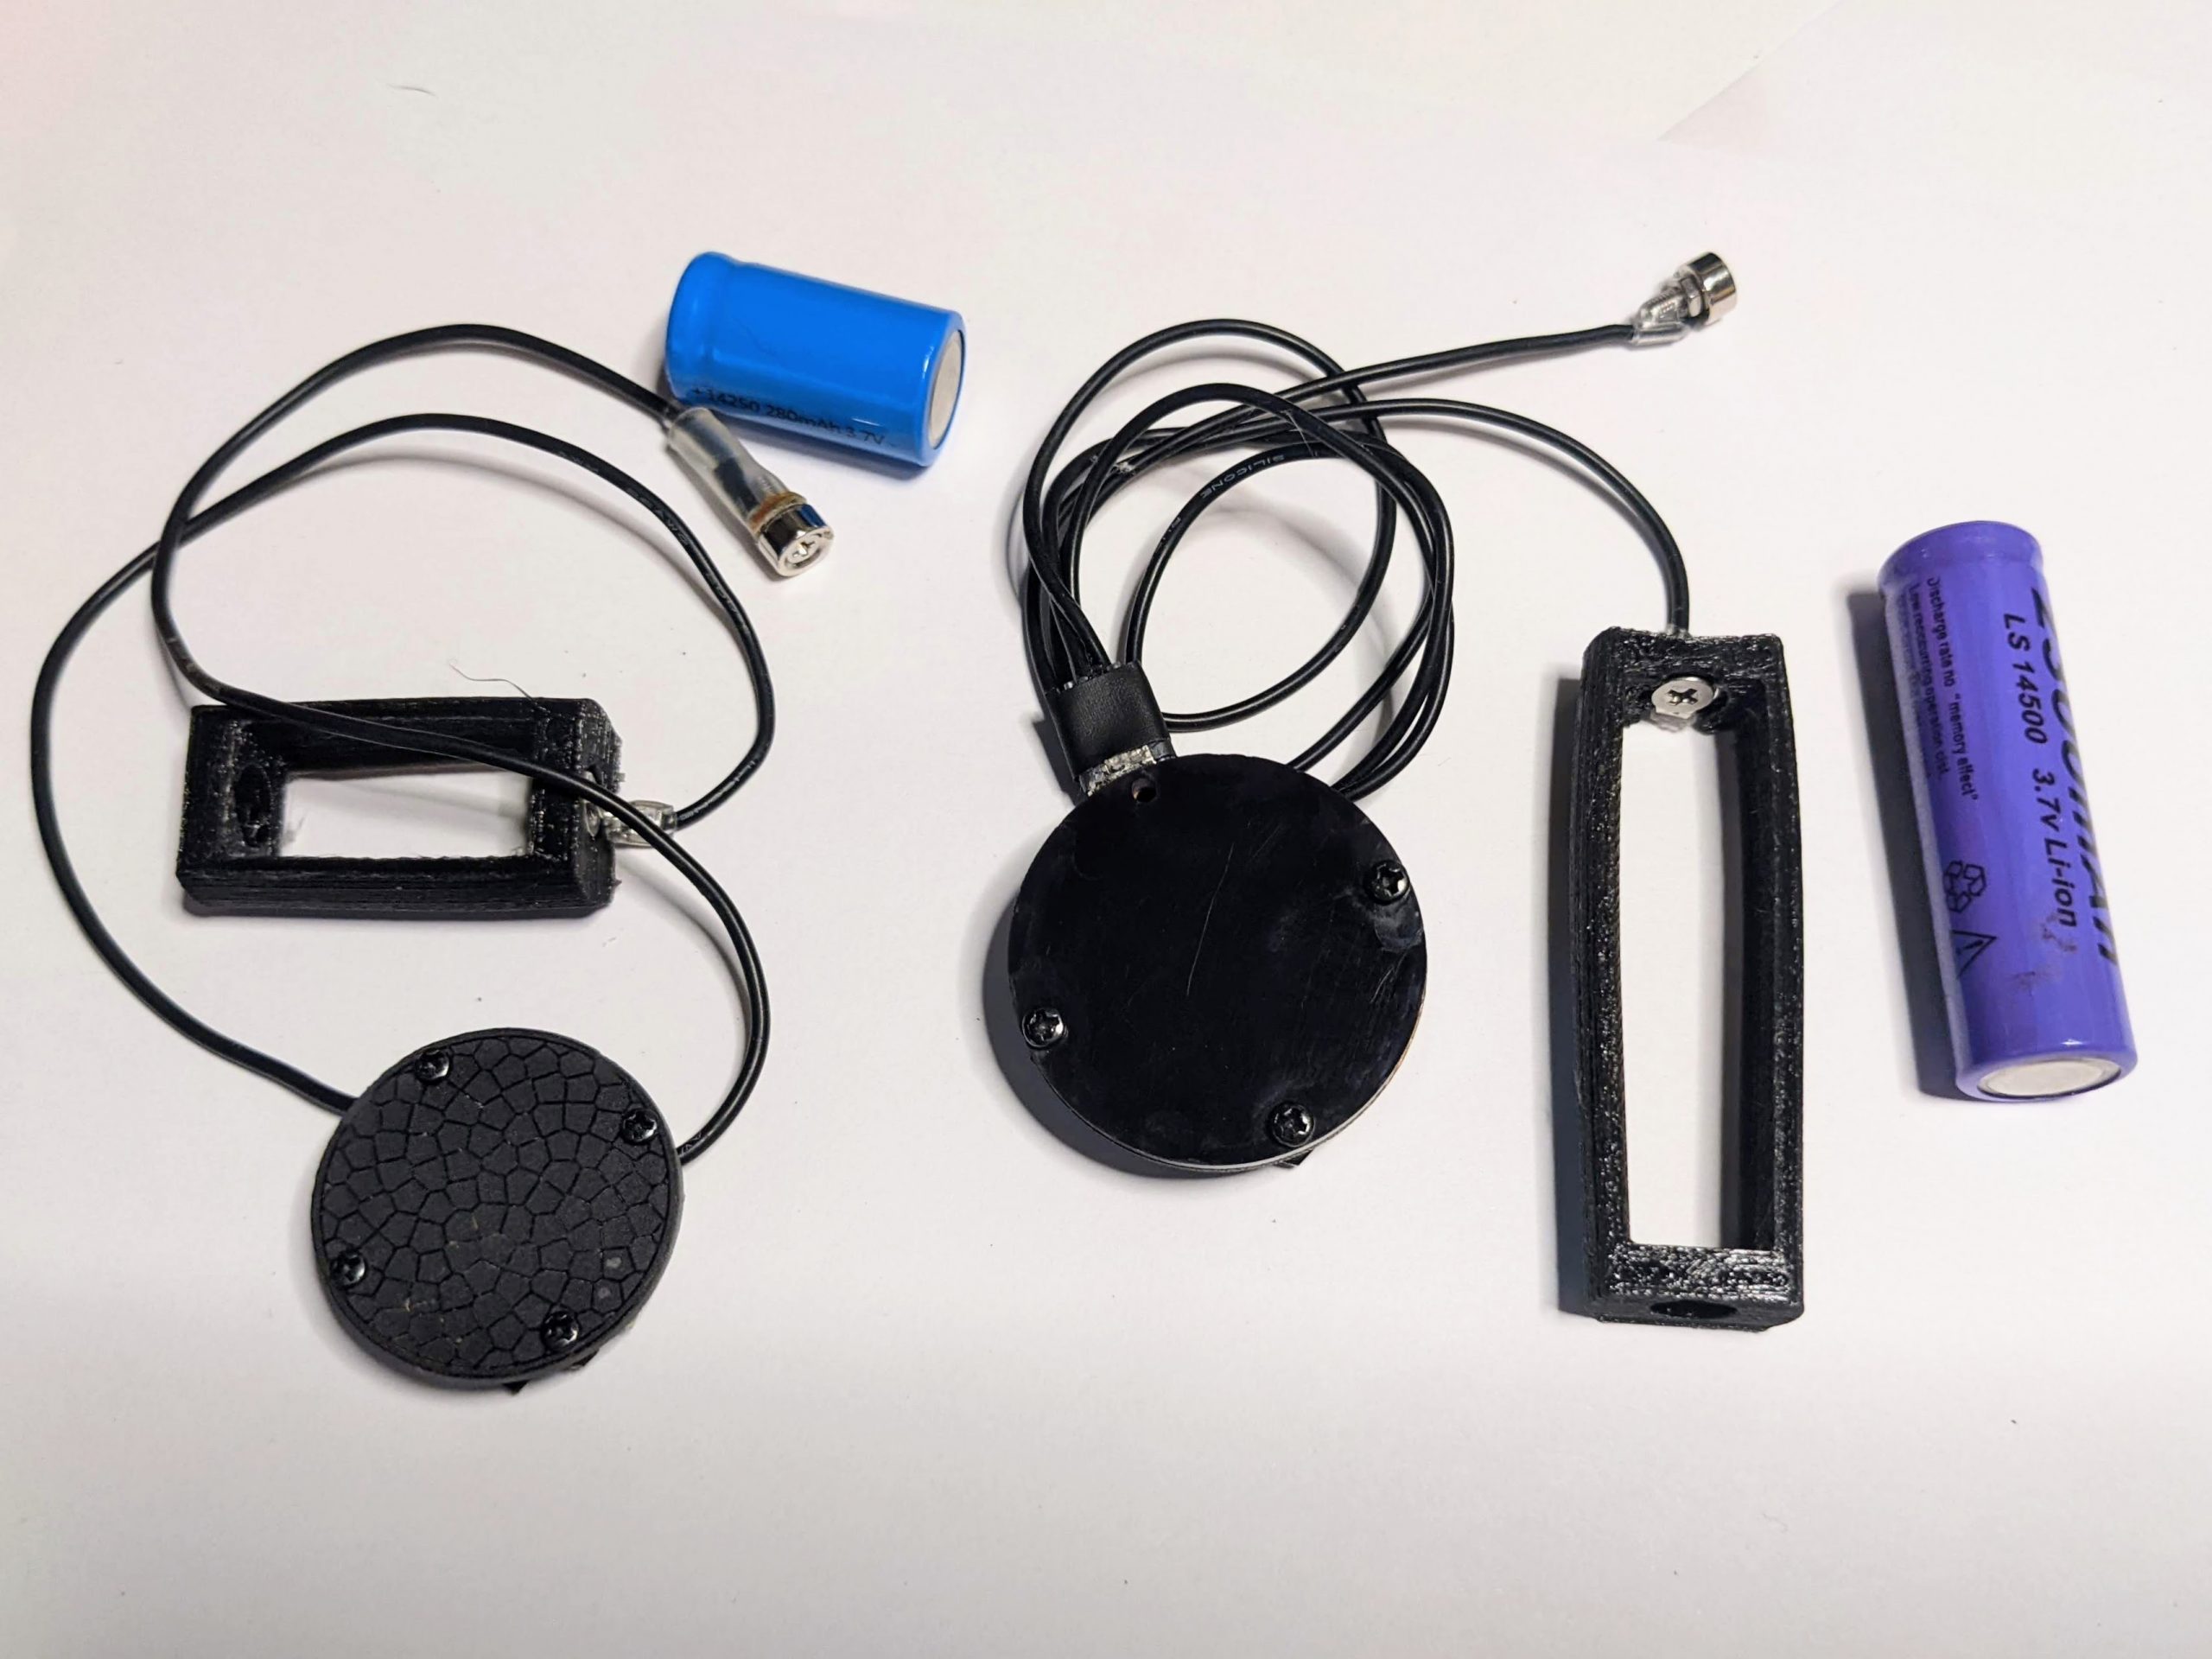
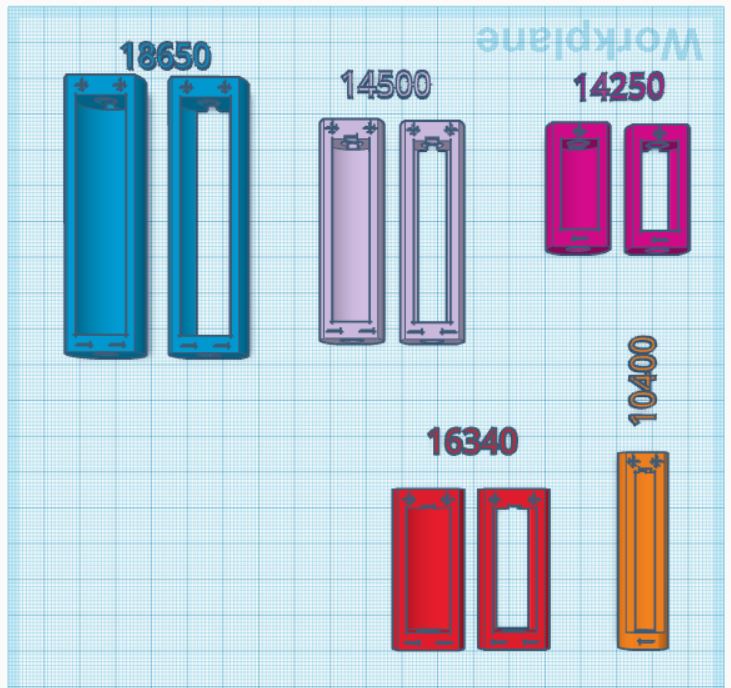
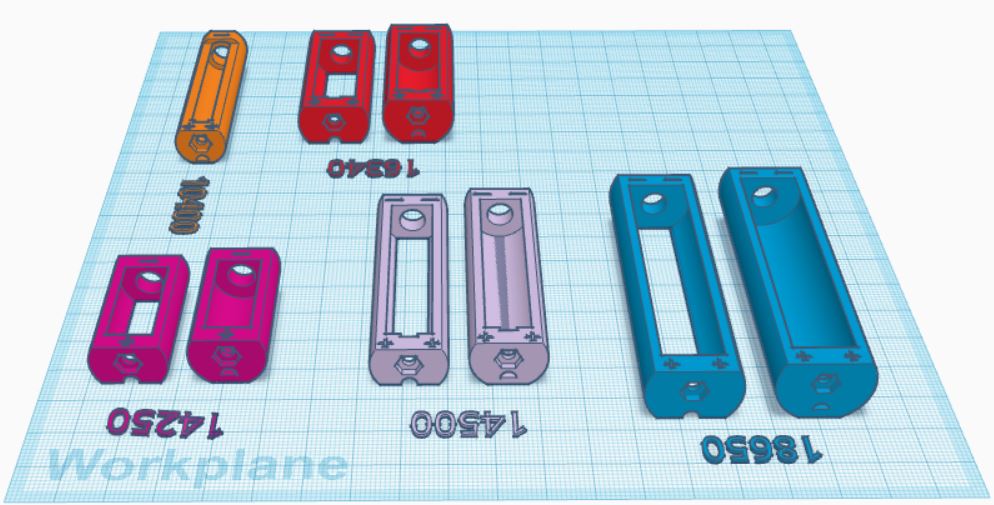
The holder can be printed for various Li-Ion battery sizes: 10440, 14250, 14500, 16340, 18650, and every size (except 10440) has a version with an open bottom, which is slightly smaller, and uses less filament, or a version with a closed bottom, which more fully encloses the battery, and may be slightly safer to wear.
The STL design files for 3D printing are available on the Prusa website at: https://www.prusaprinters.org/prints/110485-flex-wearable-battery-holder
Construction and Assembly
Printing Notes
Links to the STL and gcode files are in Design Files section just above. Print the model corresponding to your battery size. Because flex filament is prone to stringing, I found that selecting the “Avoid Crossing Perimeters” (under “Print Settings -> Quality) option in the Prusa Slicer helped minimize stringiness in the print.
Flex filament can adhere extremely strongly to the printer plate and sometimes proves challenging to remove. I followed advice from the Prusa site which recommended spreading a thin layer of Elmer’s glue stick on the build plate before printing, and found that it worked extremely well. I had no issues detaching the prints from the plate.
Assembly
First cut two equal lengths of 26 AWG stranded wire and strip about 1/4″ of insulation from both ends of each. If you are making a pendant, these wires will form the “chain”, so choose the length that will work well for your project. Remember that they can be shortened much more easily than lengthened later on, so it’s best to err on on the longer side if you’re not certain.
Holder Body
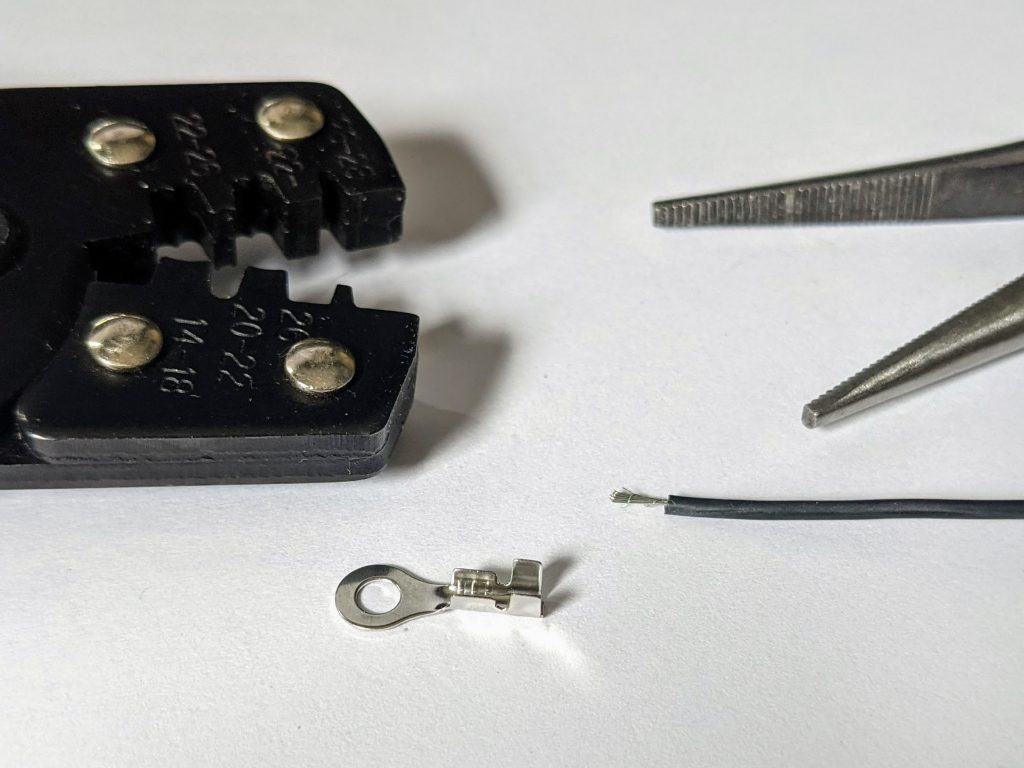

Take the M3 ring terminal and one of the pieces of stranded wire. Using pliers or a crimp too, crimp the tabs on the ring terminal over one end of the wire as shown, by folding down the metal tabs until the wire is gripped quite firmly and makes good electrical contact.
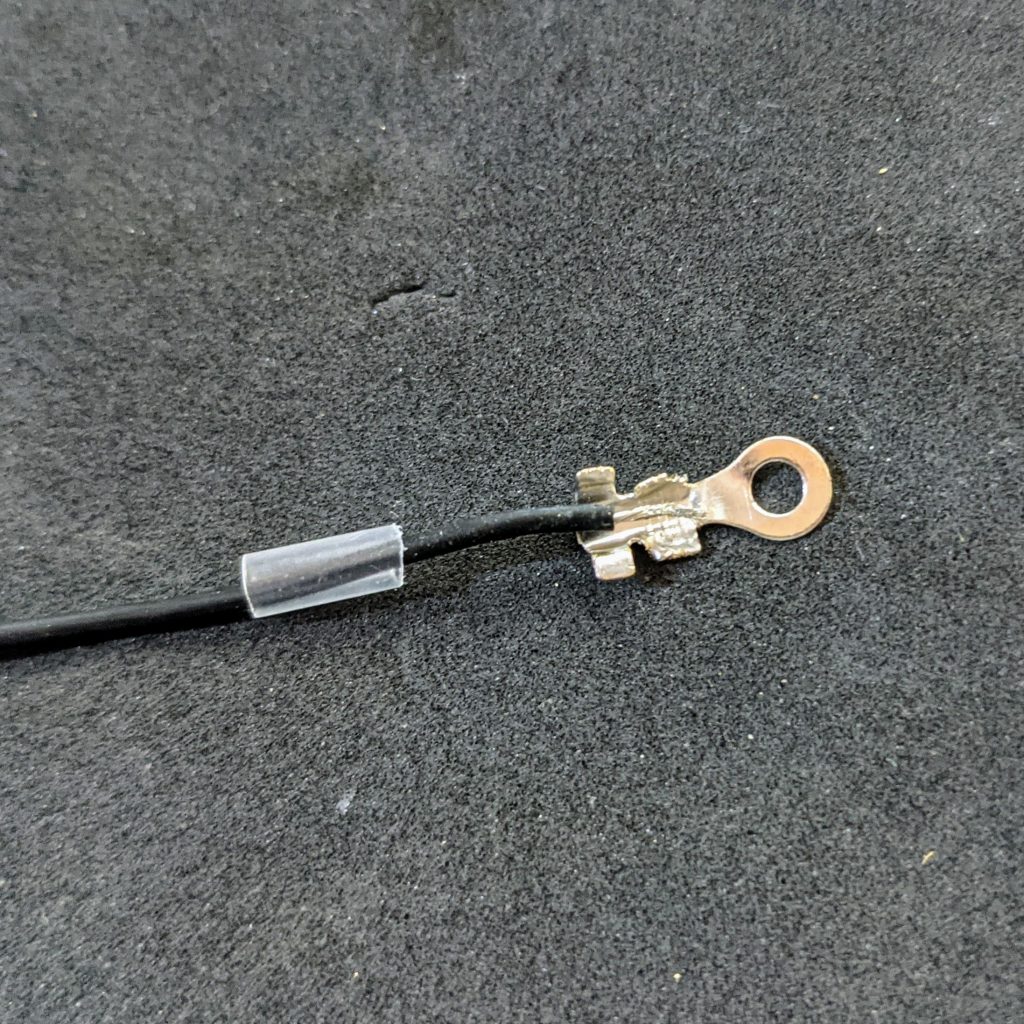
Cut a piece of shrink tube that is just long enough to cover the “stem” of the ring terminal, slip it over the “stem” and the wire, then heat it to provide both insulation and extra strain relief to the connection.
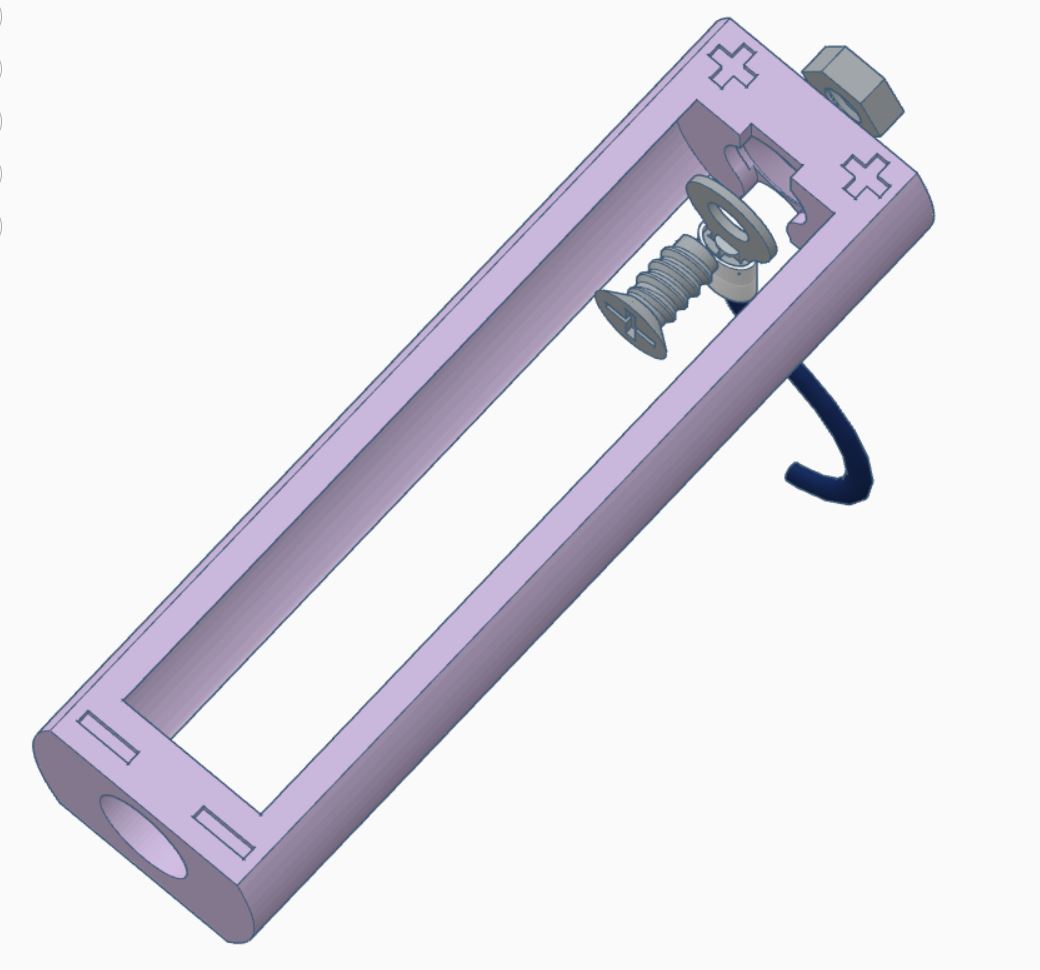
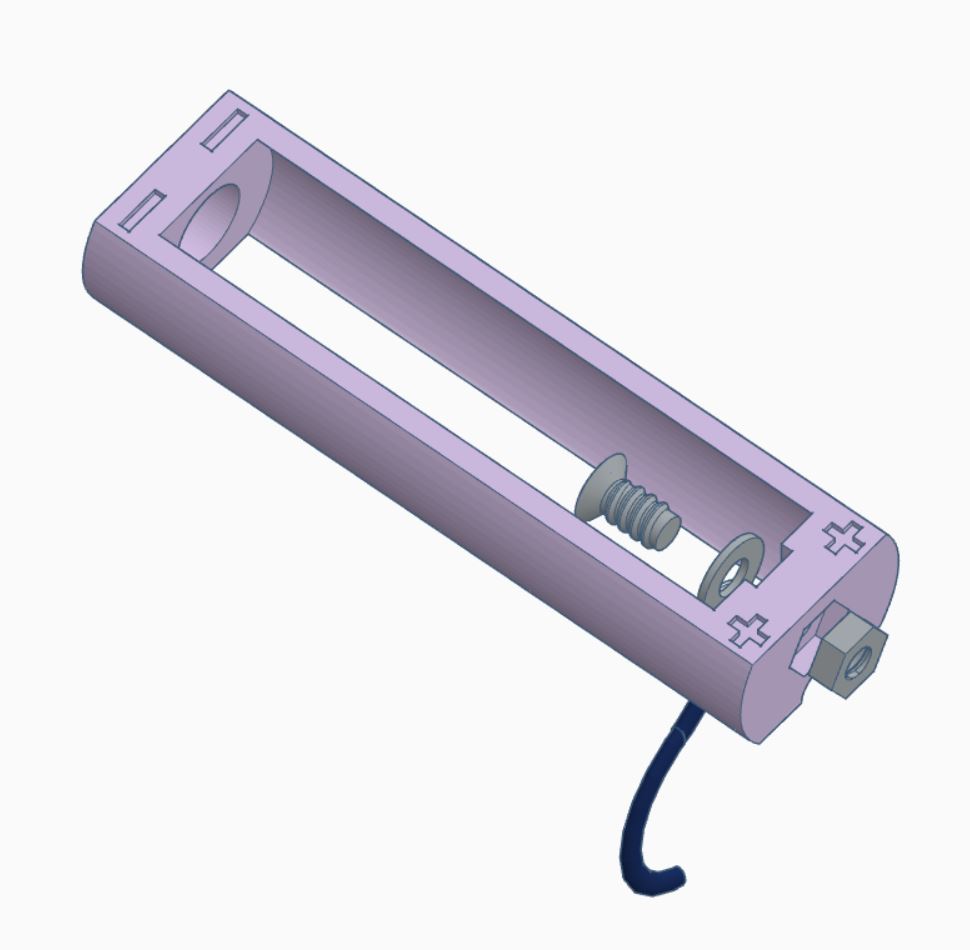
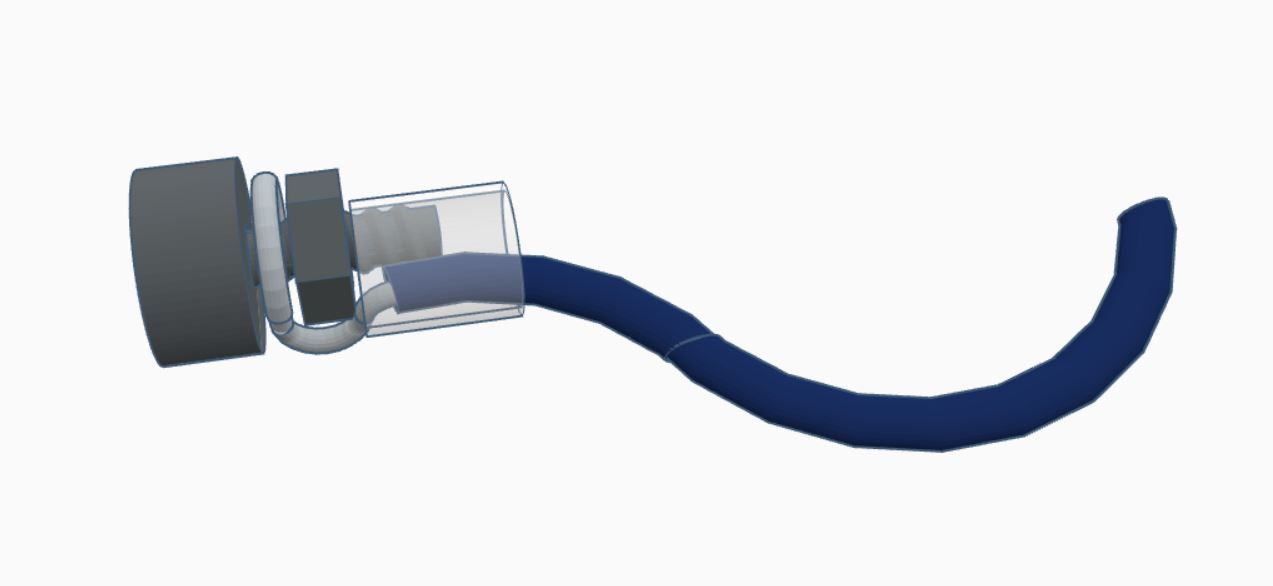
Next, take the (approximately) 5mm M3 flathead screw and nut and use them to secure the ring terminal to the inside of the 3D printed holder. The nut will fit into the hexagonal groove in the outside of the battery holder as shown in the images above. Tighten the screw until the ring terminal is secured well.
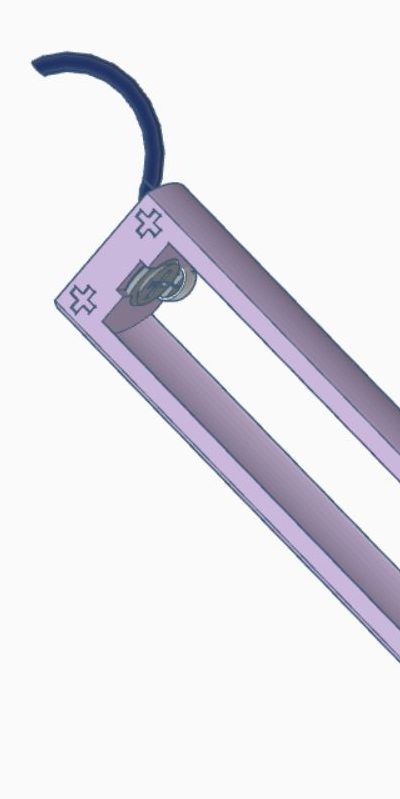
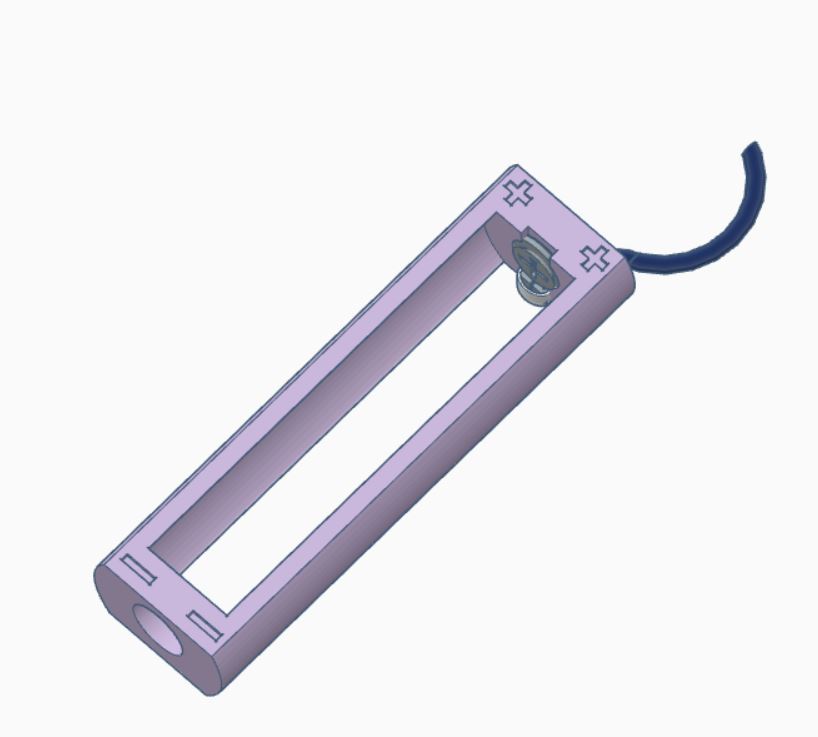
If the holder you printed has a closed bottom portion, then you will need to slip the wire and the end of the ring terminal through the hole just below the one for the screw. After the ring terminal is secured in place, bend its “stem” 90 degrees away from the body of the holder as shown above.
Negative Terminal Contact
The negative terminal of the holder is constructed from the countersunk (or ring) magnet, the 8mm (approximately) M2 screw and nut, and the remaining stranded wire. Bend the stripped end of the wire into a loop as shown in the image, and fasten it to the magnet with the screw and nut. as shown. Once secured, place a small piece of shrink tube over the end of the wire and slip it along the wire until it covers the protruding end of the screw. Heat the tubing until it shrinks. This will hold the wire in place and prevent it from being pulled out from the magnet under tension.
Instructions with photographs for building the negative battery contact are also found in the instructions for the previous version of the 3D printed battery holder at: https://www.geekmomprojects.com/3d-printed-wearable-battery-holder/#NCM1
Using the Battery Holder
The battery holder is now complete. If you want to use it in a wearable, you will need to connect the loose ends of the wires to your electronics to provide power to the electronics. Two different ways to do this are shown in the previous battery holder blog post: https://www.geekmomprojects.com/3d-printed-wearable-battery-holder/#TWE
To complete the connection, place a battery into the holder, and insert the magnet for the negative battery terminal into the hole at the negative terminal. The magnet will hold the connection in place and the depth of the hole containing the magnet will keep it from detaching due to sideways torque.
The video above demonstrates using the holder in a simple pendant. Getting the battery into and out of the holder is quite straightforward when the holder is flexible. Just be very certain you have the battery polarity correct!
If you make and use one of these holders, please let me know – either with a message through the blog, or on my twitter account (twitter.com/geekmomprojects). I’d love to see new ways it can be used, for wearables and other kinds of builds.