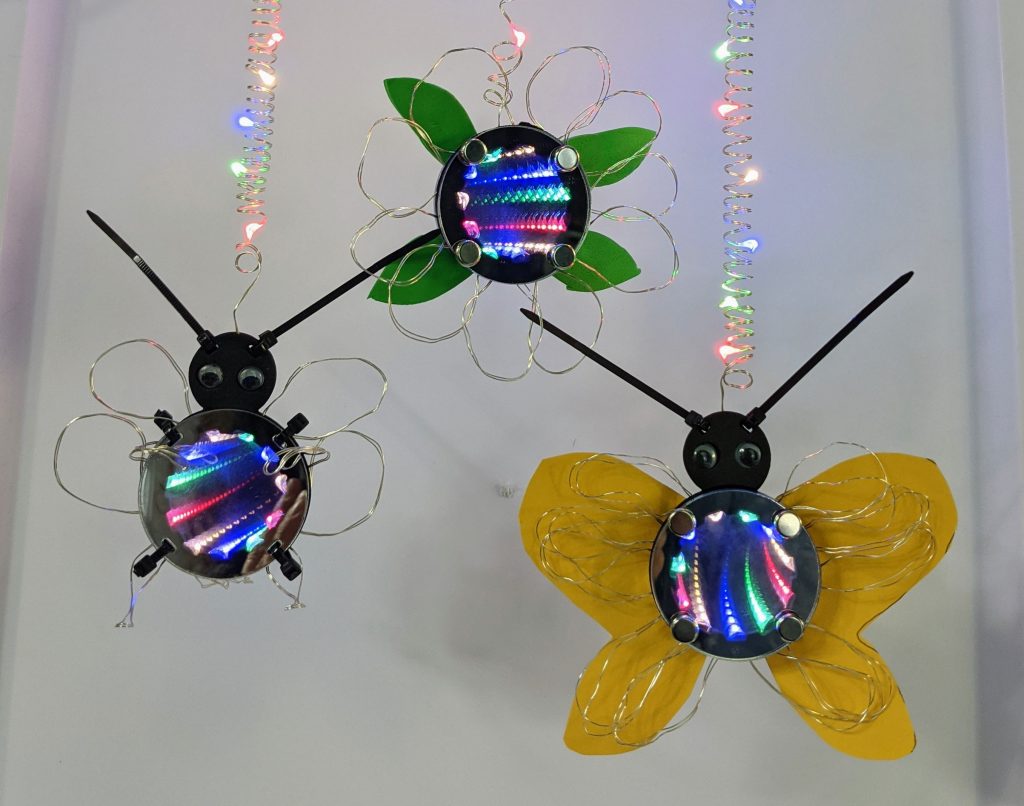
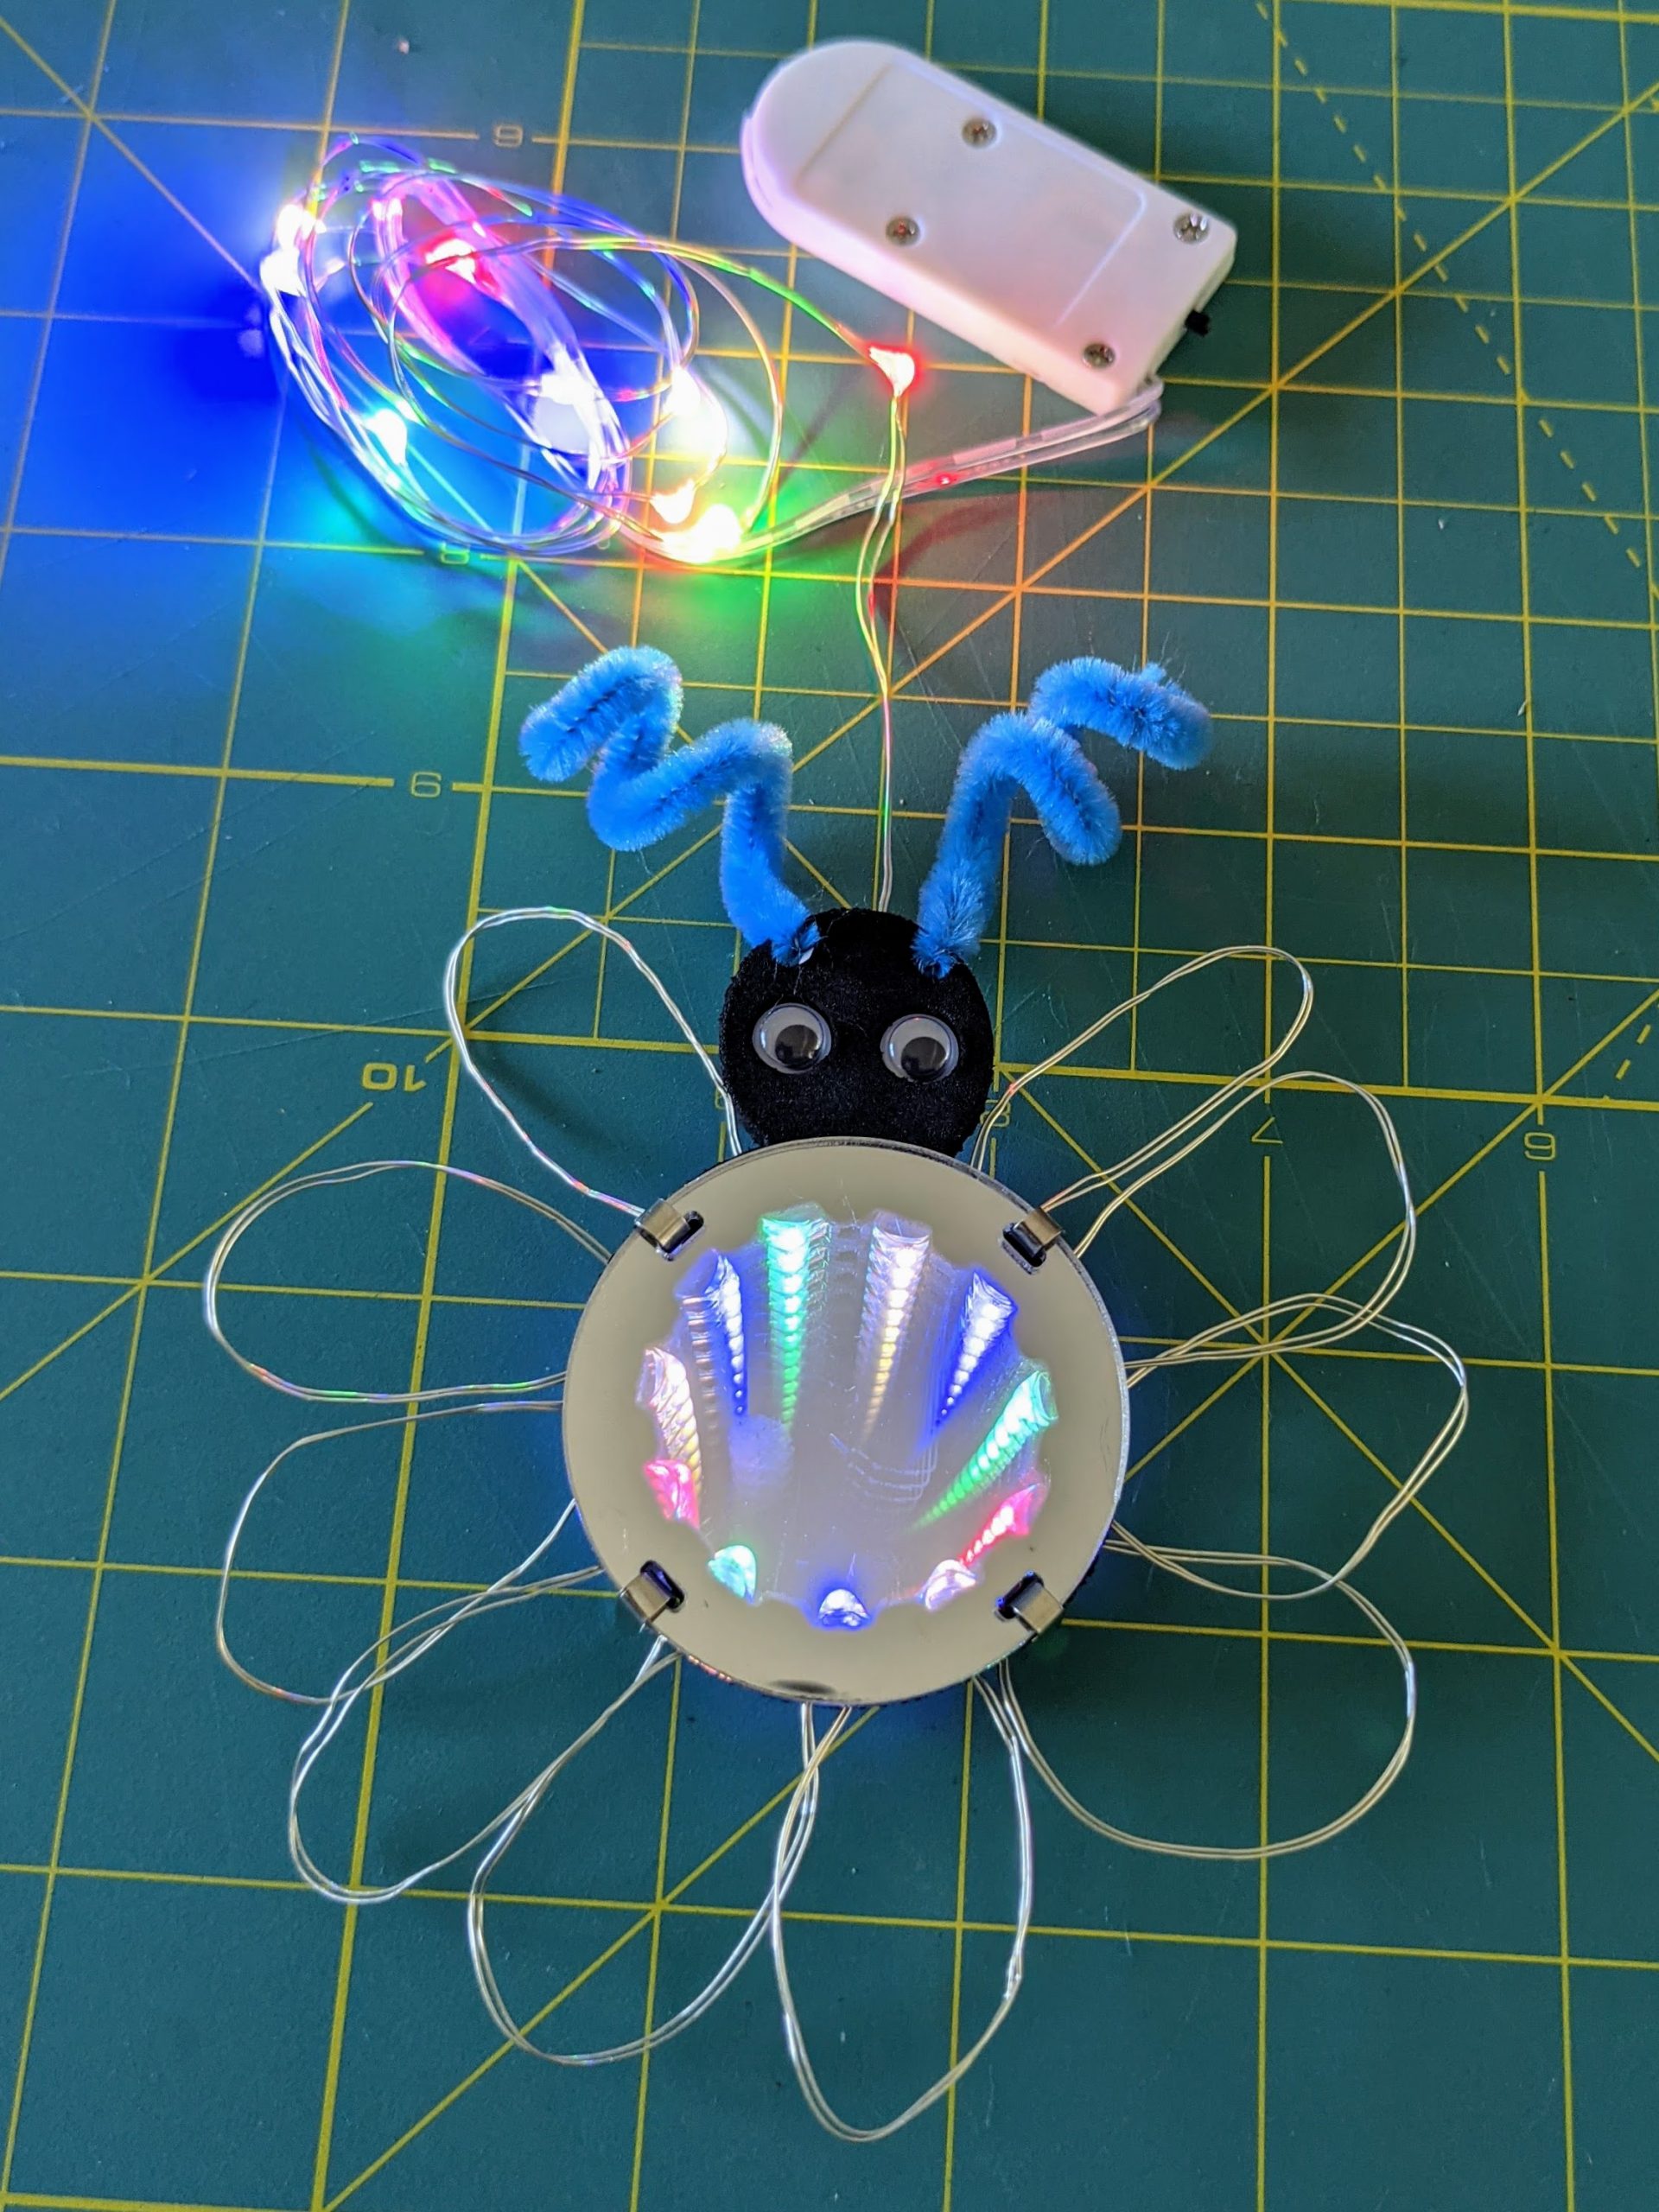
Infinity mirrors display endless reflections of light inside a finite space. Sandwiching a fairy light string’s LEDs between semi-reflective acrylic layers produces an inexpensive and sturdy infinity mirror for a novel children’s project. To fit the LEDs into such a small space requires that the wiring hangs outside the mirror’s edge. This project turns the extra wiring into decorative features.
I designed the “Infinite Fairy Light Creature” for a girls’ workshop that I’ll lead over Zoom. Because I can’t be in the room with the builders, I tried to make the design as simple to explain and easy to assemble as possible. If the project doesn’t work for you as I’ve documented it here, you may be able to find ways to adapt the materials or design to better suit your resources. Some possible project modifications are listed at the end of this post.
Project Components
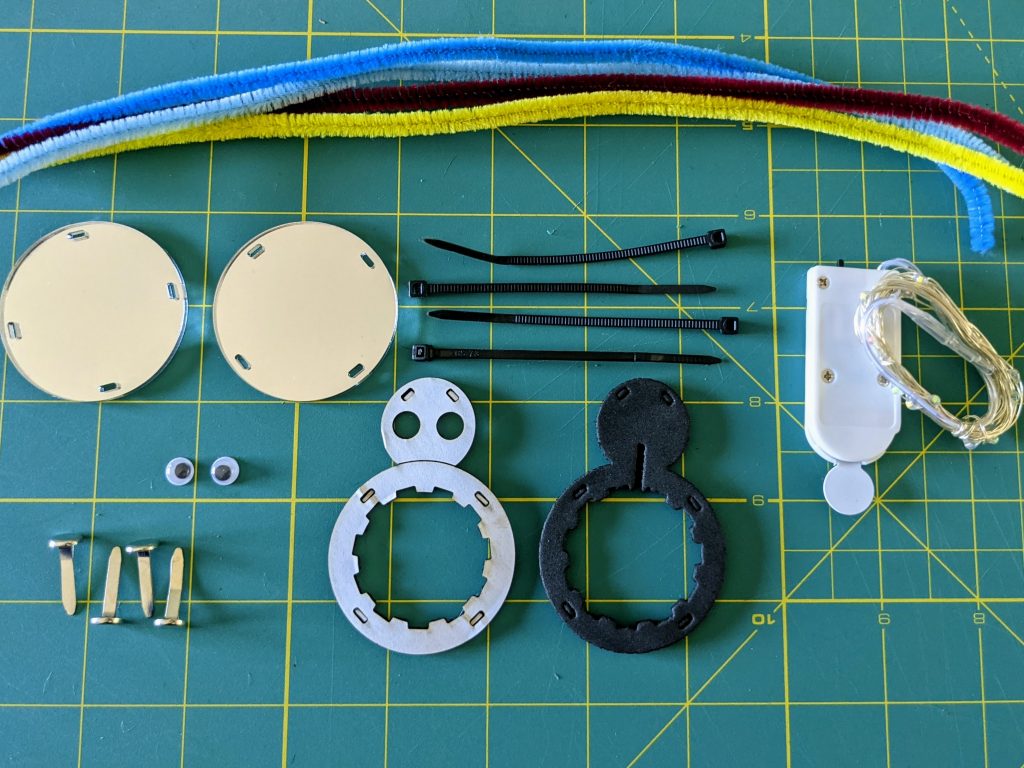
- Fairy light string with 10 cm LED spacing (like this one)
- 2 or 3 mm thick EVA foam with adhesive backing (e.g. these foam sheets)
- 2 or 3 mm thick EVA foam without backing (e.g. this kind)
- Standard size brads -or- small zip ties -or- pipe cleaners -or- twist ties (any one of or any combination of these)
- 7mm diameter googly eyes (like these)
- See-through mirrored acrylic (like this kind from Amazon) I used 1/8″ thick here because I think it’s easier to handle, but thinner mirrored acrylic would work just as well
- Optional decorations: (construction paper, colored pens, tape)
Build Tools
- Laser cutter (or see the end of this post for a hand-cuttable project variation)
- Scissors
- A pen or pencil
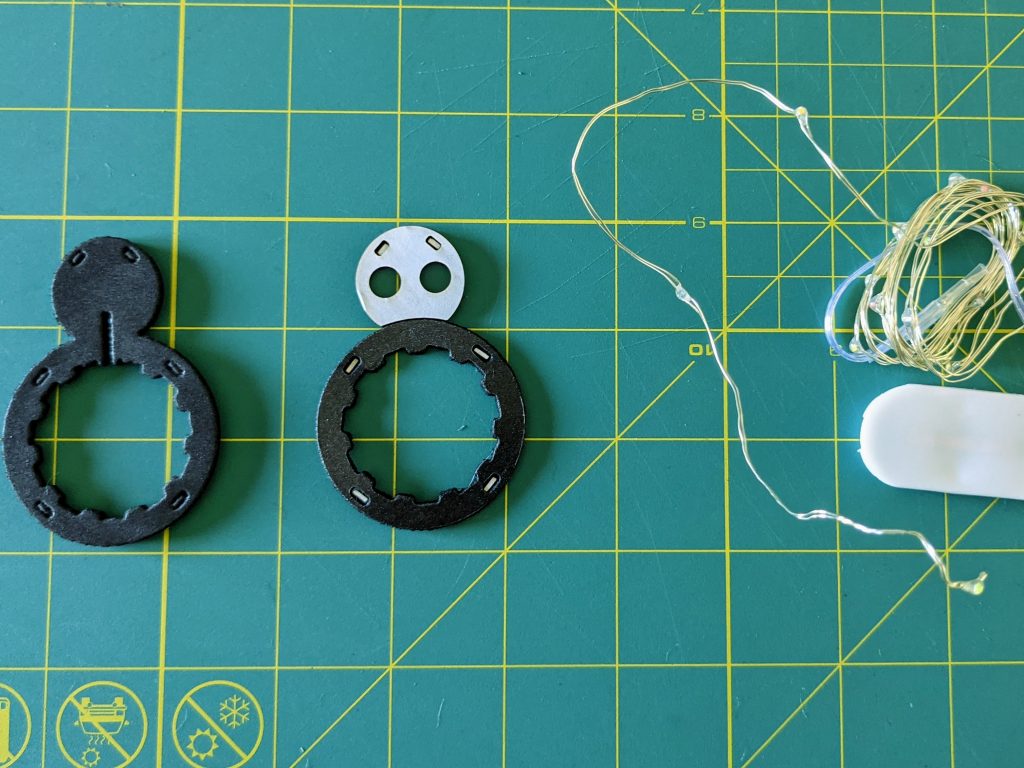
Step 1: Download Design Files and Cut Parts


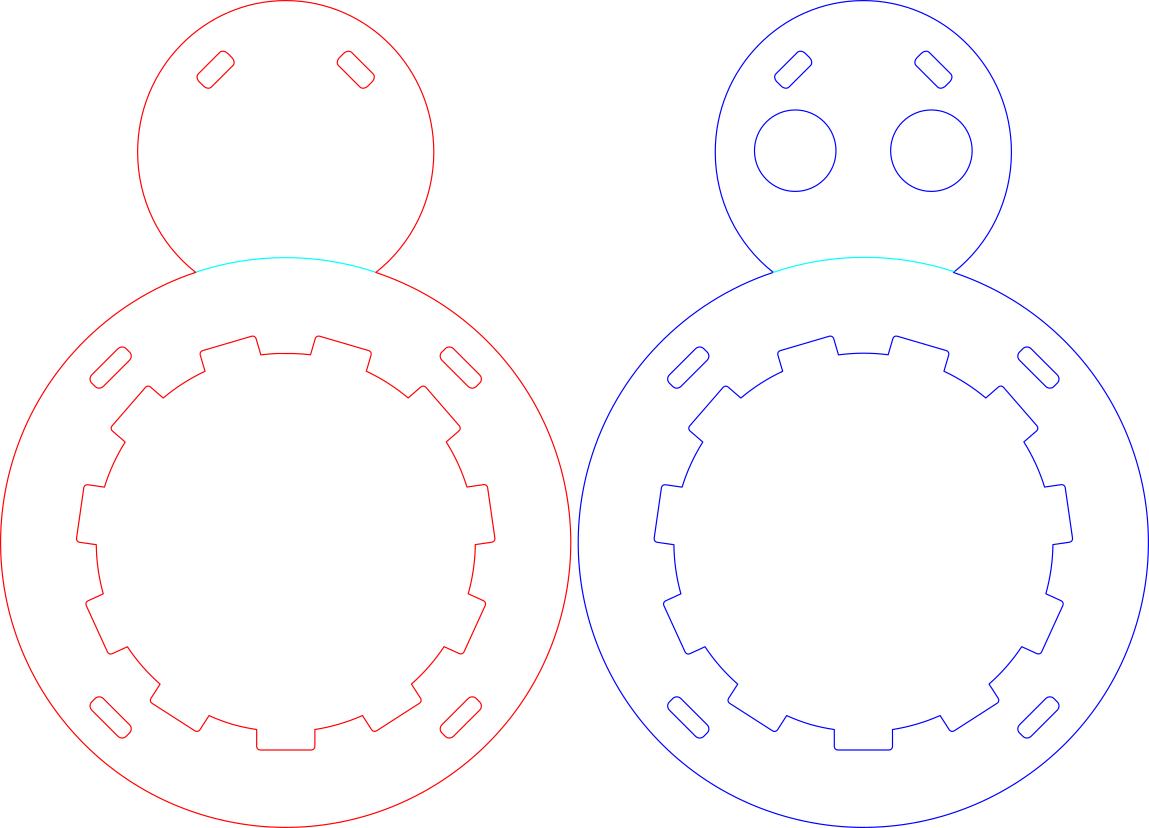
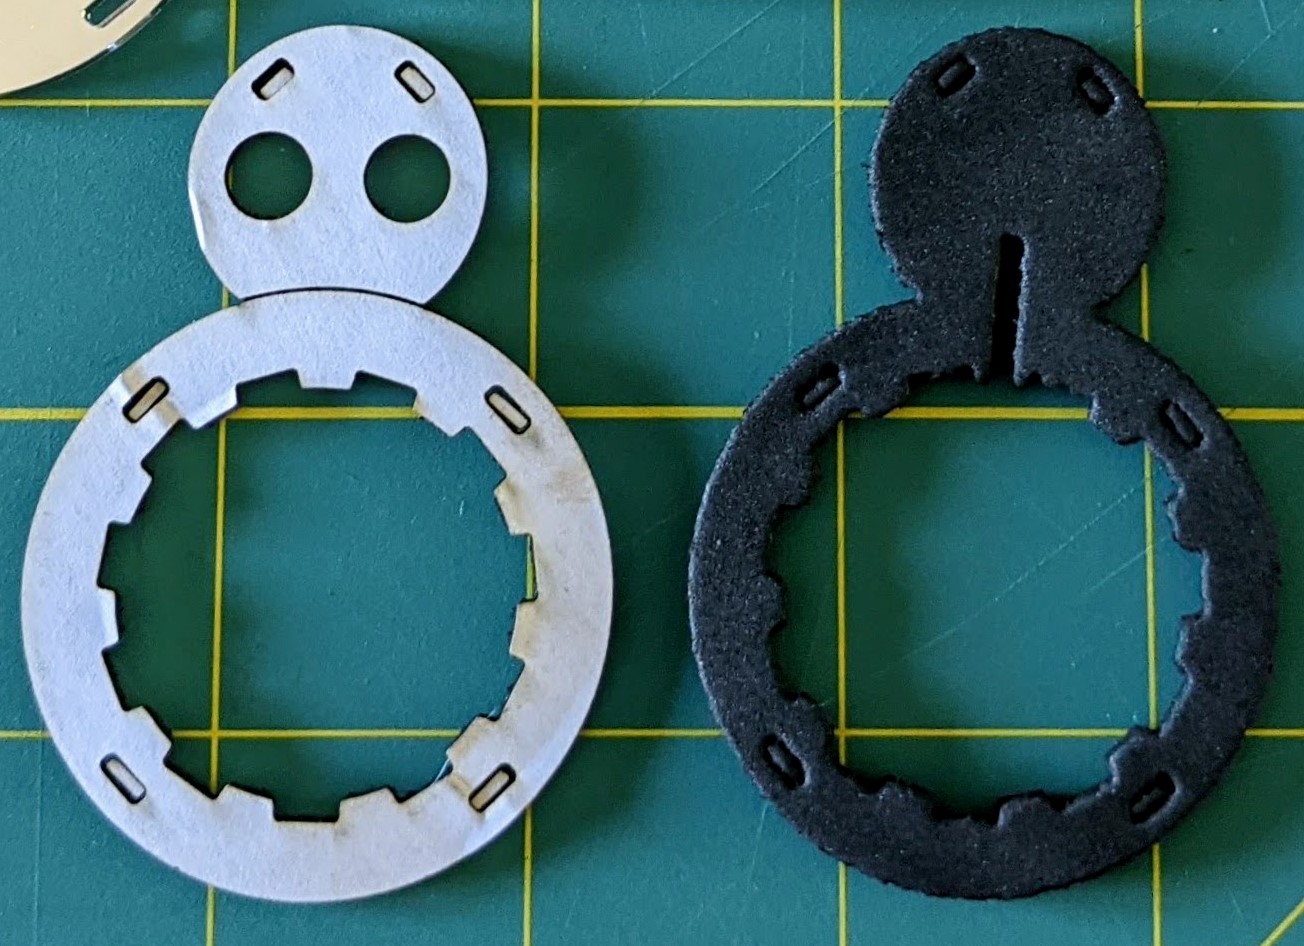
The vector files for this build are in the downloadable files below. Each project requires two circles of see-through mirrored acrylic, one piece of non-adhesive EVA foam (in red, above), and one piece of adhesive EVA foam (in blue, above). When cutting the EVA foam, the red and blue lines are cut lines and the cyan lines are score lines.
The infinity mirror base is a circular shape for versatility and simplicity. However the outline of the infinity mirror can easily be modified to almost any shape you’d like to try as long as it holds the fairy light LEDs securely.
Step 2: Place LEDs on Adhesive Foam
Take the fairy light strand and turn it on to be sure it works. Unwind the last 11 LEDs of the strand (the end of the strand *without* the battery pack.
Gather the two foam pieces, and peel the paper backing off the main circular portion of the adhesive foam piece. Leave the paper backing on the creature’s head for now so you can hold the foam piece there without it sticking to you.

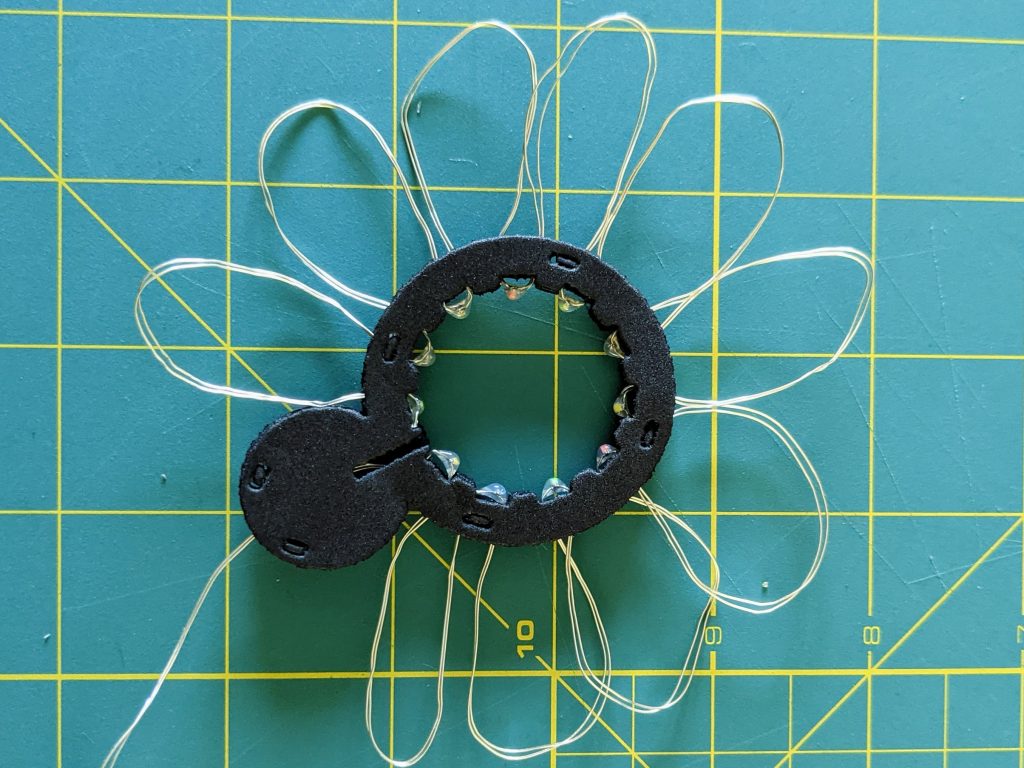
Place the adhesive foam piece, sticky side up, on a flat surface. Starting from the free end of the fairy light strand, we’ll place 11 LEDs around the interior of the circle. Each light fits inside its own rectangular cutout in the foam. The first light goes in the cutout just below the creature’s head (see image above).

Each LED gets its own cutout 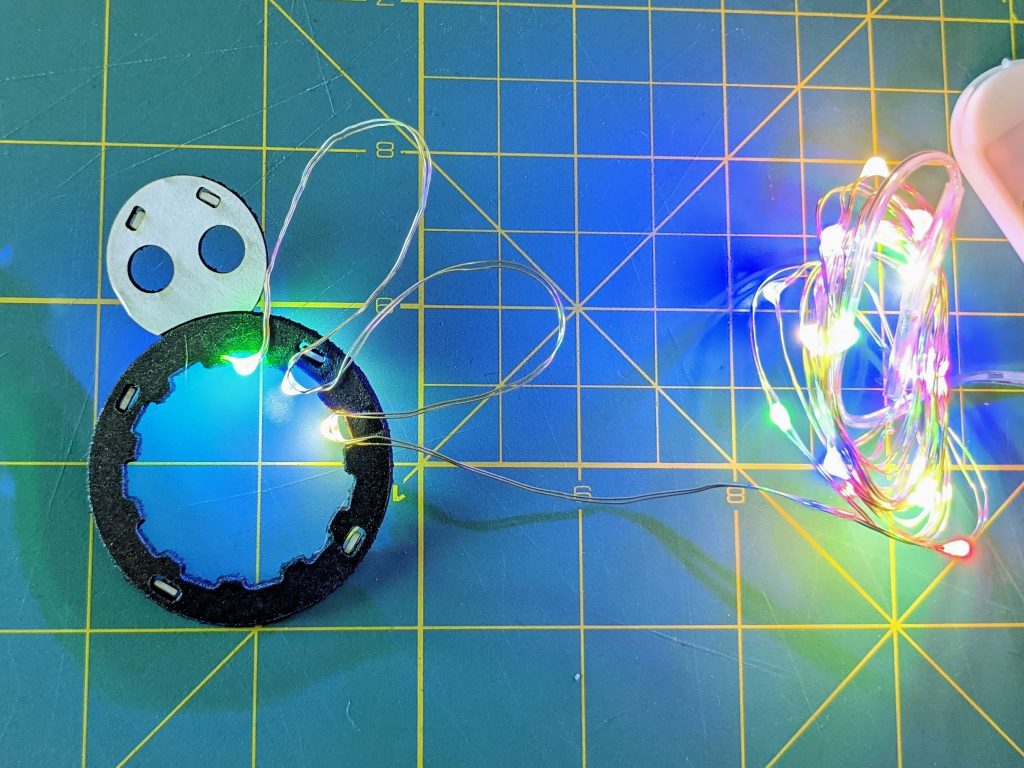

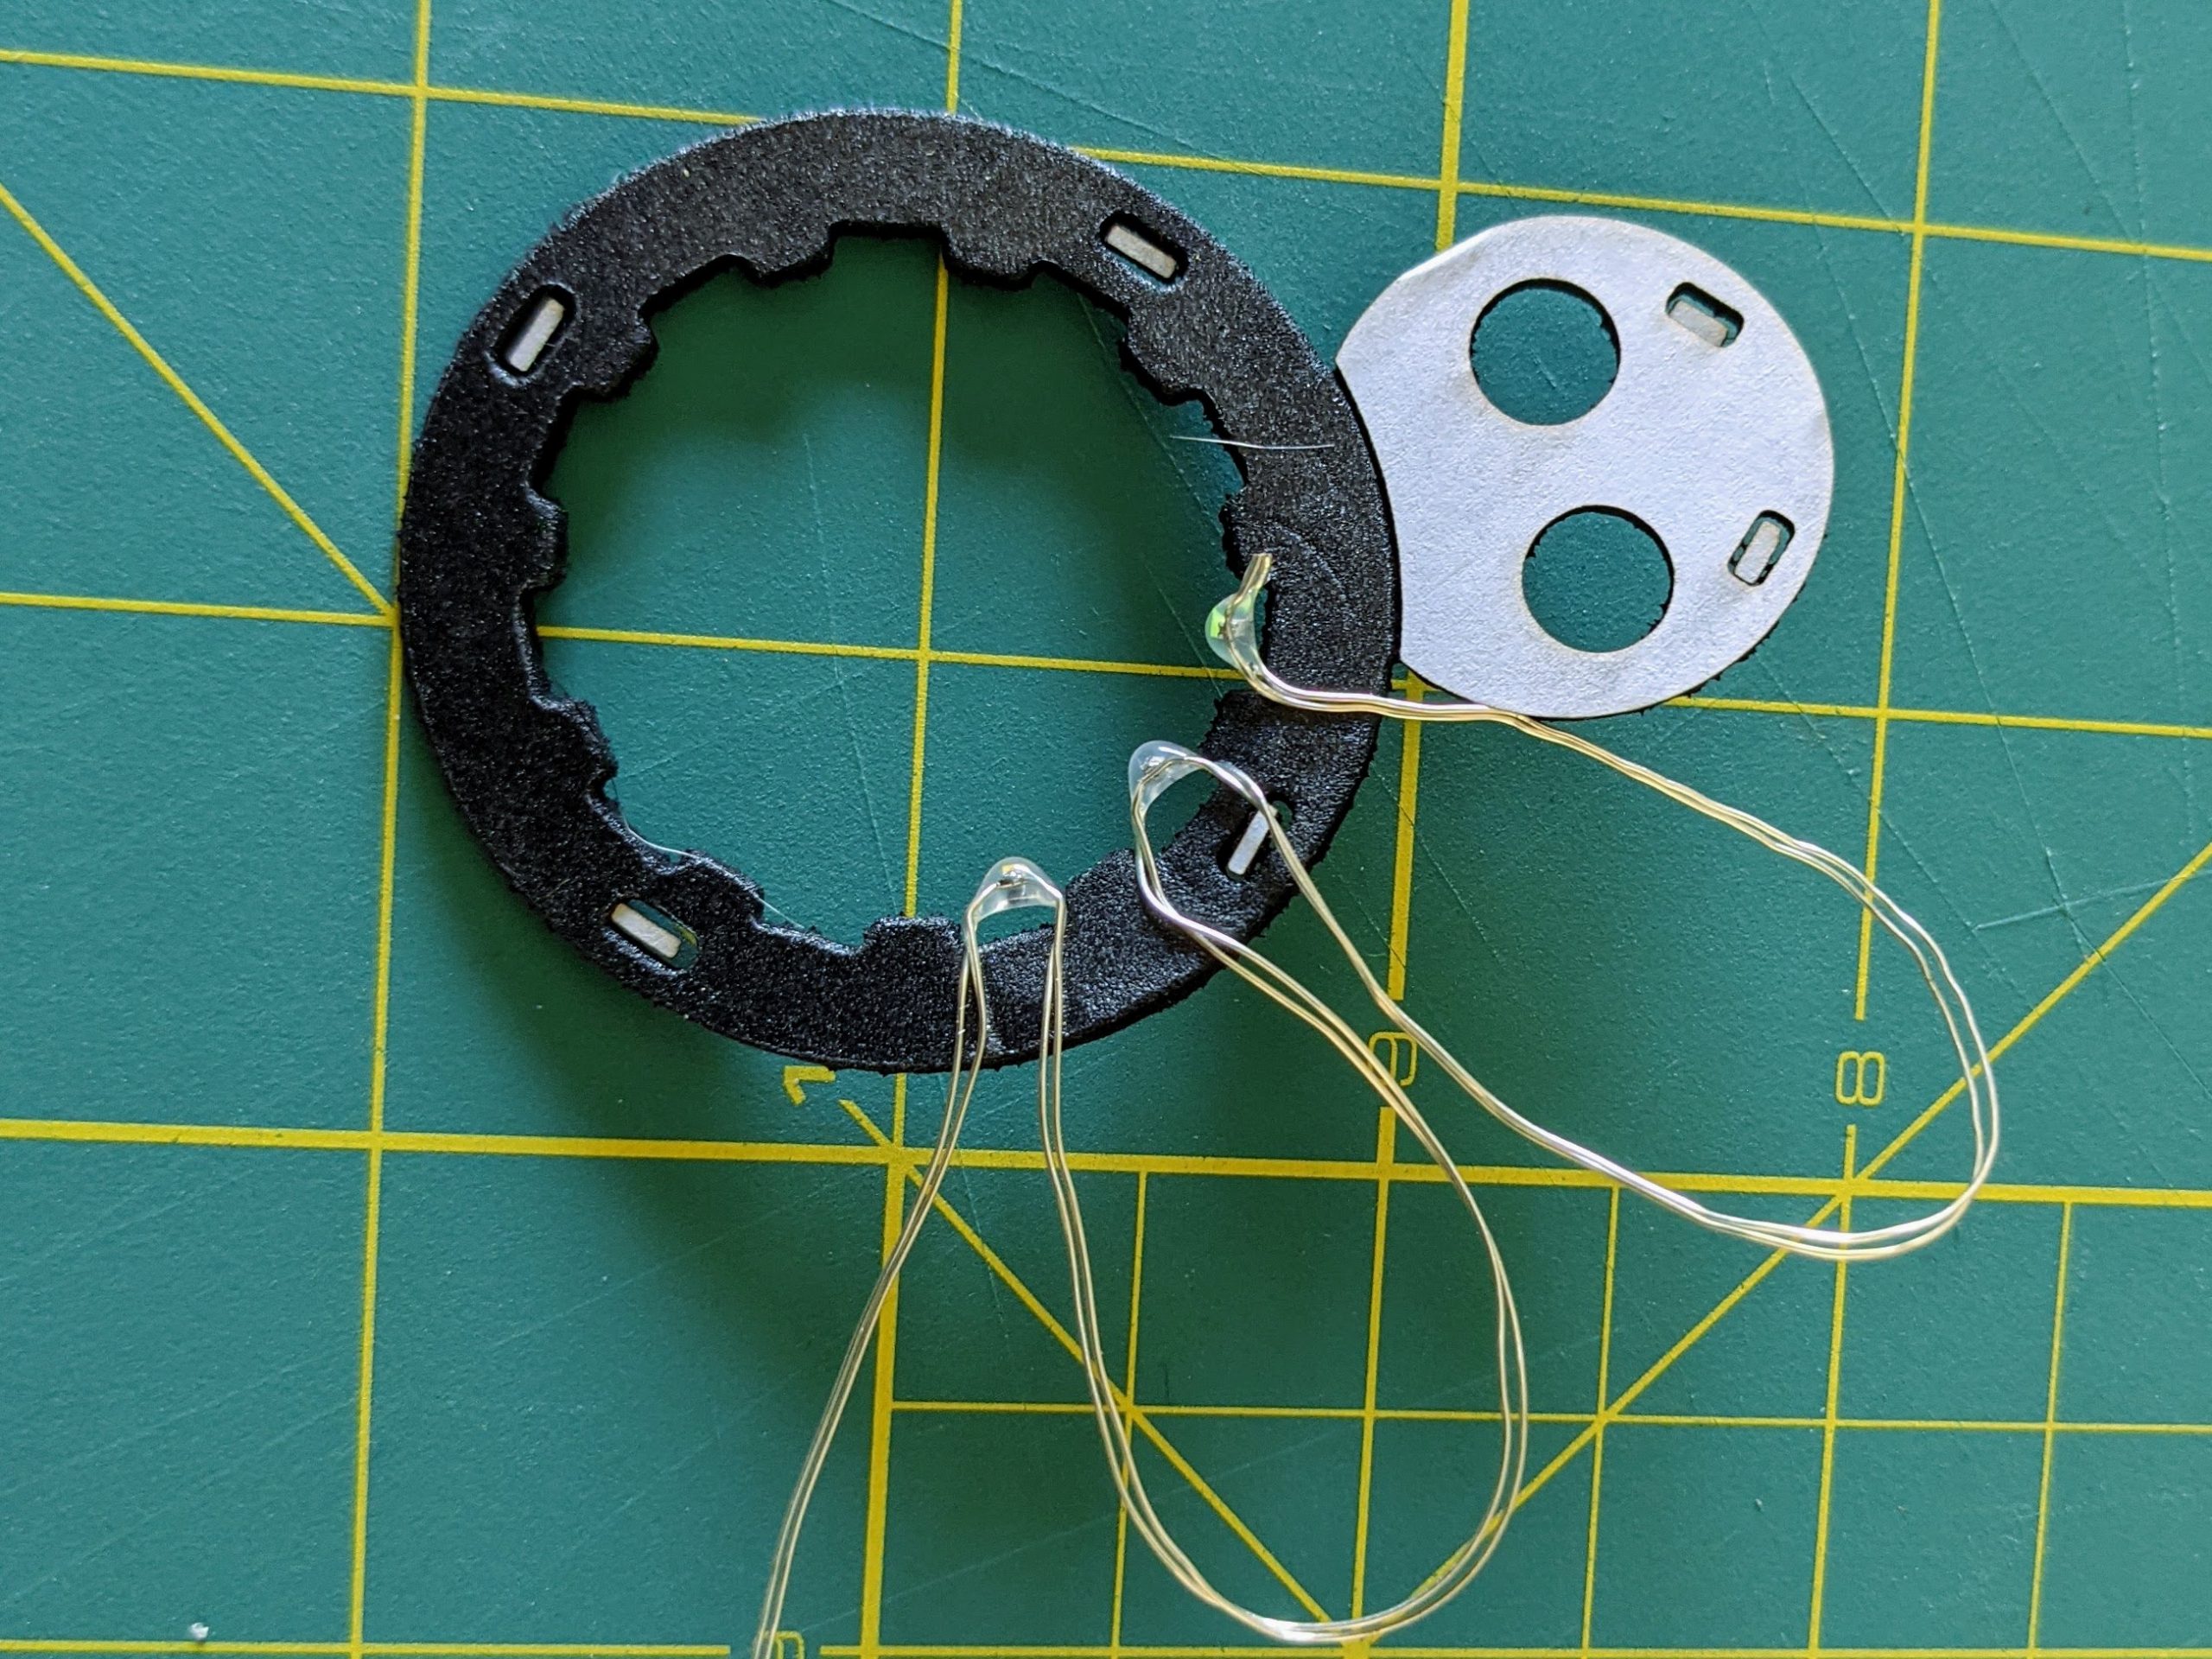


Working your way around the circle, bend the fairy light strand away from each LED, then place the LED in its own slot, with the excess wiring extending outside the circle. The wires near the LEDs will stick to the adhesive foam and hold the LED in place. Don’t worry about smoothing out the wiring yet.
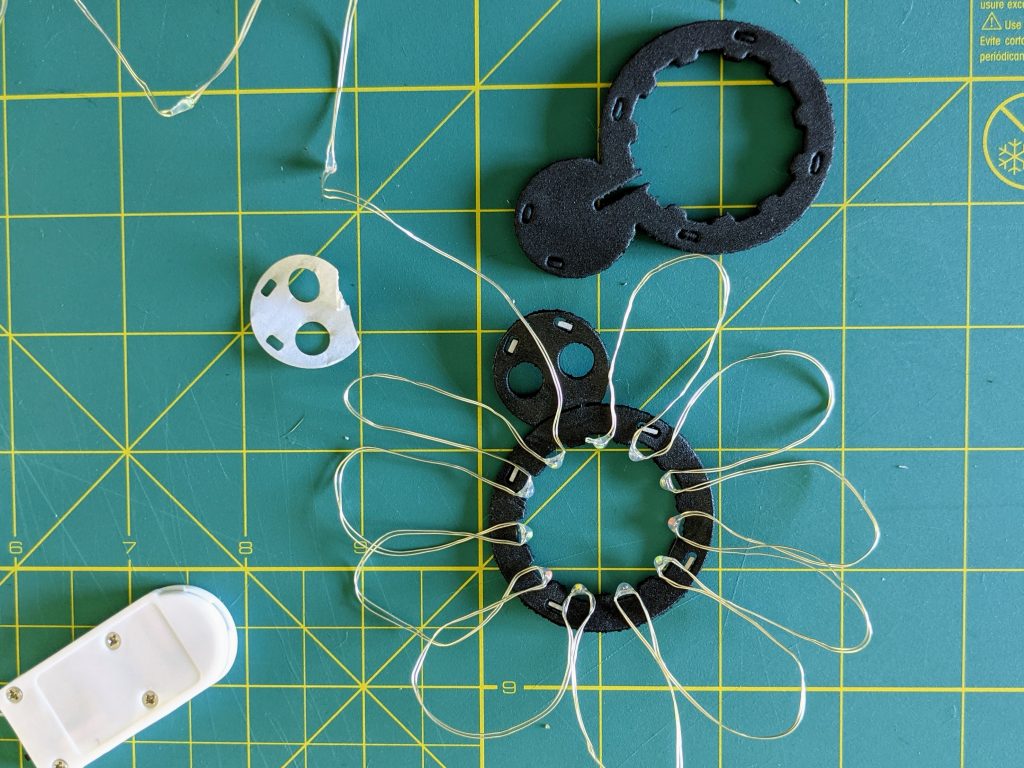
When each cutout in the foam is filled by an LED, peel the remaining protective paper from the creature’s head and run the wire vertically along the middle of the head so that it falls between the two eye holes and exits the foam at the very top of the head.
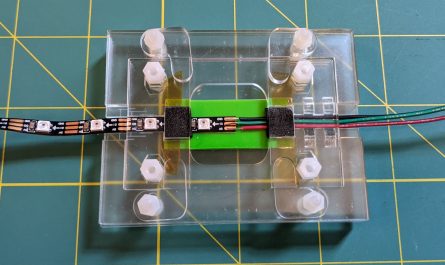
Add the second foam layer over the light strand so that it sticks to the adhesive side of the first foam layer. Align the slots in both layers. 
Stick the two foam layers together to sandwich the infinity lights. Be sure to line up the slots in both layers before sticking them together.
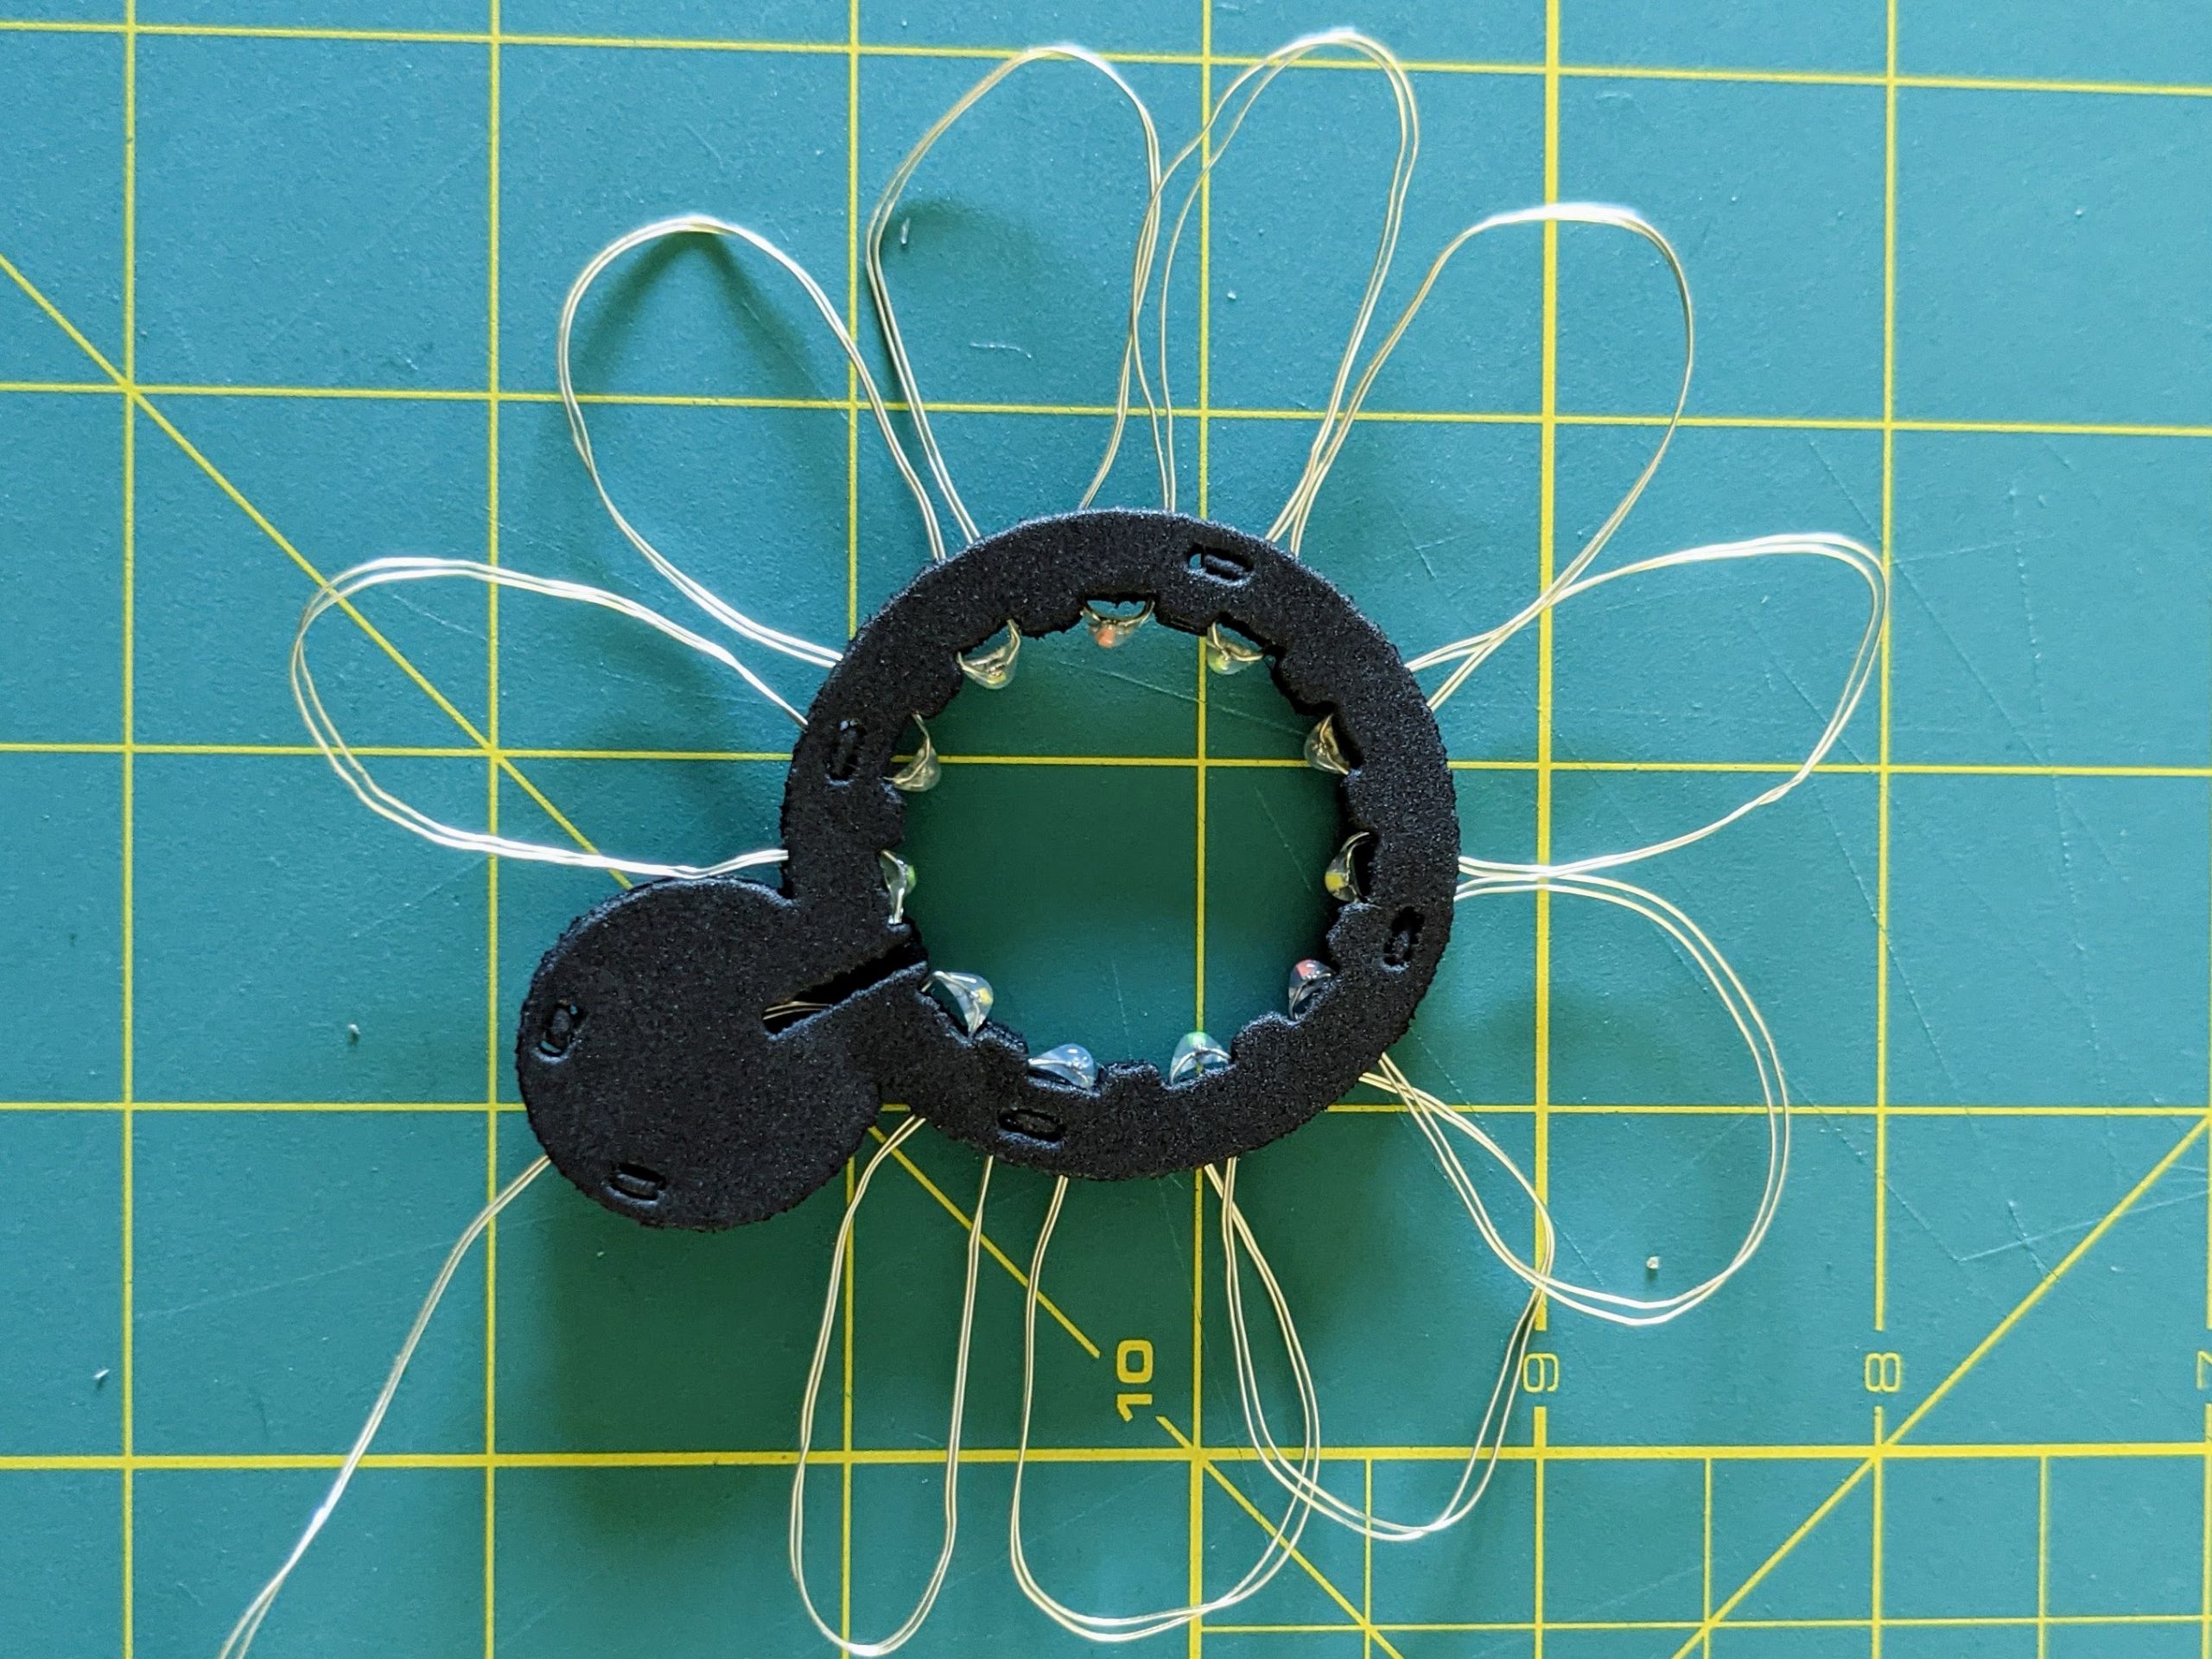

Next, place the second foam piece on top of the first so that the four slots in both foam pieces align. Press the foam pieces together to help them stick firmly and be sure that you can see each LED inside the center cutout.
Step 3: Add the Mirrors
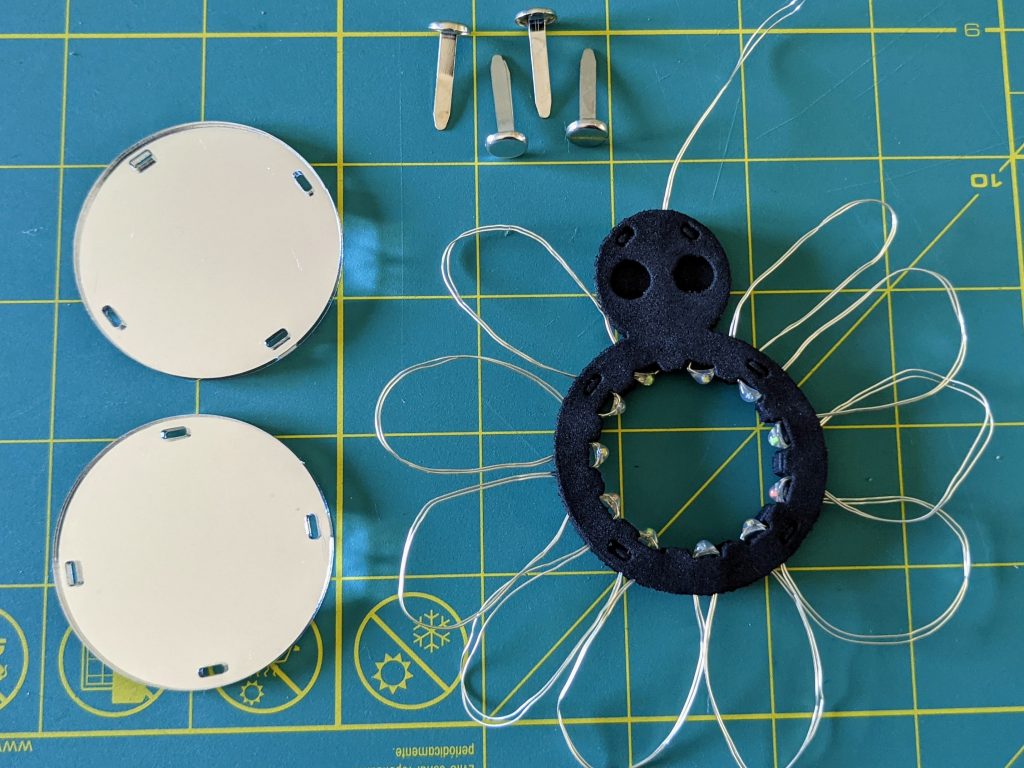
The layers are held together with brads or other connectors. 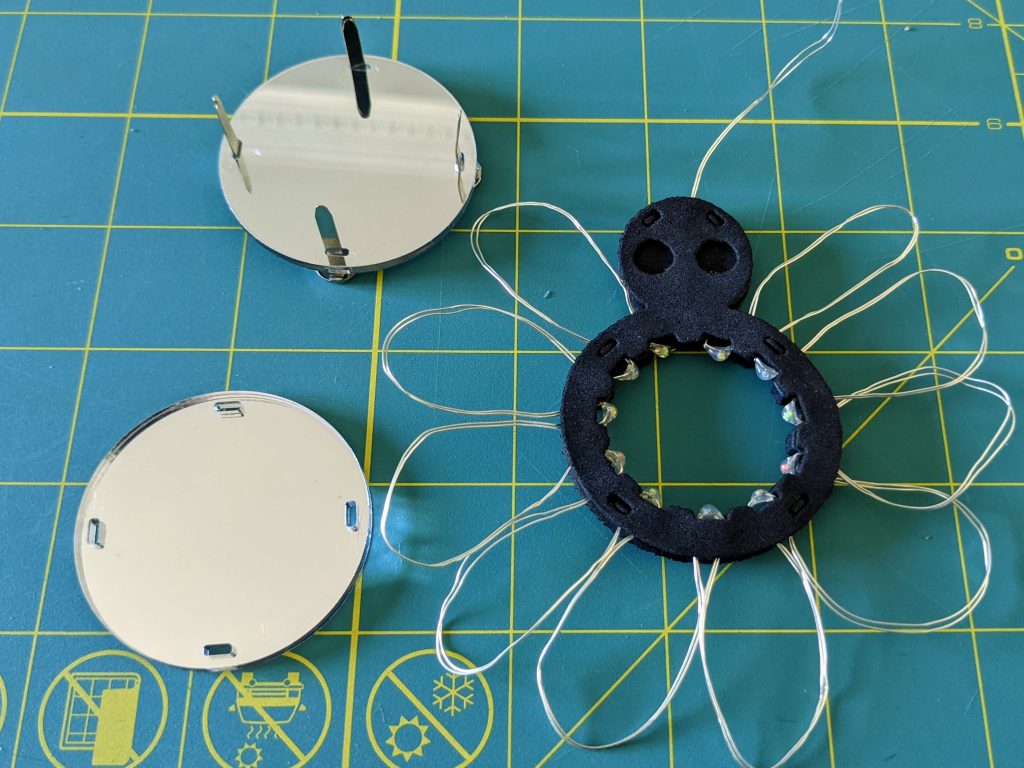
Insert the brads through the holes in one of the mirrored layers. 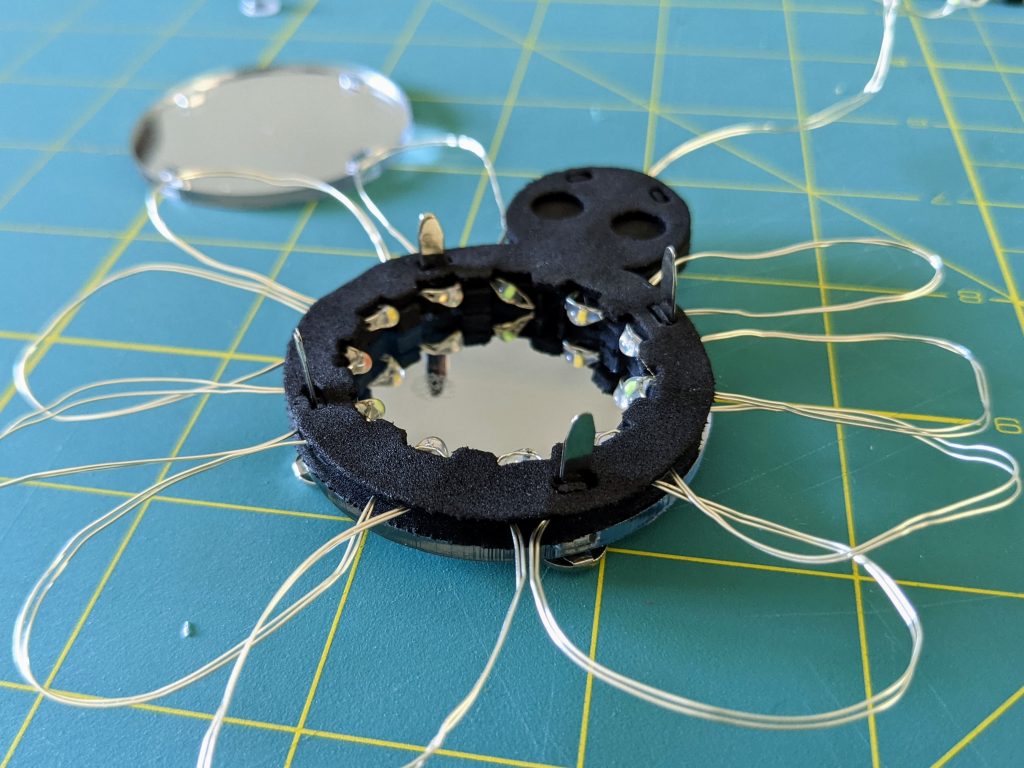
Place the foam layer over the first mirror and connectors 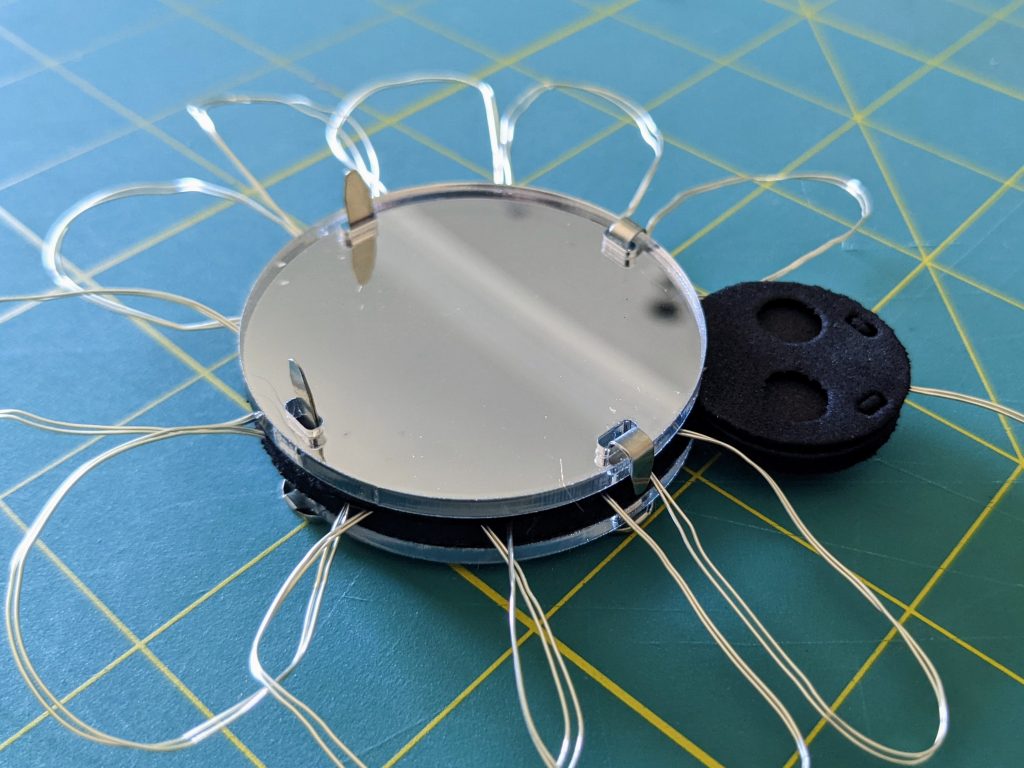
Bend over the protruding brad ends to secure the layers.


Gather your brads, or whichever fasteners you choose (zip ties, twist ties, and pipe cleaners all work) to hold the infinity mirror layers together. The acrylic mirrors have a mirrored side and a clear side. It’s best to have the mirrored side on the inside of the infinity mirror to protect the reflective surfaces. When working with the mirrors try to hold them by the edges. Fingerprints on the acrylic cause the infinity mirror reflections to appear duller.
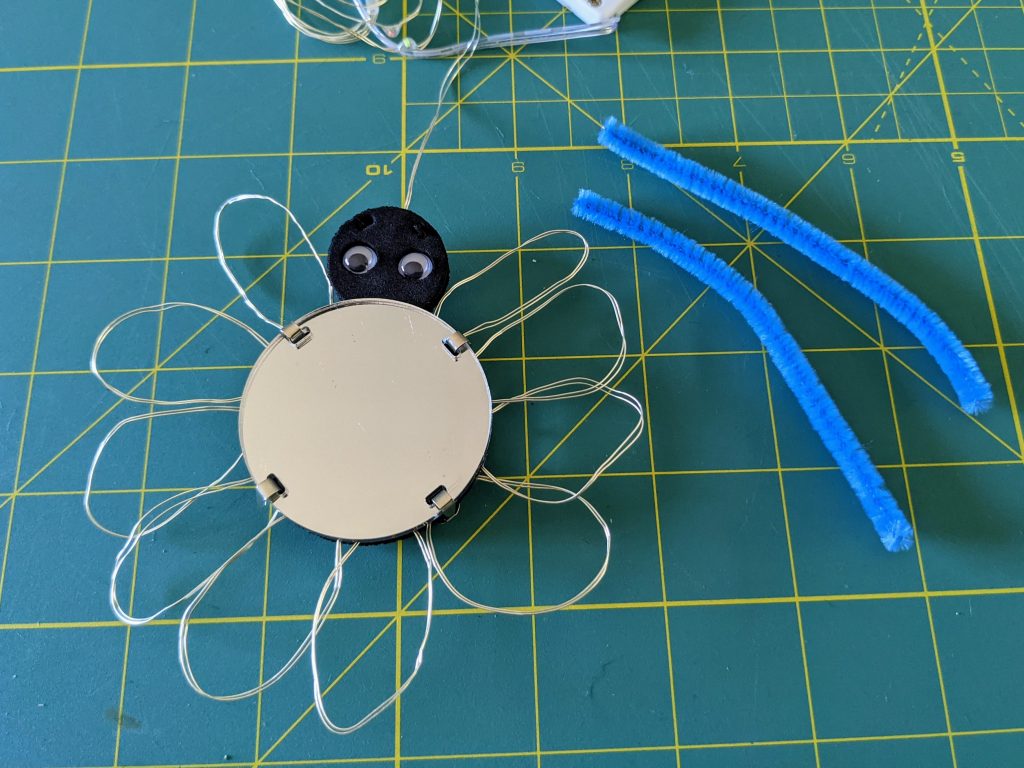
Layer the two infinity mirrors on either side of the foam/LED “sandwich” and line up the four slots in each layer. Slip the ends of a brad through each of the slots, and bend the free end of each brad over the side of the mirror to hold it together. You may choose to have the round brad ends in the front (side with eyes) or back of the creature. That’s a strictly aesthetic desicion.
Step 4: Googly Eyes
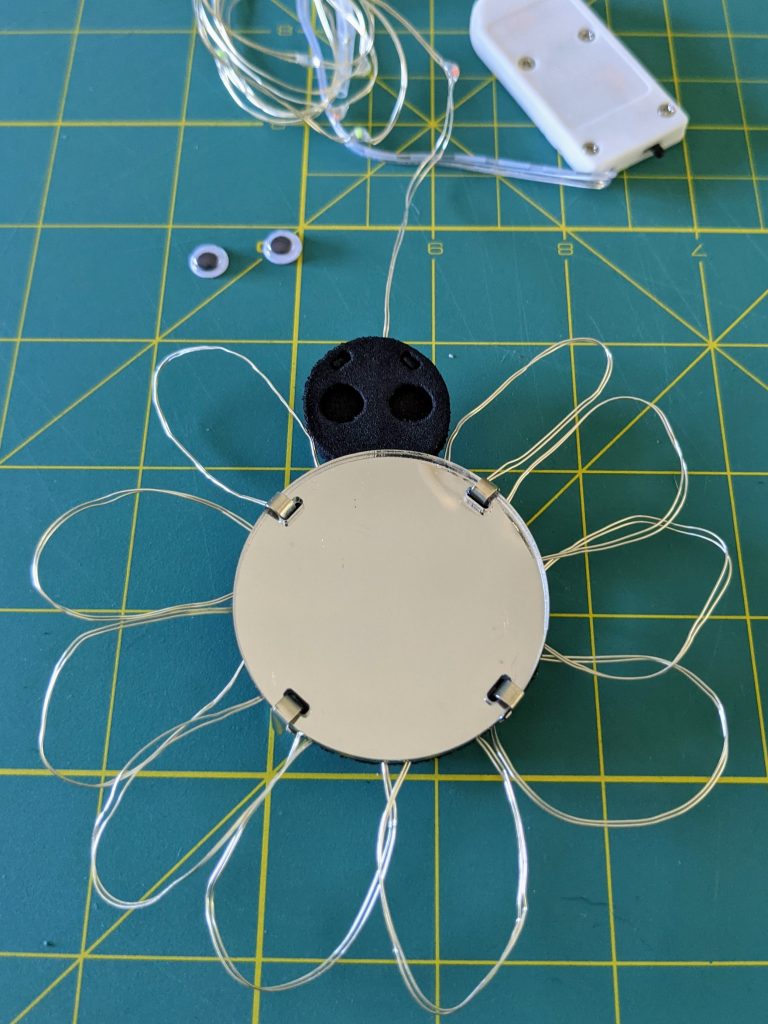
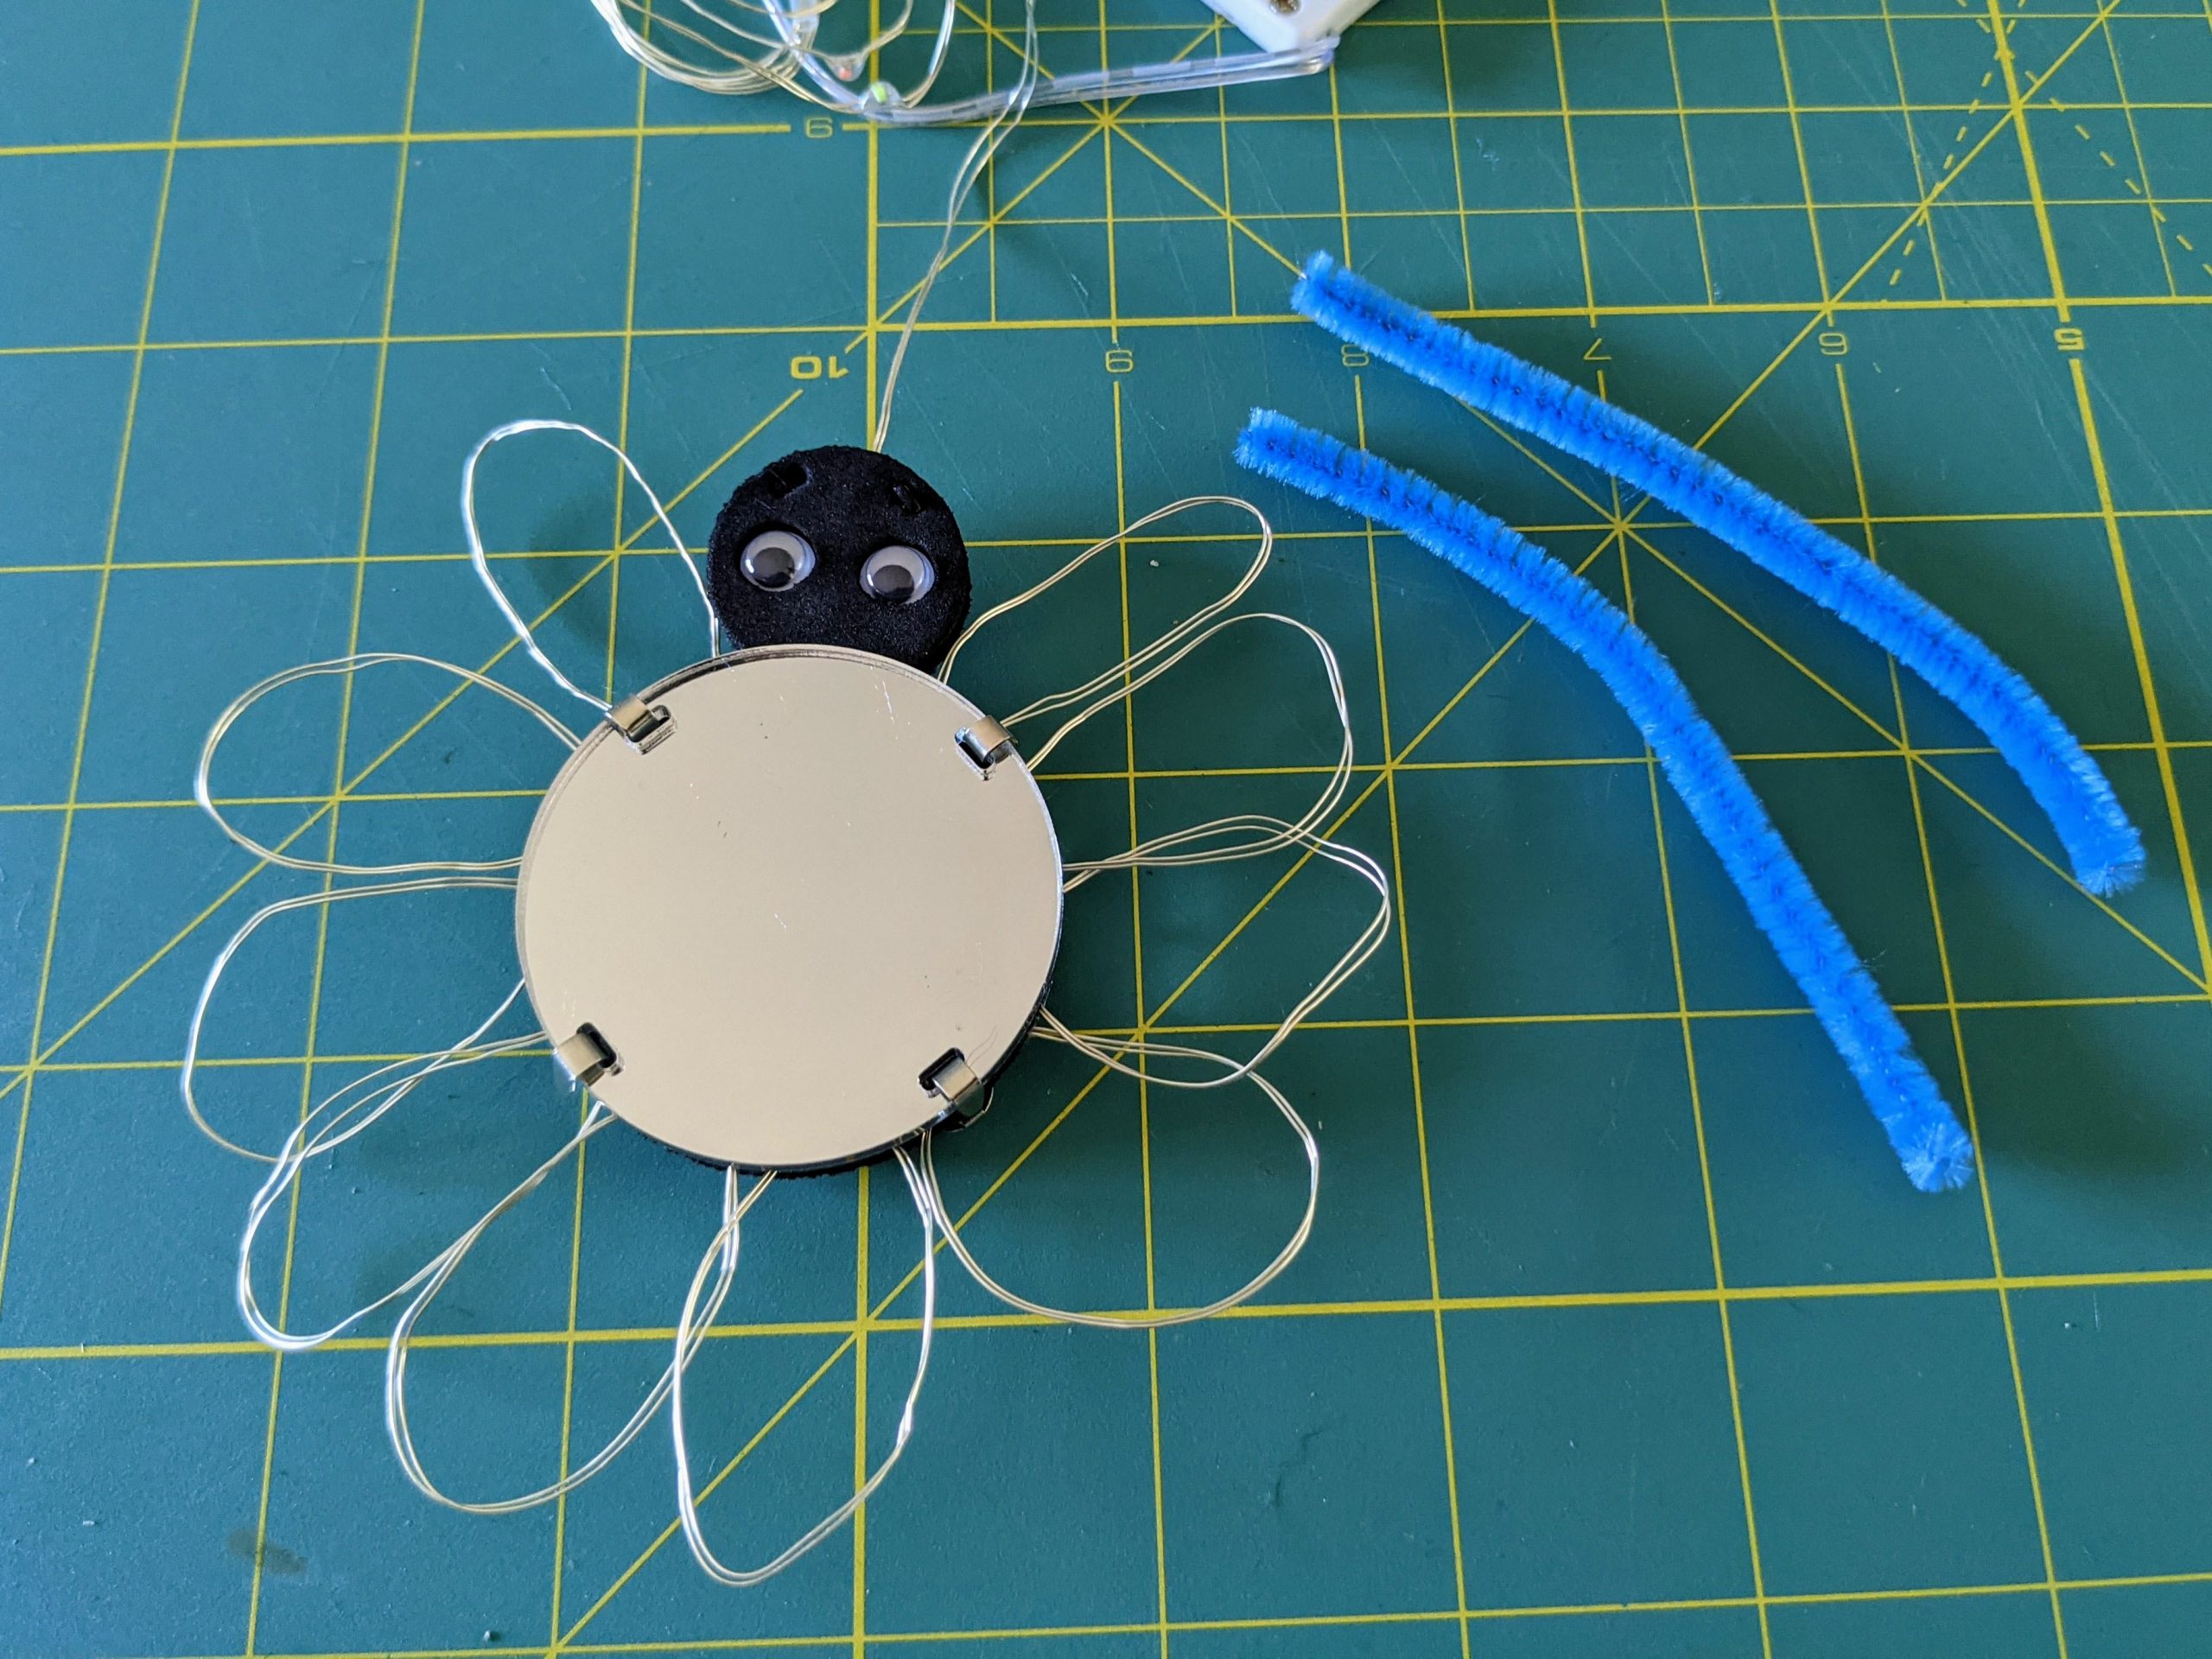
The googly eyes fit into the holes in the front of the creatures’ head. Peel the paper backing off of the eyes first for the best adhesion. 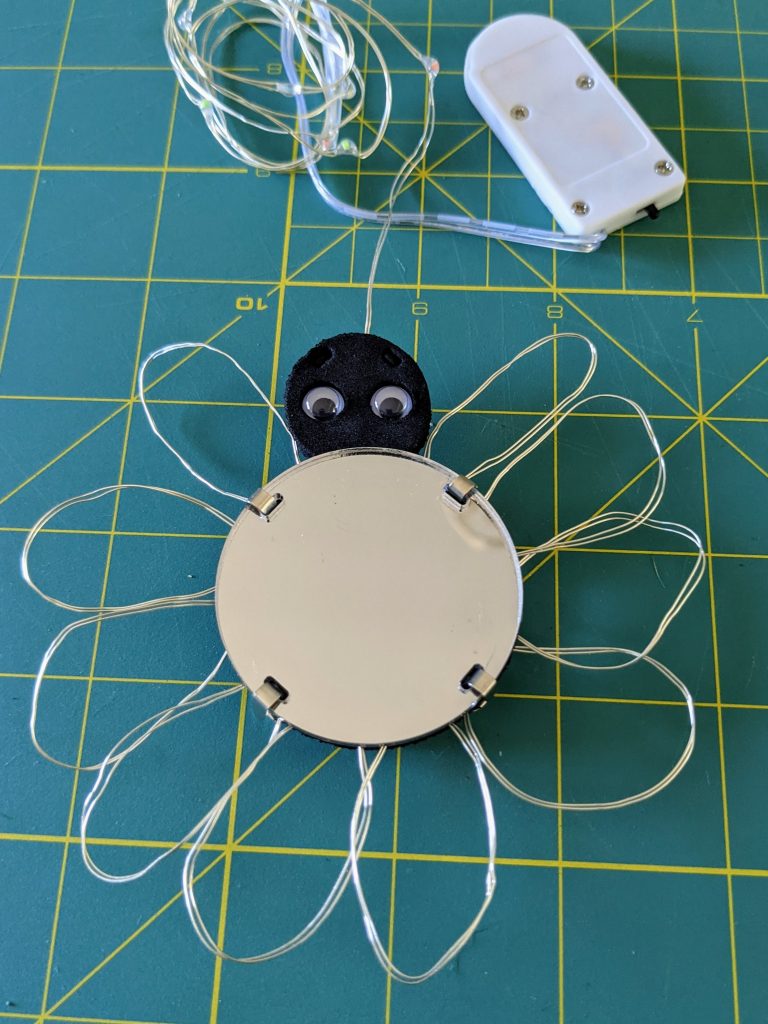
Eyes wide open!
Gather two 7mm googly eyes and peel off the paper backing on each. Stick each eye into one of the circles in the creatures head and push firmly to help it adhere.
Step 5: Antennae & Other Decorative Additions
Cut pieces of pipe cleaner for antennae 
Curl pipe cleaners for extra cuteness. 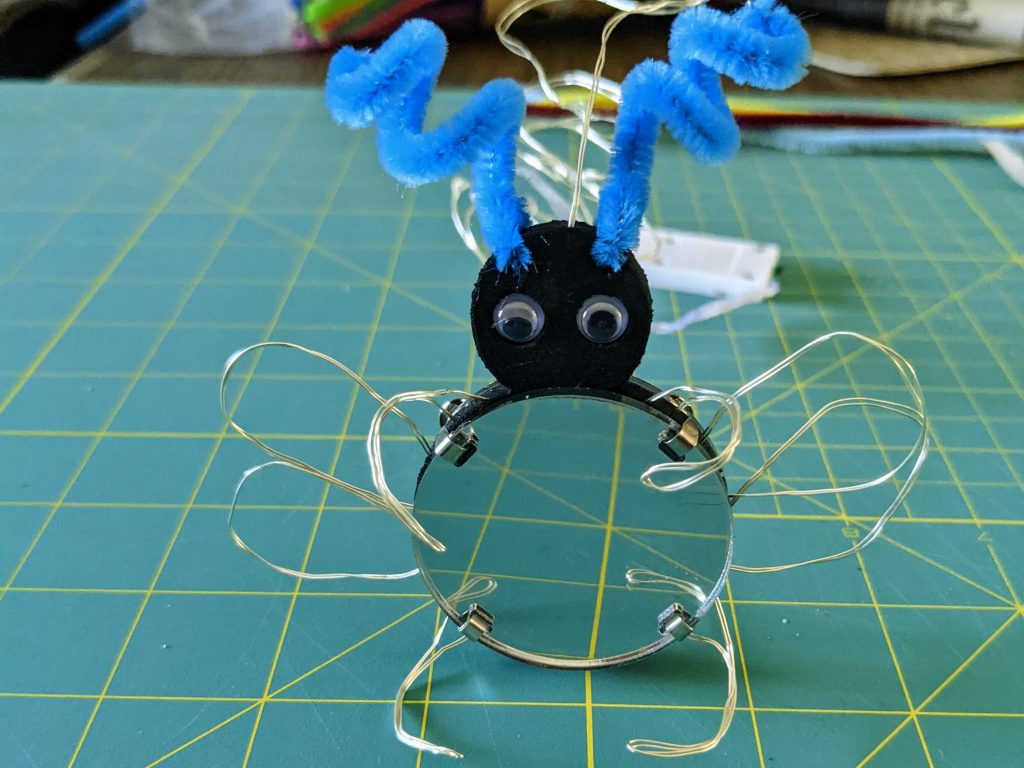
Bend the fairy wire into legs/wings.
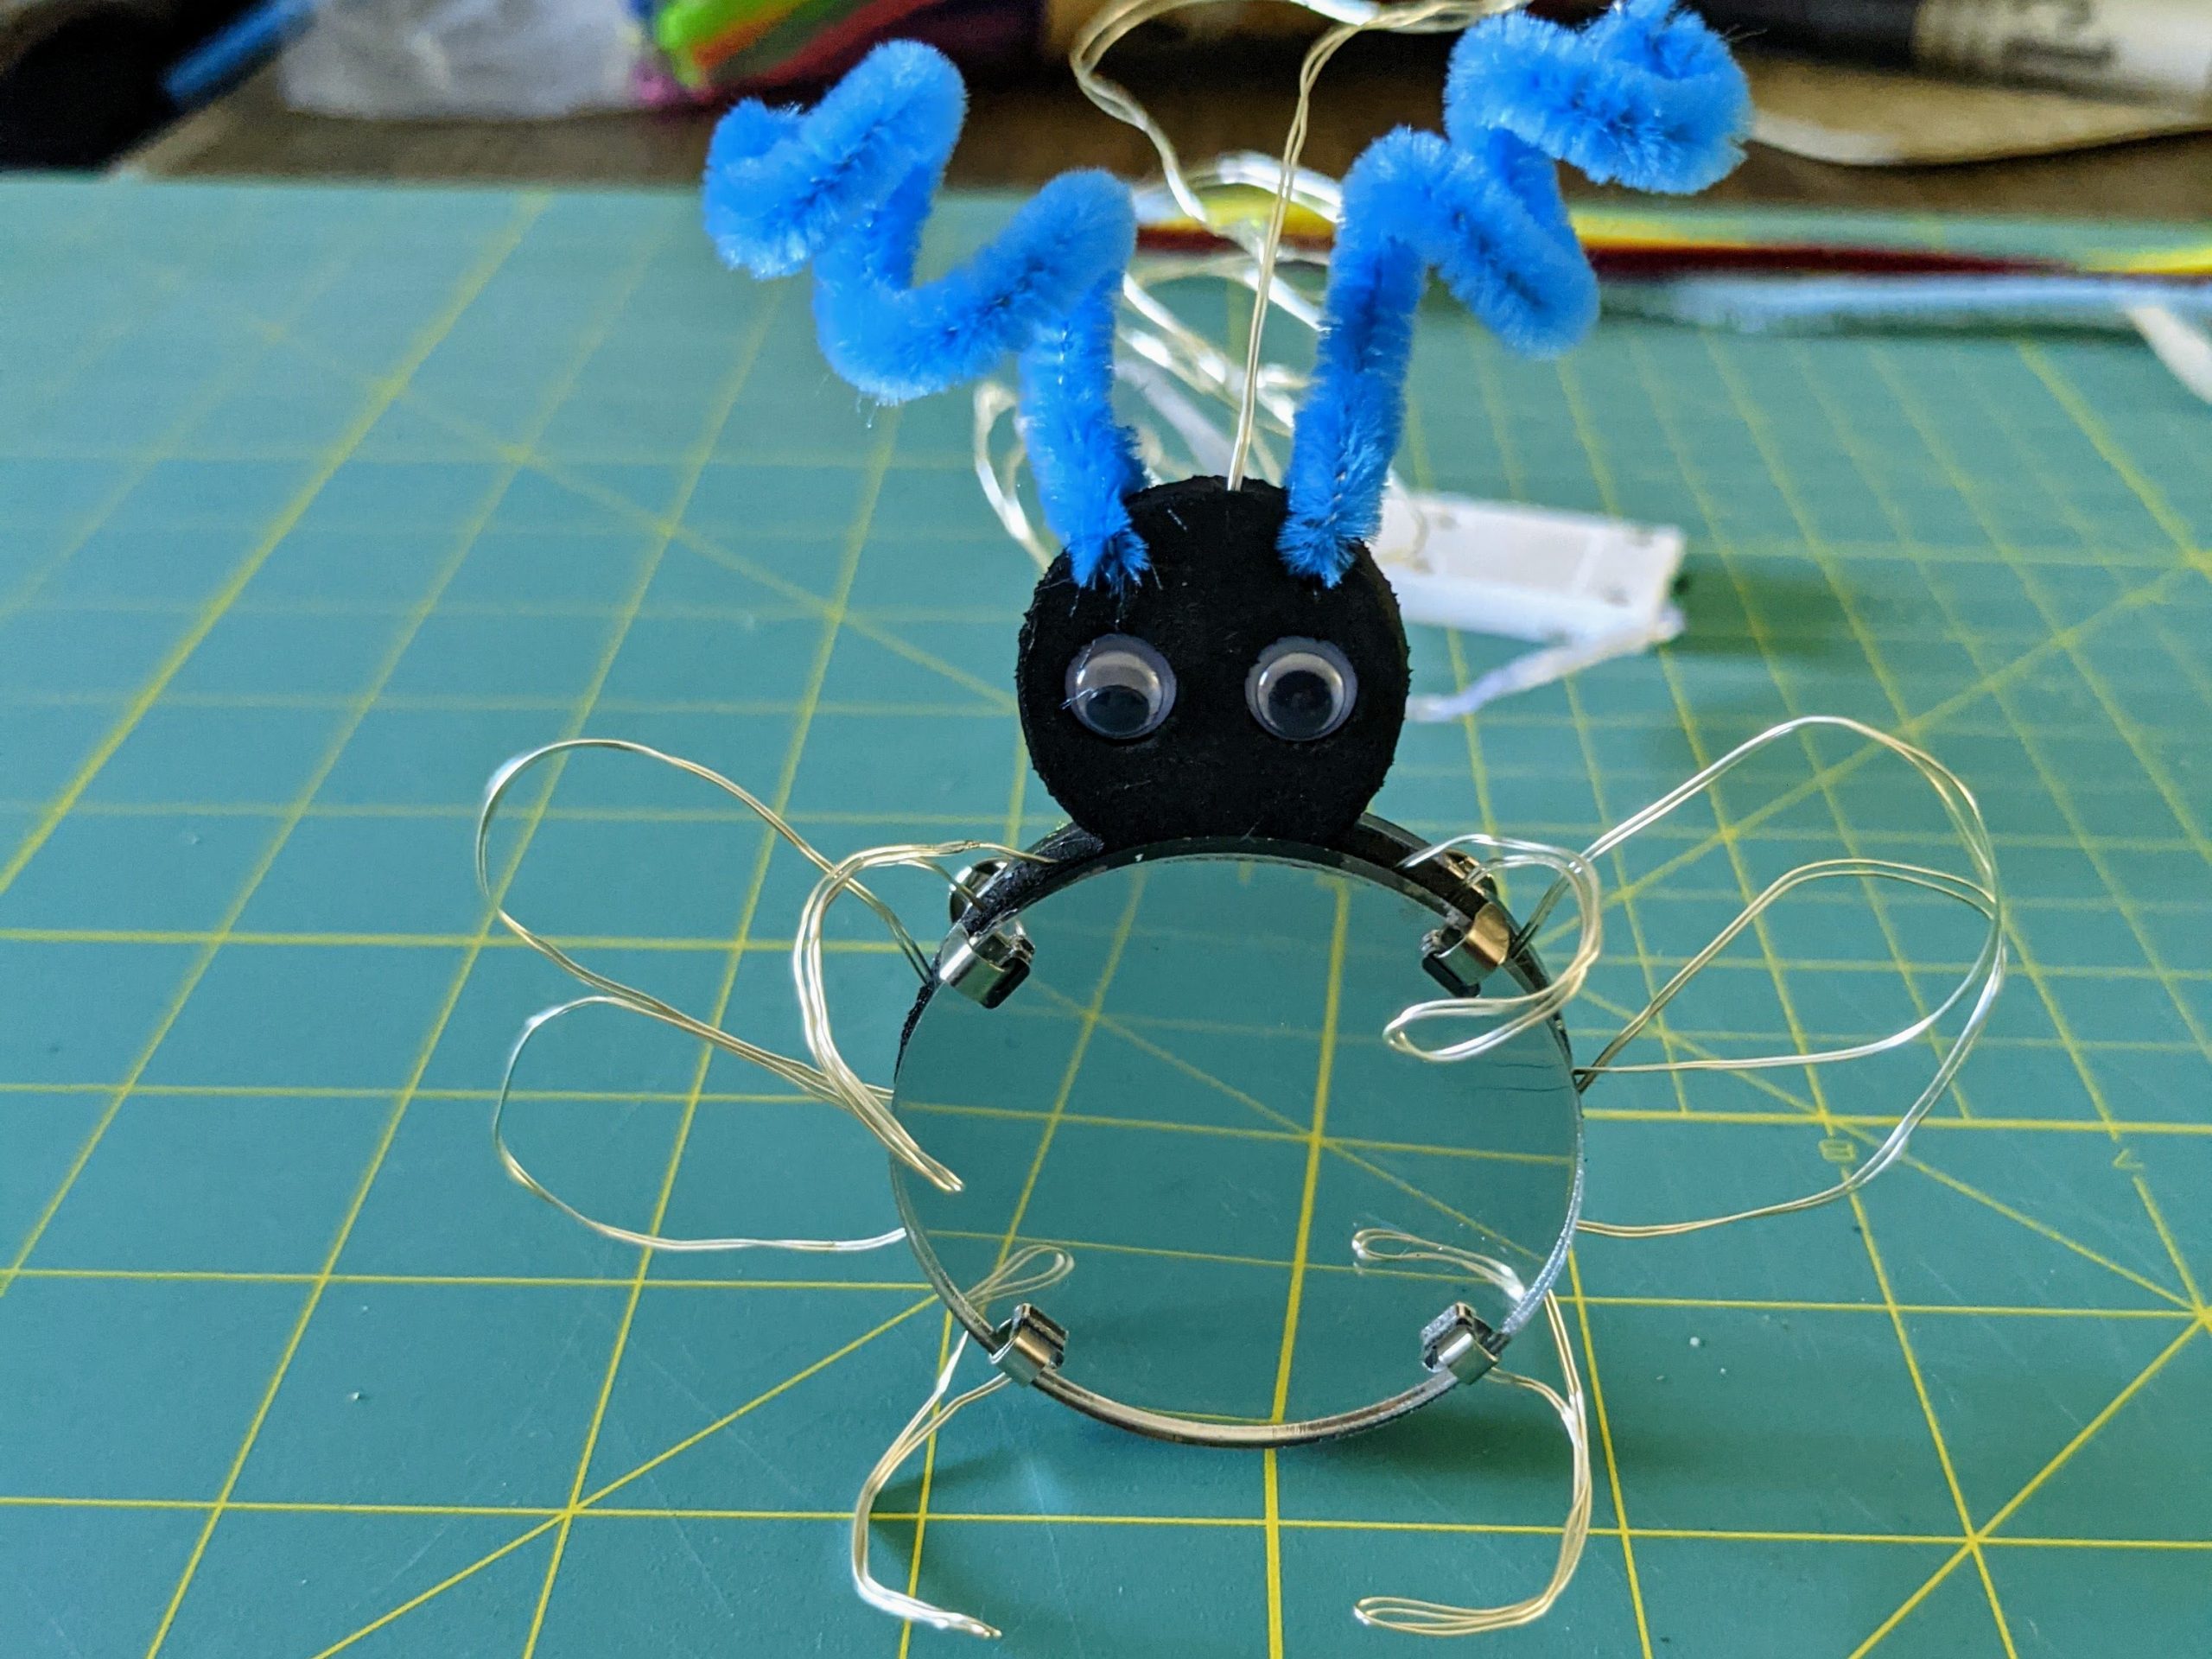
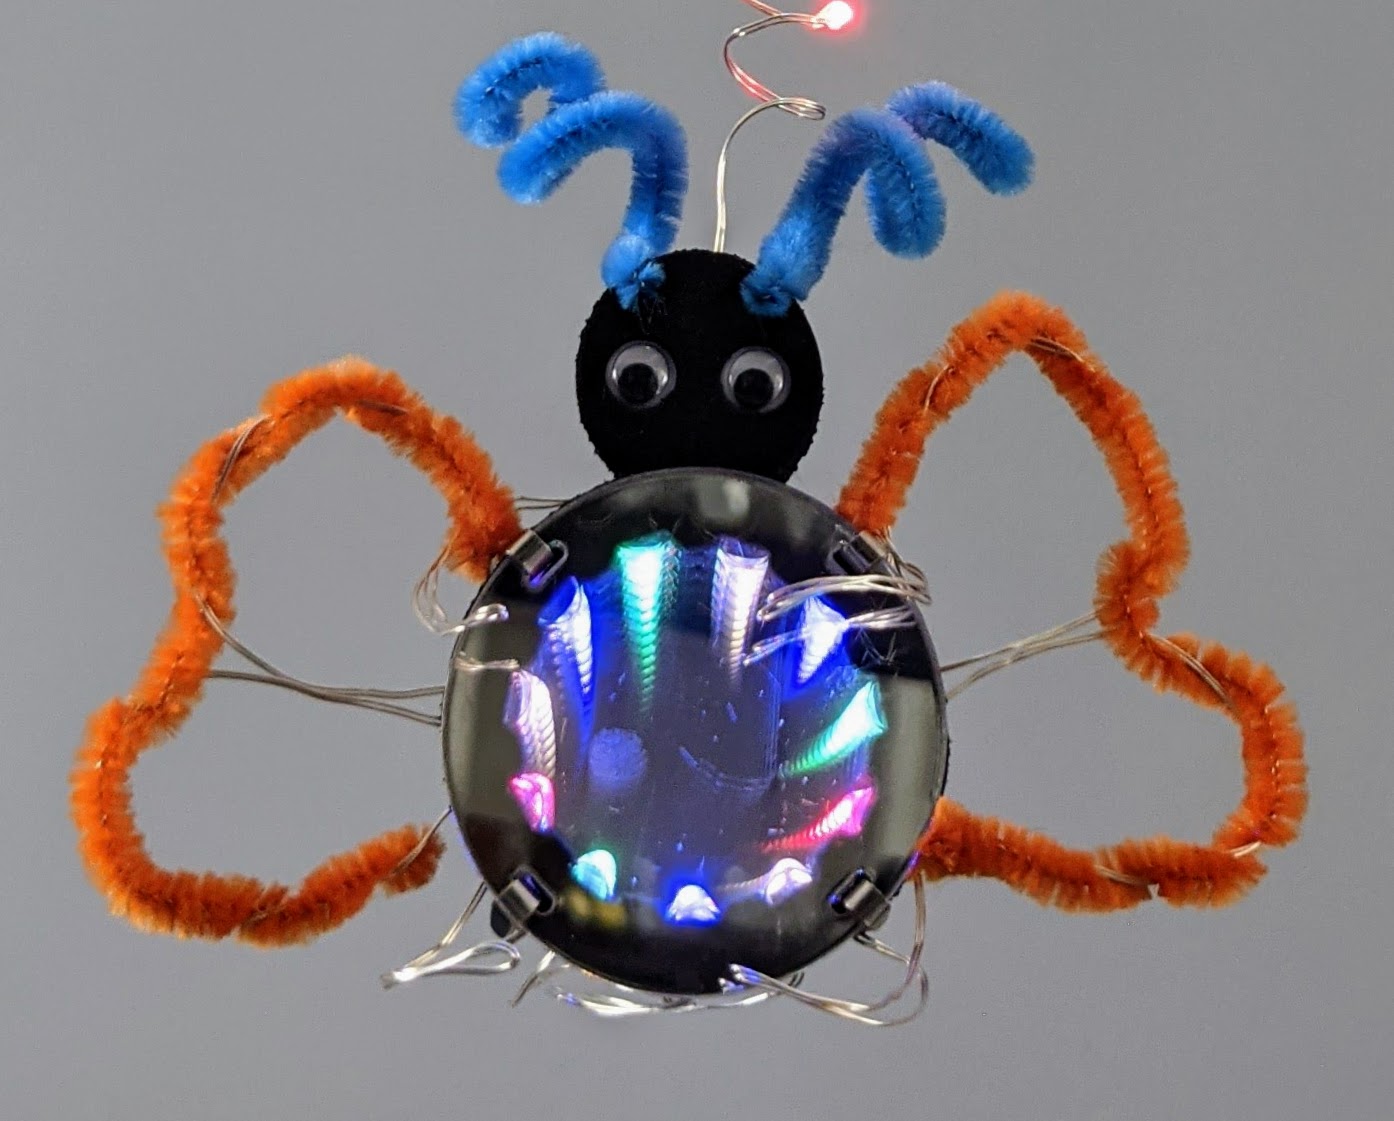
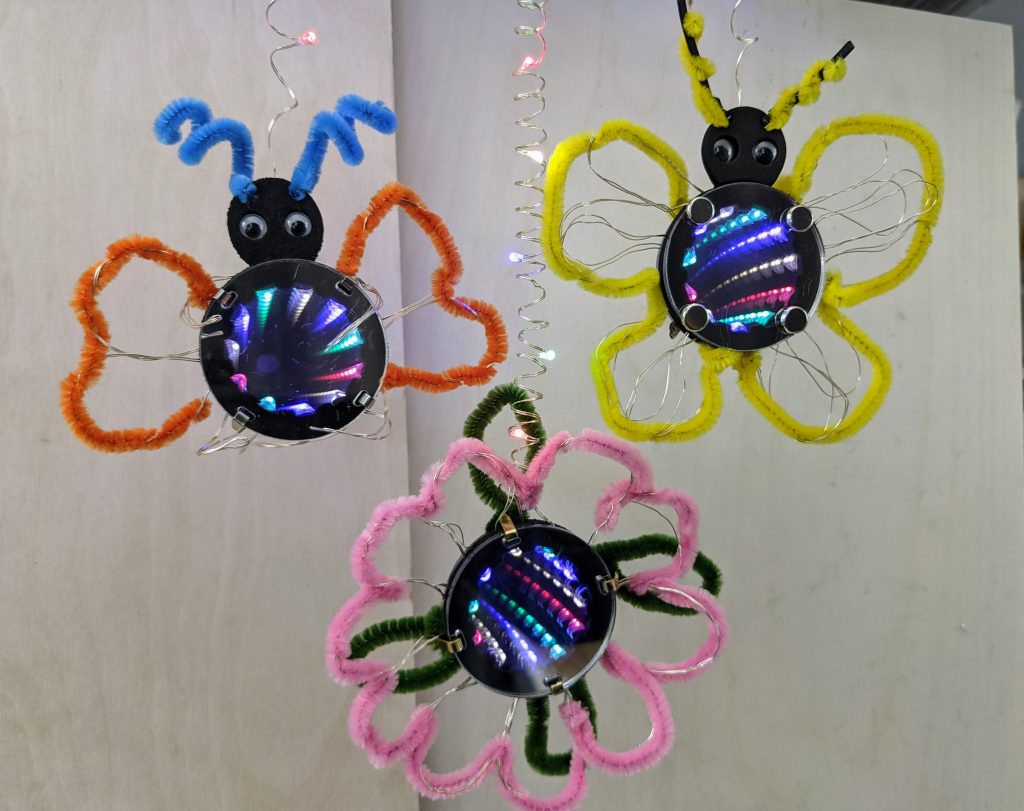
You can use pipe cleaners (shown here), twist ties, or zip ties as antennae. Also, the extra fairy wire extending outside the mirror can be bent into arms, legs, wings, or a tail for your creature.
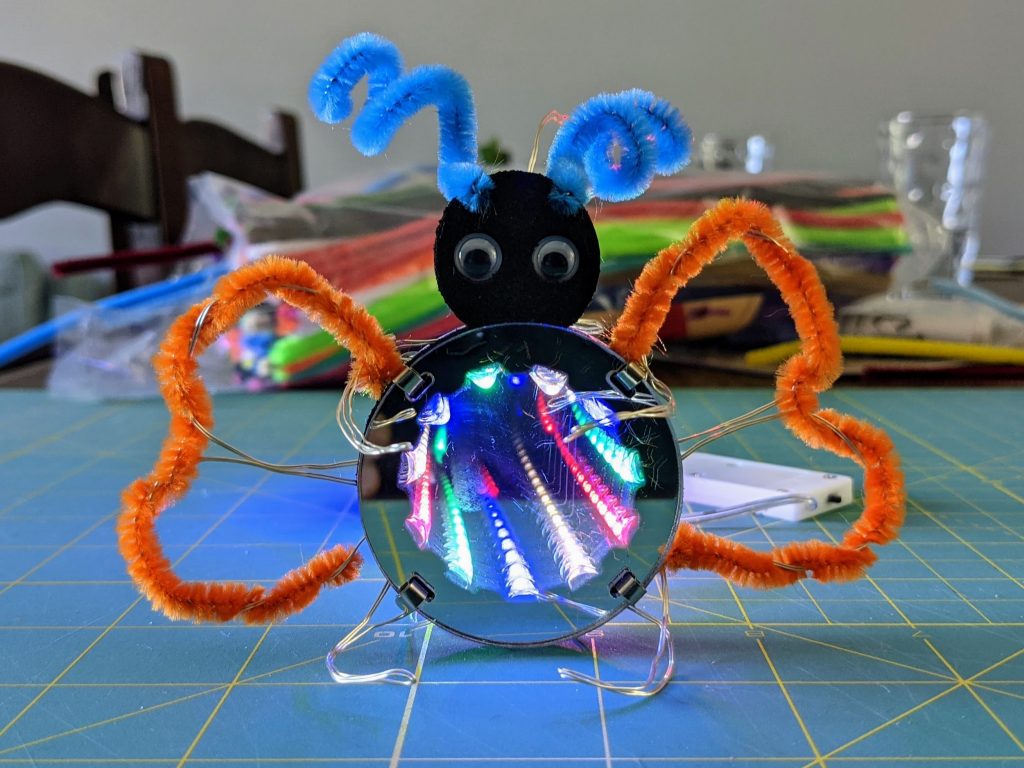
You can even wrap pipe cleaners around the fairy wire loops (as seen in the image above) to help define your creature’s features.

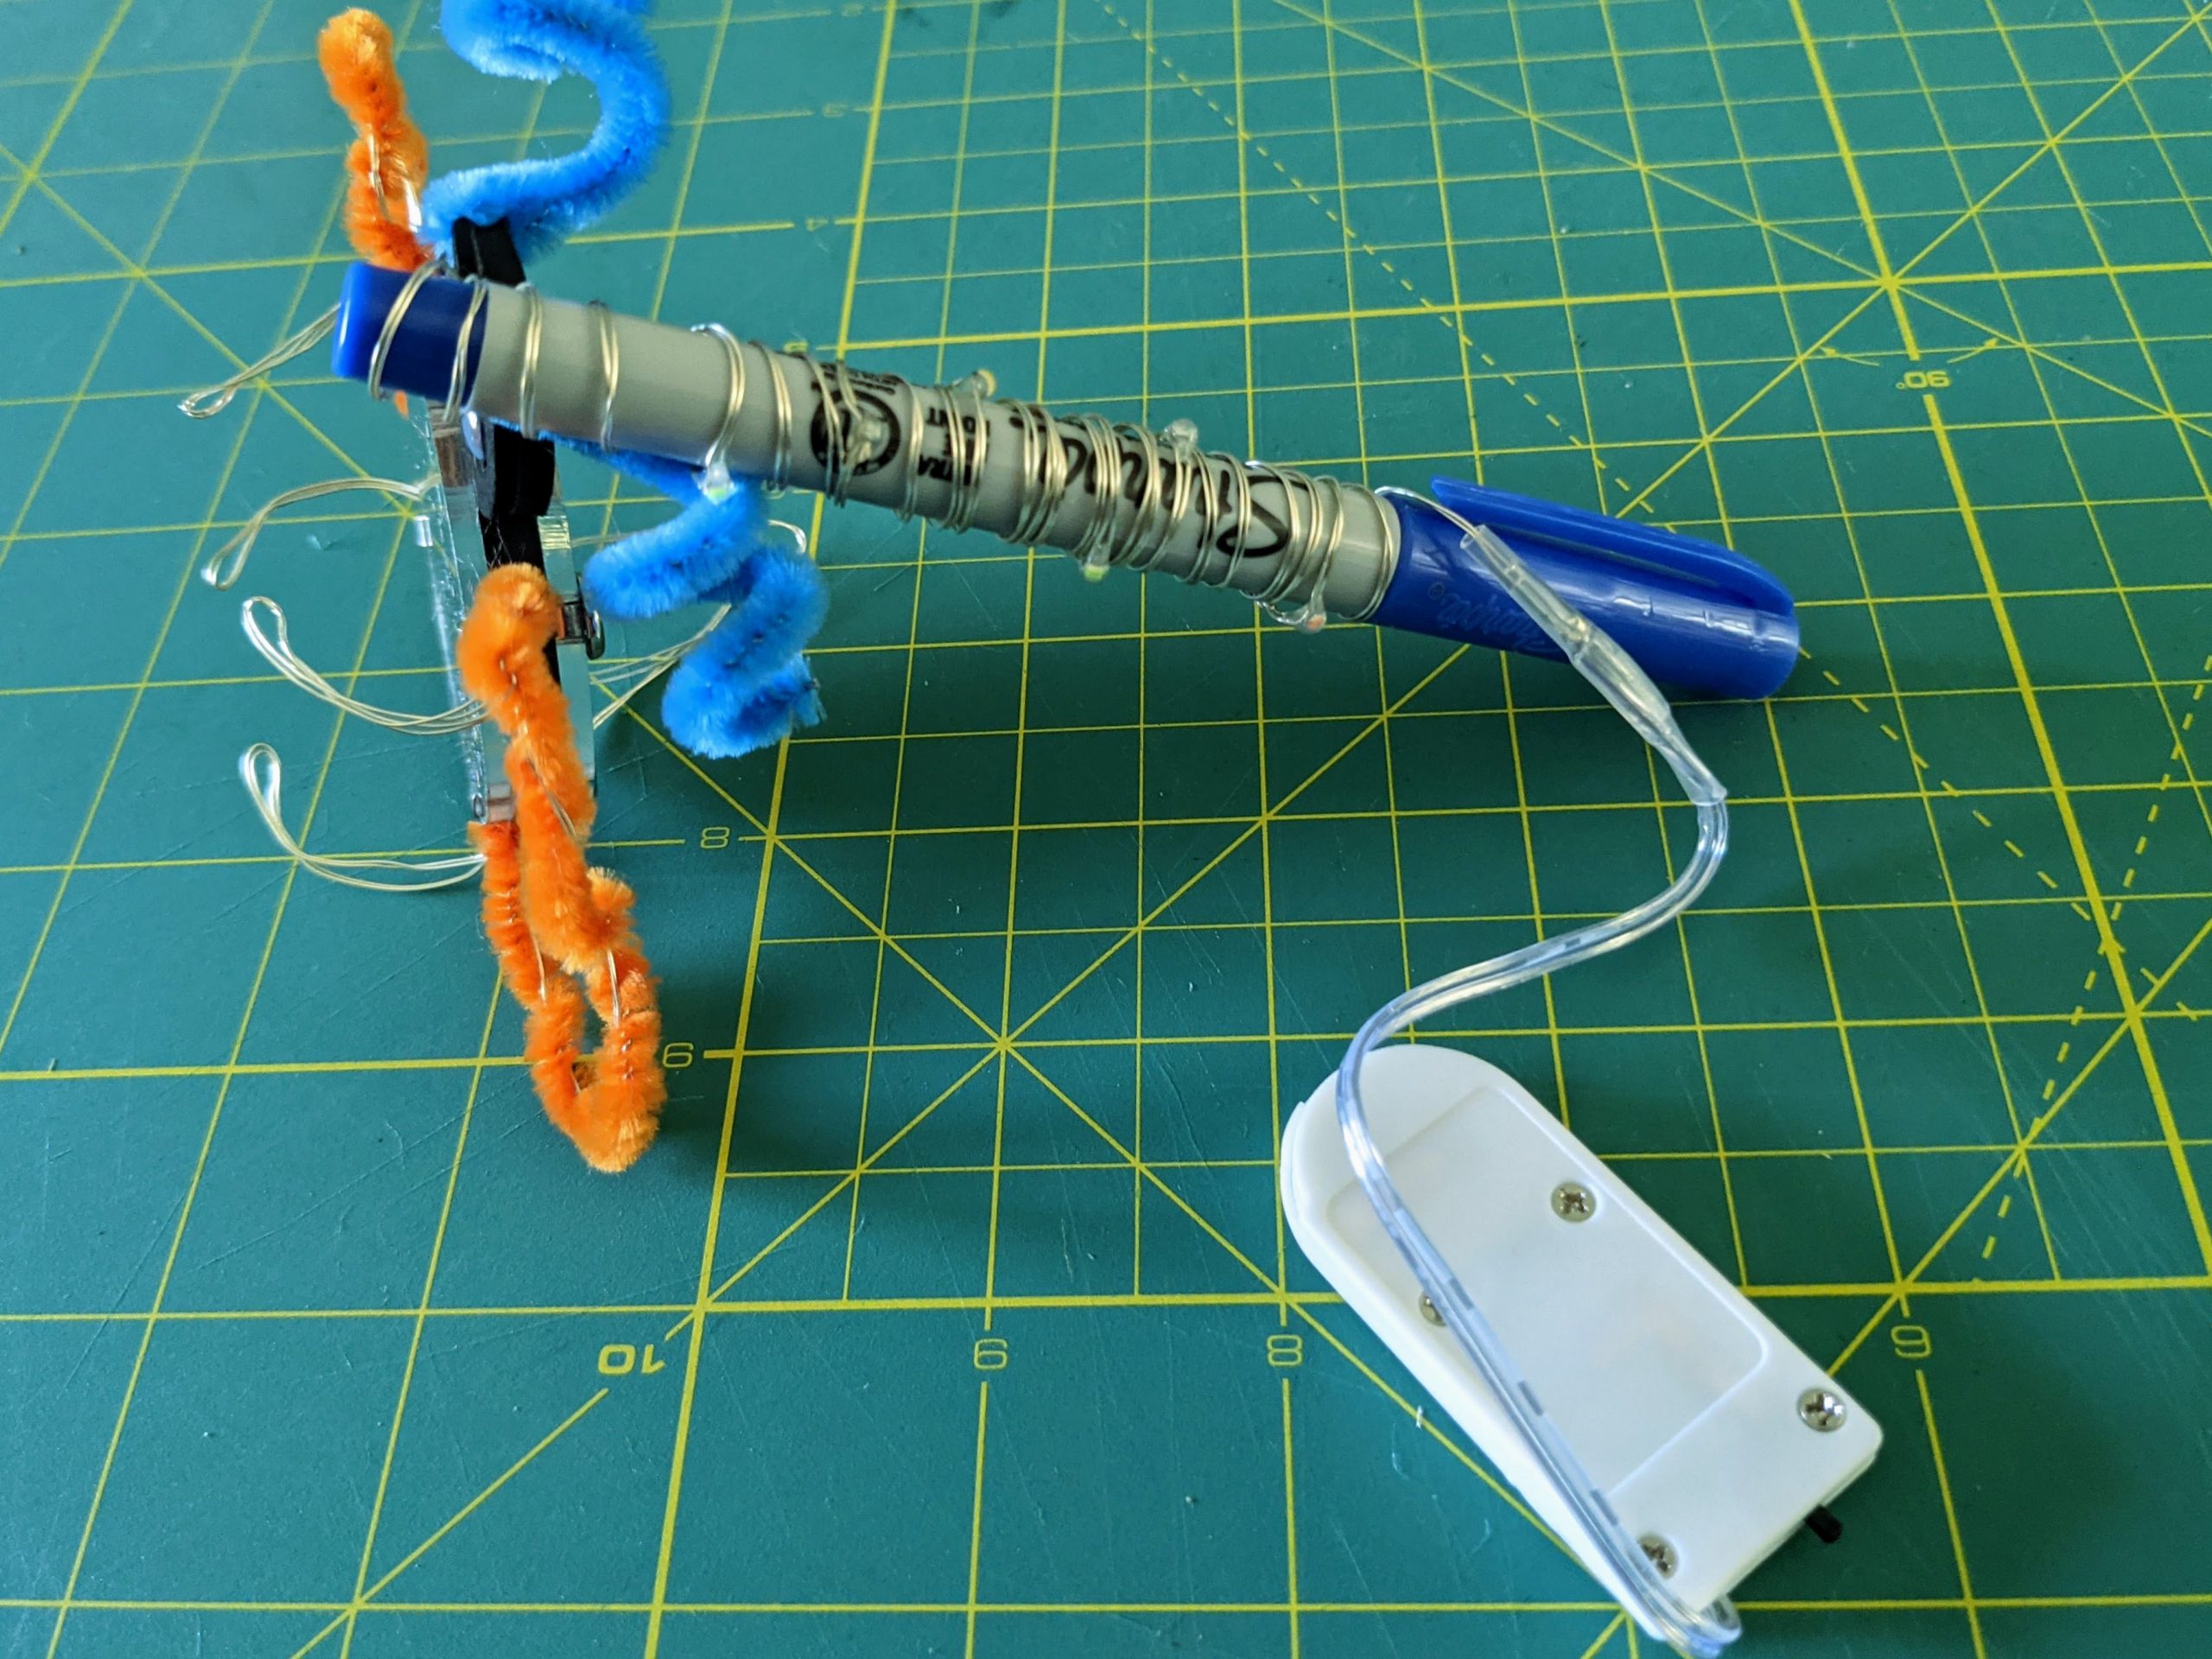
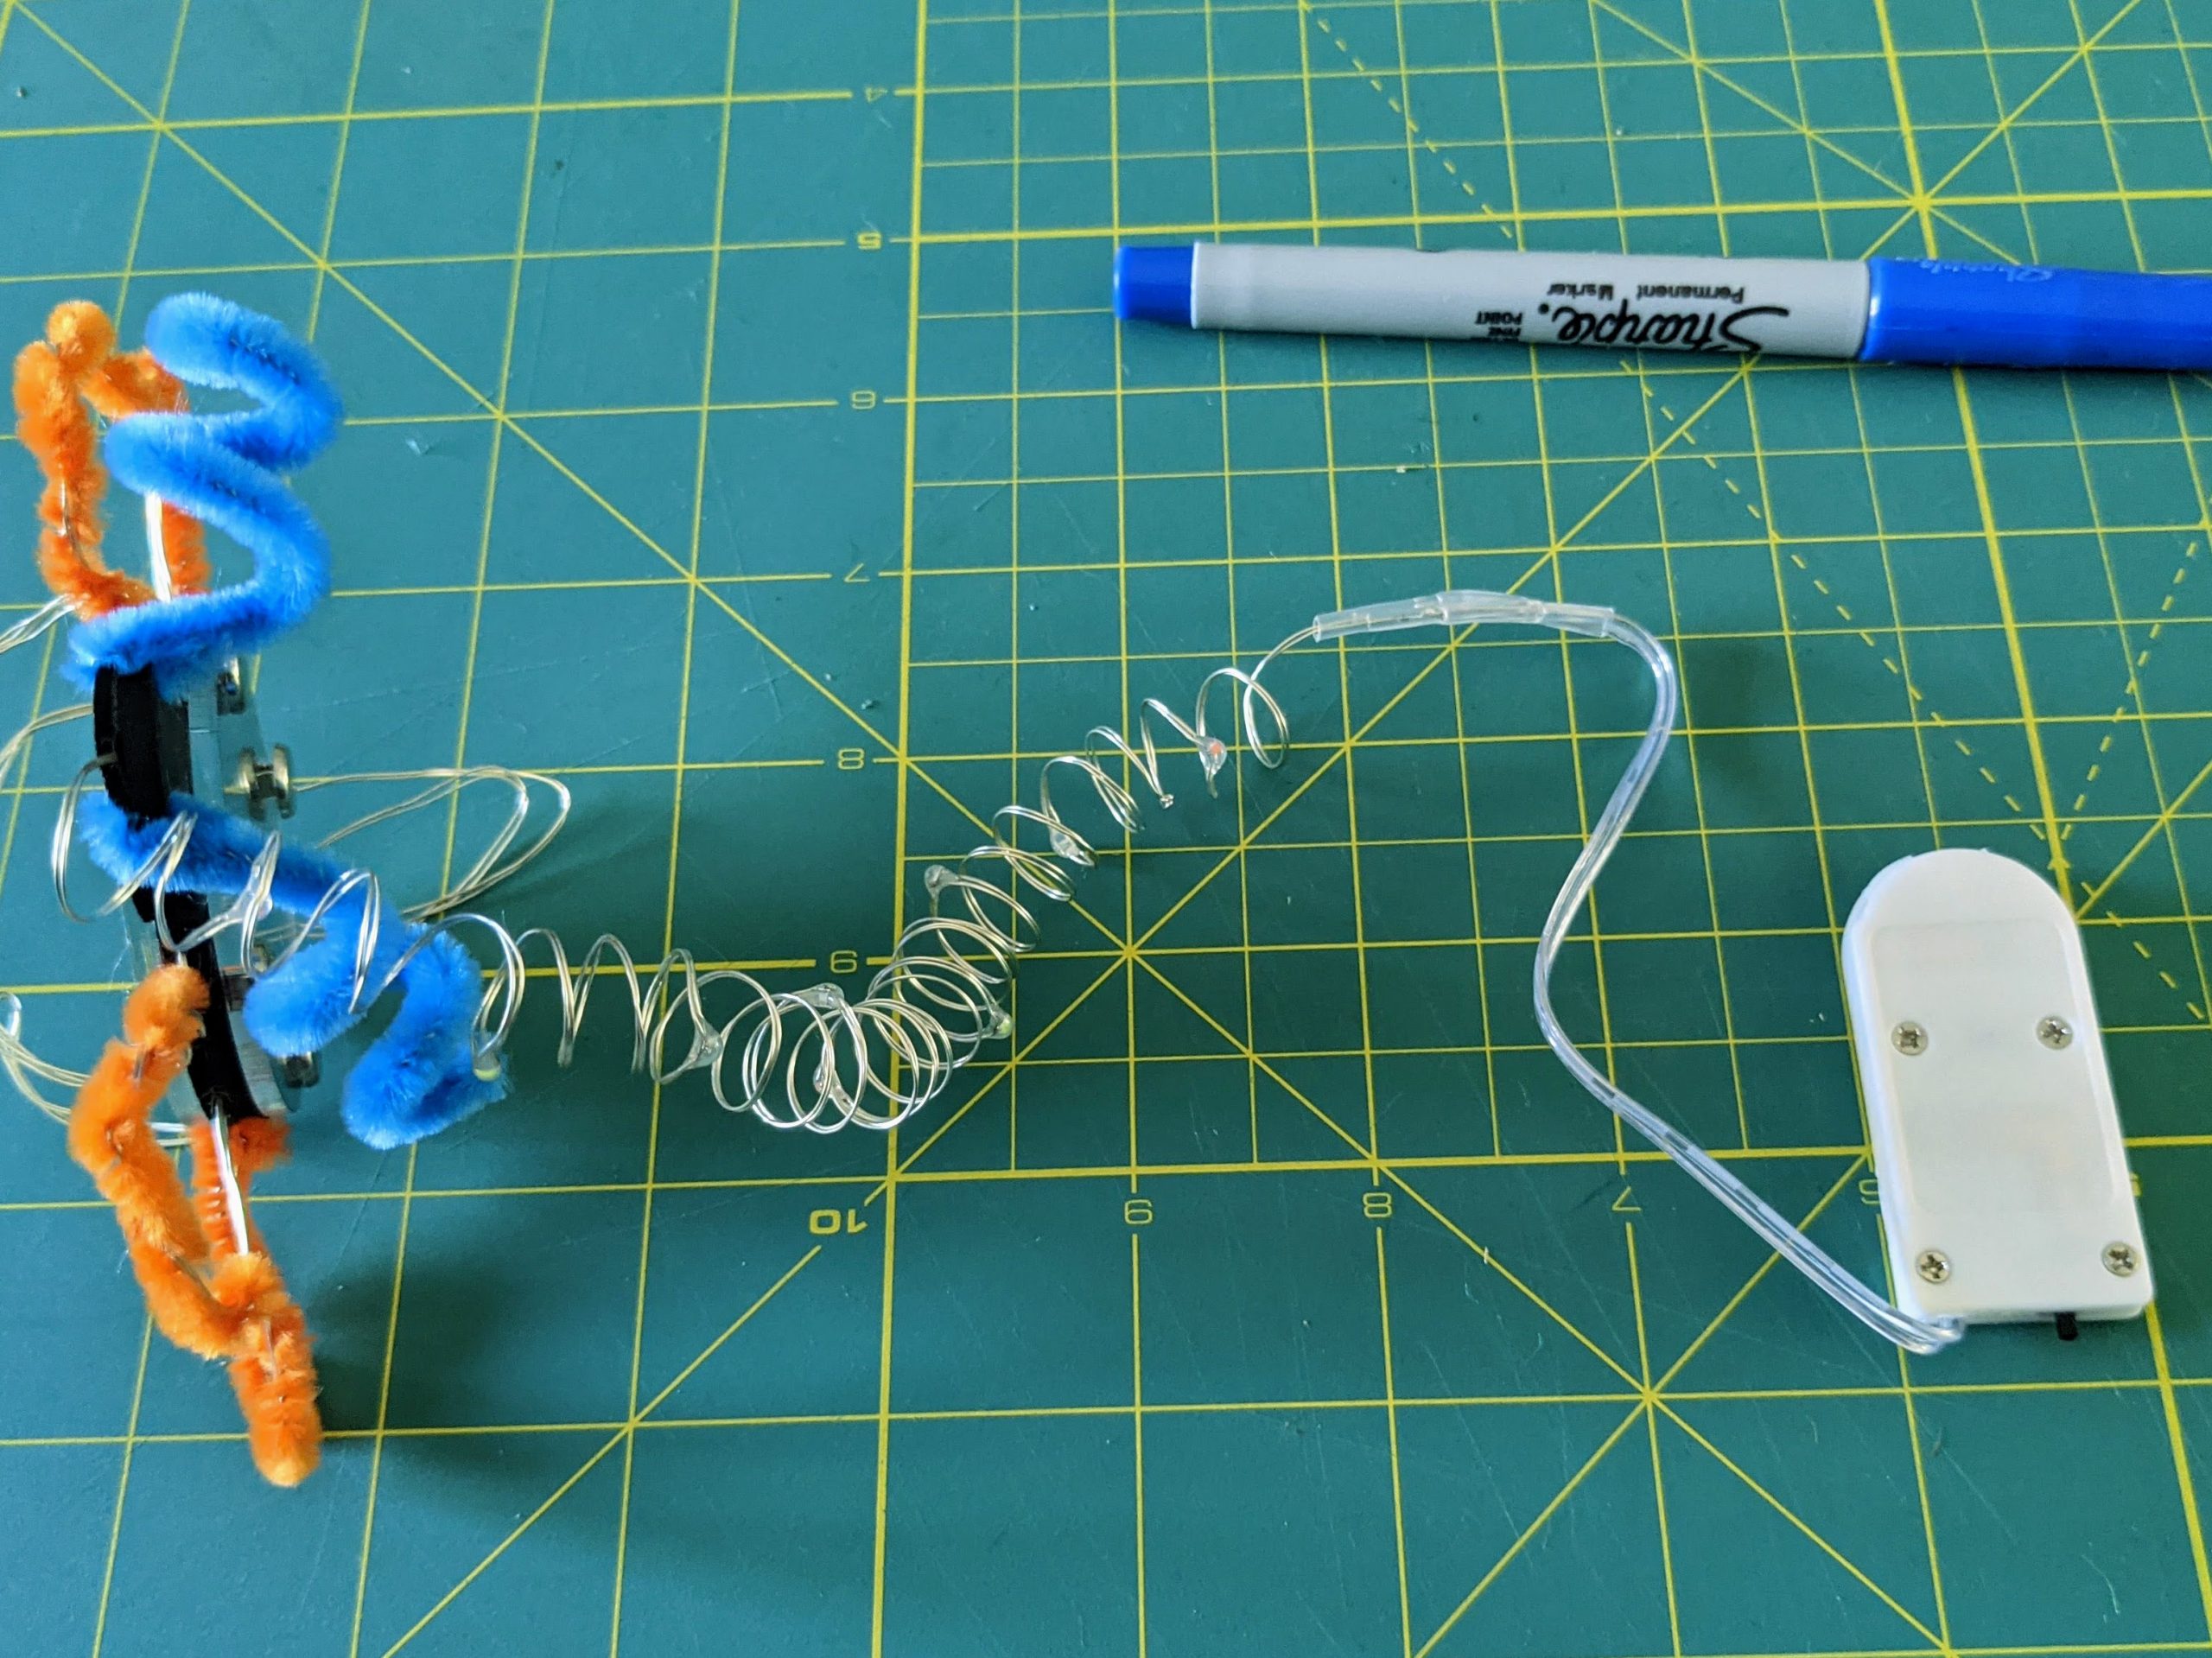
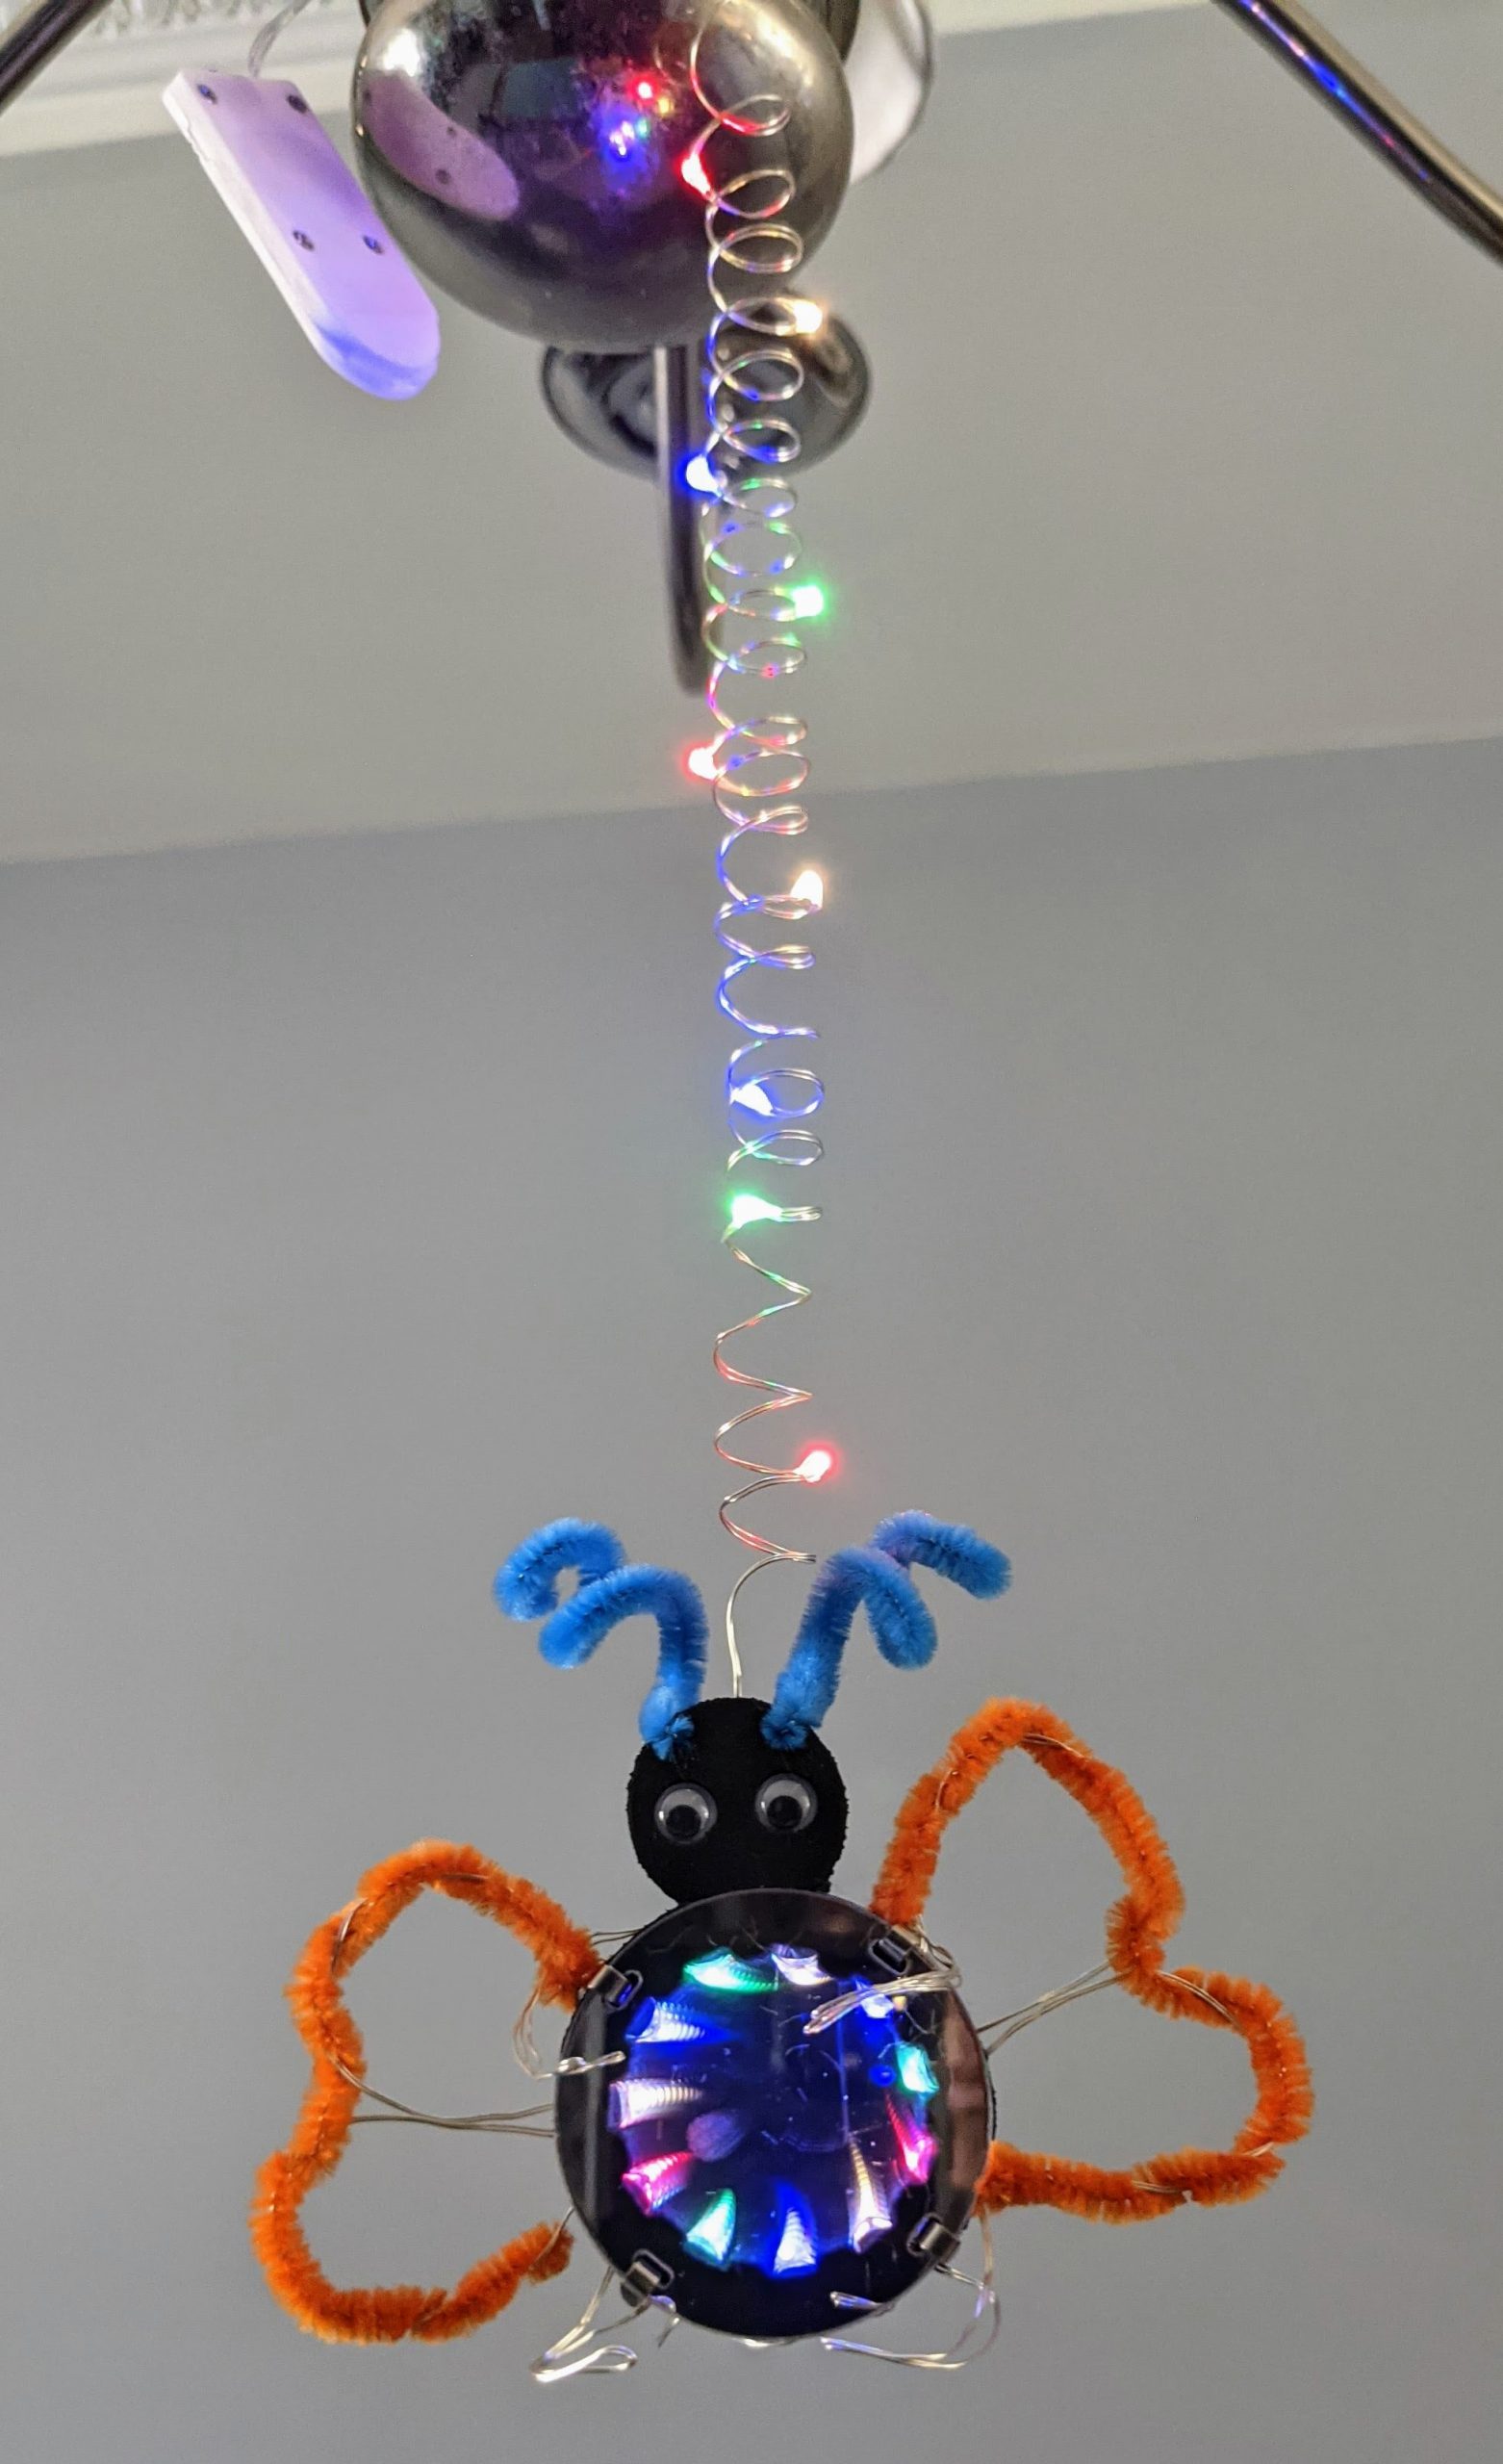
Wind the extra fairy light strand around a cylindrical object to make a spiral shape. 
. 
The chandelier makes a great home base for a dangling fairy light creature!
Final Notes: Project Variations
This project is straightforward to build but requires a laser cutter to make the parts. If you don’t have access to a laser cutter, you can still use a vinyl cutter or even scissors to cut out the EVA foam shapes. It is possible to substitute semi-reflective vinyl, like this holographic vinyl for the mirrors. The holographic vinyl doesn’t reflect light as well as the acrylic, so the reflections of the LEDs inside the mirror will only extend a few layers deep, but the effect is still attractive and you can use scissors to cut the vinyl.
If you don’t have brads, the different layers in the infinity mirror can be held together with zip ties, twist ties, or twisted pipe cleaners, and likely some other fasteners I haven’t thought of.
If you’d like to make an infinity mirror flower instead of a creature, you can remove the heads from the foam pieces (or remove them from the design before cutting the foam pieces)