WARNING: THIS PROJECT USES BUTTON CELL BATTERIES THAT ARE EASILY REMOVED. Button cell batteries can be fatal to small children and animals if swallowed.The small size of these batteries makes them easy to swallow. Please use caution and common sense to keep your batteries (and the pendants) out of the reach of small children and animals.
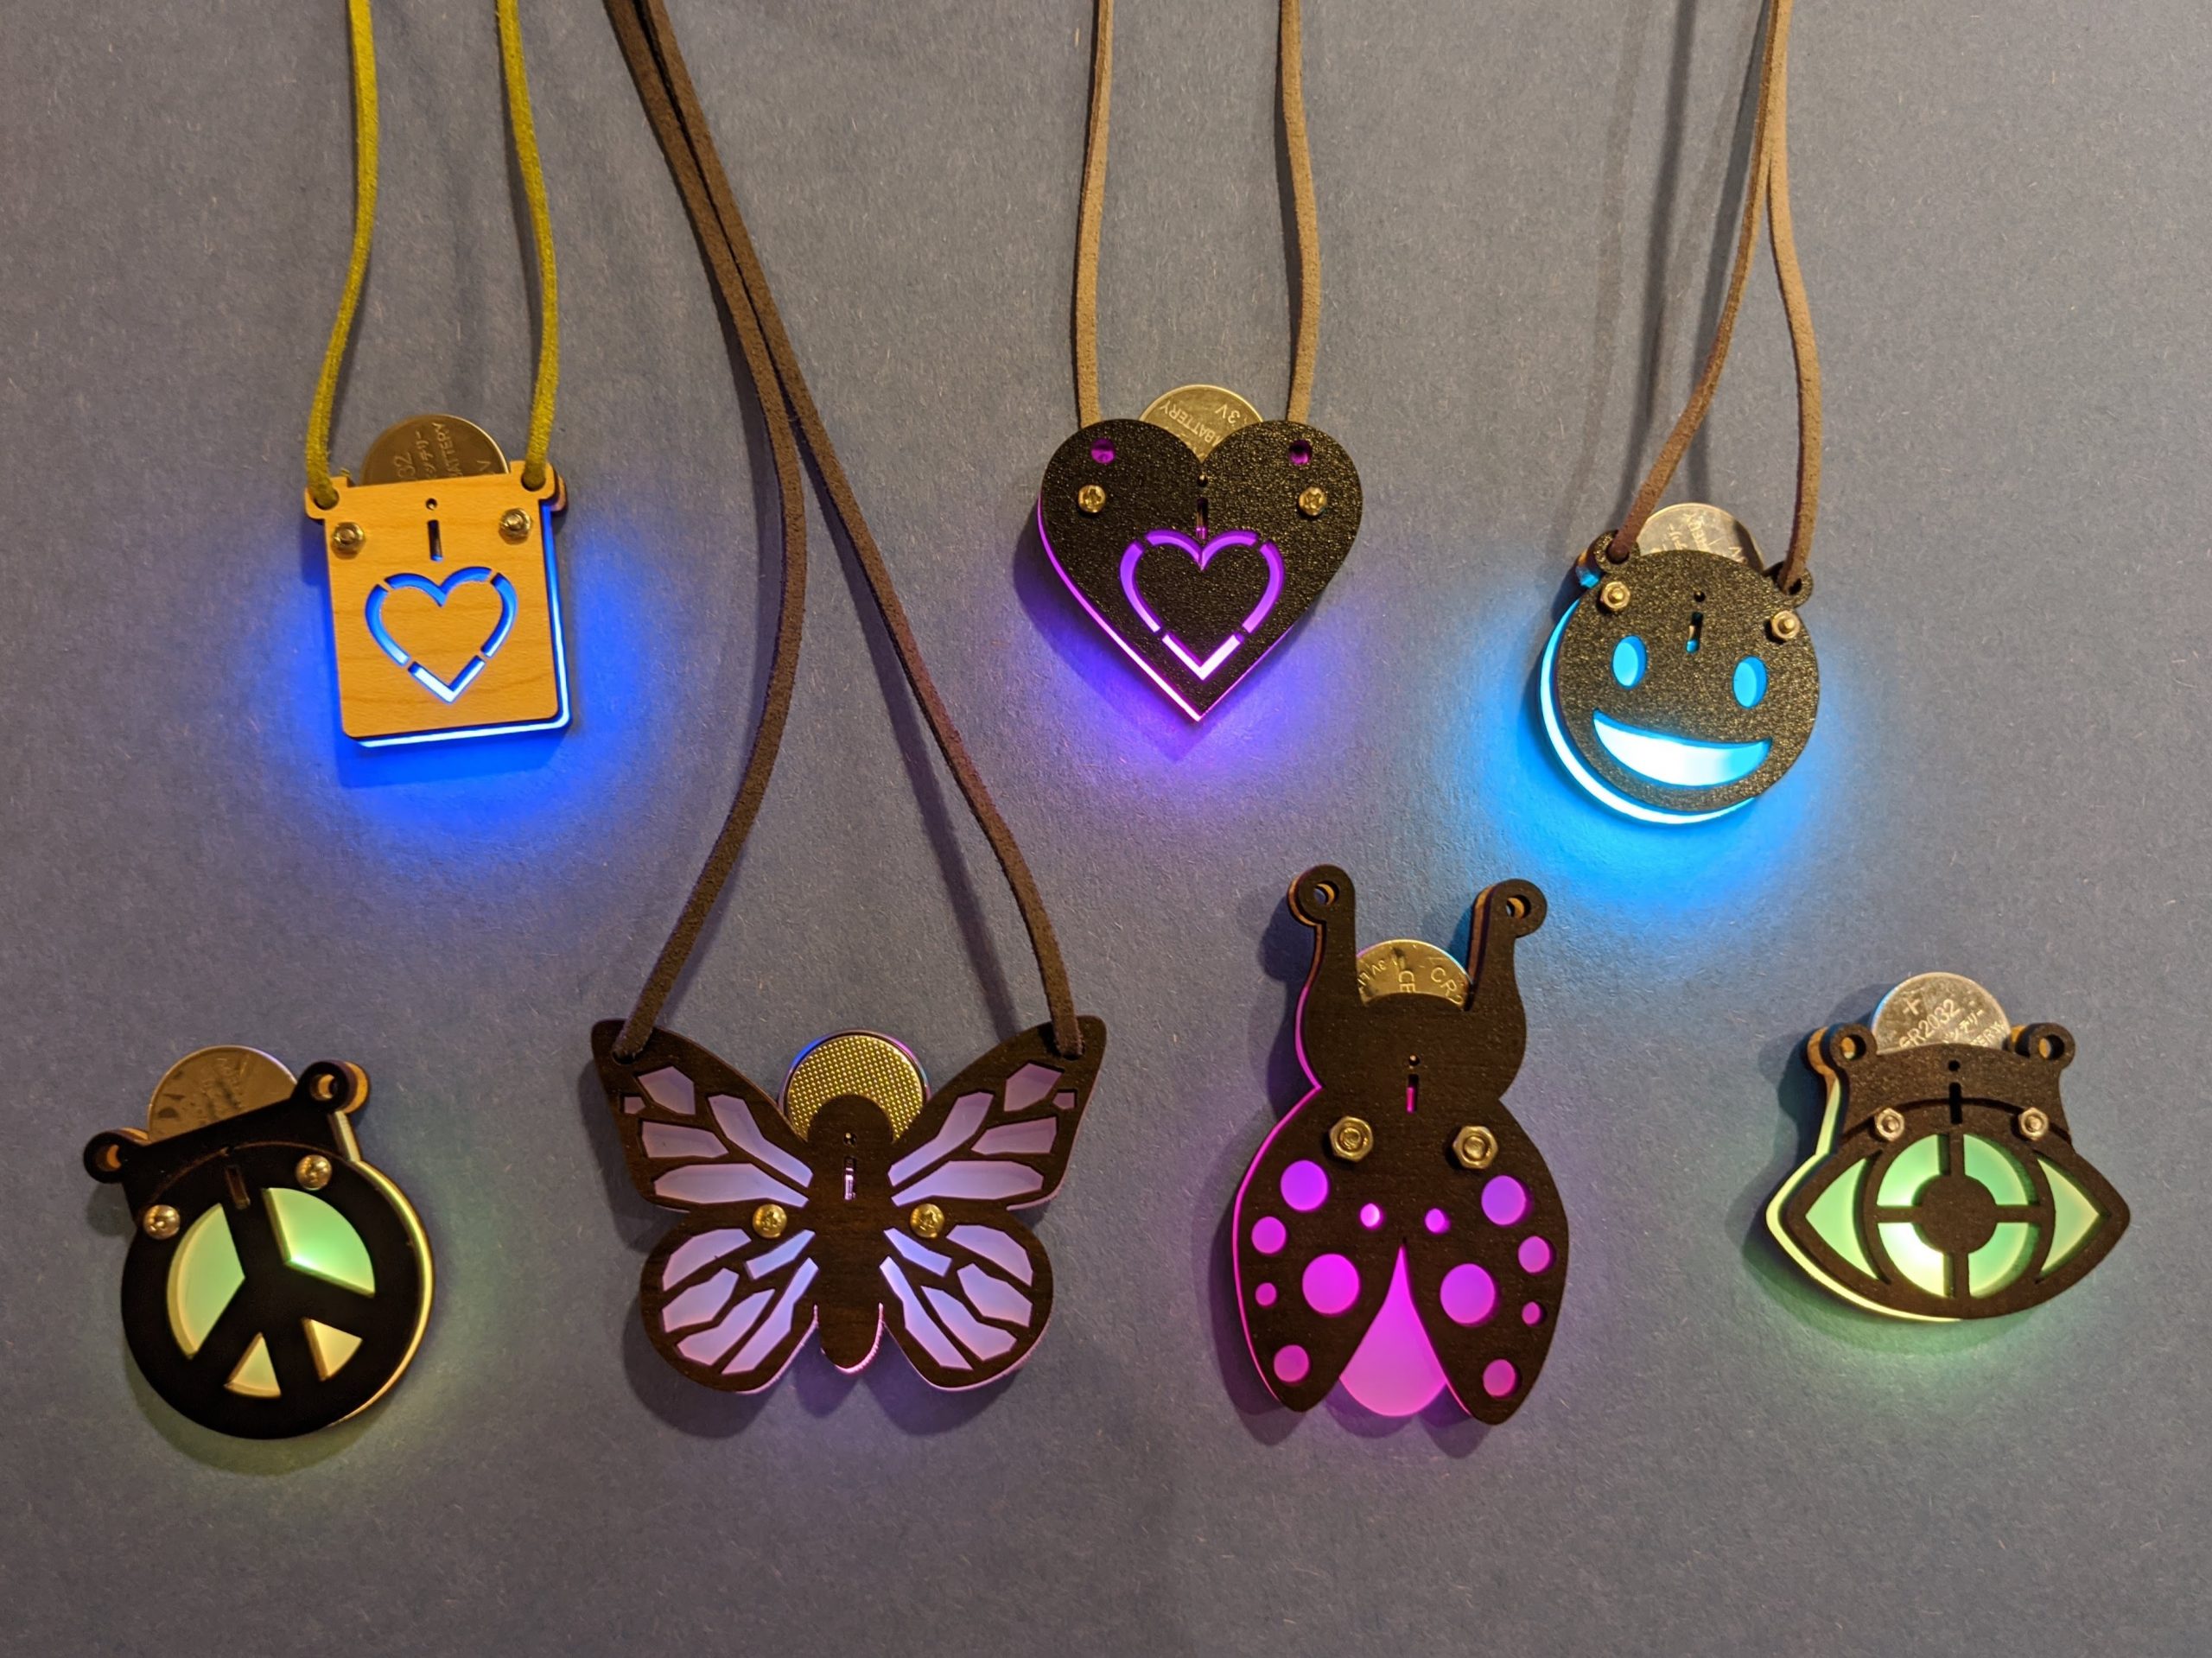
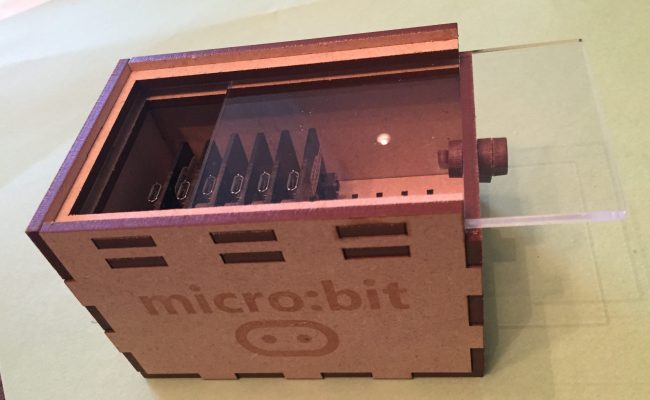
This project is a variant of my previous edge-lit pendant project which combined a laser-cut wooden battery holder, a color changing LED and a piece of etched clear acrylic for an edge-lit effect. When edge-lighting clear acrylic, the illumination shows up mostly at the edges and places where the acrylic is etched.
UPDATE: Twitter user @linuxlovah has created a 3D printable version of this project, making it buildable by those without a laser cutter. Instructions for the 3D printable version here: https://www.thingiverse.com/thing:4757022
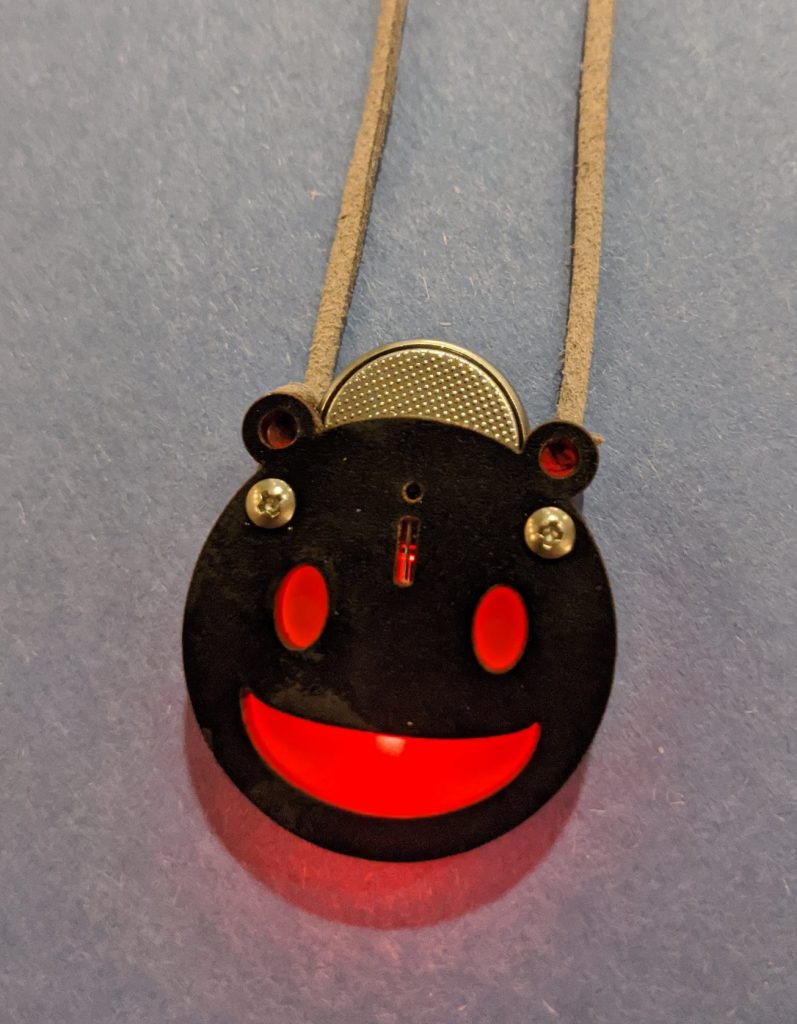
I’ve been experimenting with a semi-translucent kind of acrylic, sold as “engraving plastic”, which produces a lovely diffuse glow throughout the entire acrylic piece. Instead of etching the plastic to produce glowing patterns, the glowing acrylic works as a (more or less) uniformly illuminated layer sandwiched between two laser-cut pieces of wood. Embedding a color-changing LED within the acrylic allows the colors to shine through patterns of holes in the laser-cut wood.
The video below demonstrates how nicely the translucent acrylic diffuses the light throughout its volume:
Once the pieces for the pendants are laser cut, assembly is very easy.
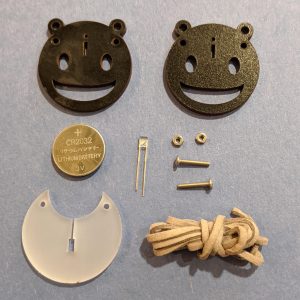
Materials:
- 1/8″ Sheet of Rowmark Colorhues Phantom Engraving Plastic
- 1/8″ Sheet of wood for laser cutting (single sided veneer is fine as only one side of the wood will show)
- 2 x 12mm M2 Screws and Nuts (except for the Ladybug Pendant which uses 12mm M3 screws/nuts)
- 2x3x4mm rectangular LEDs (available in solid colors: or slow-flash color changing patterns)
- CR2032 battery
- Cord for hanging your pendant
Tools:
- Laser cutter or laser cutting service like Ponoko
- Flush cutters
- Fine-nosed pliers
- Screwdriver
Laser Cut the Pieces
Download vector files for the wood and acrylic pieces for each shape. In each file, the blue lines are for cutting and the teal lines are for etching.
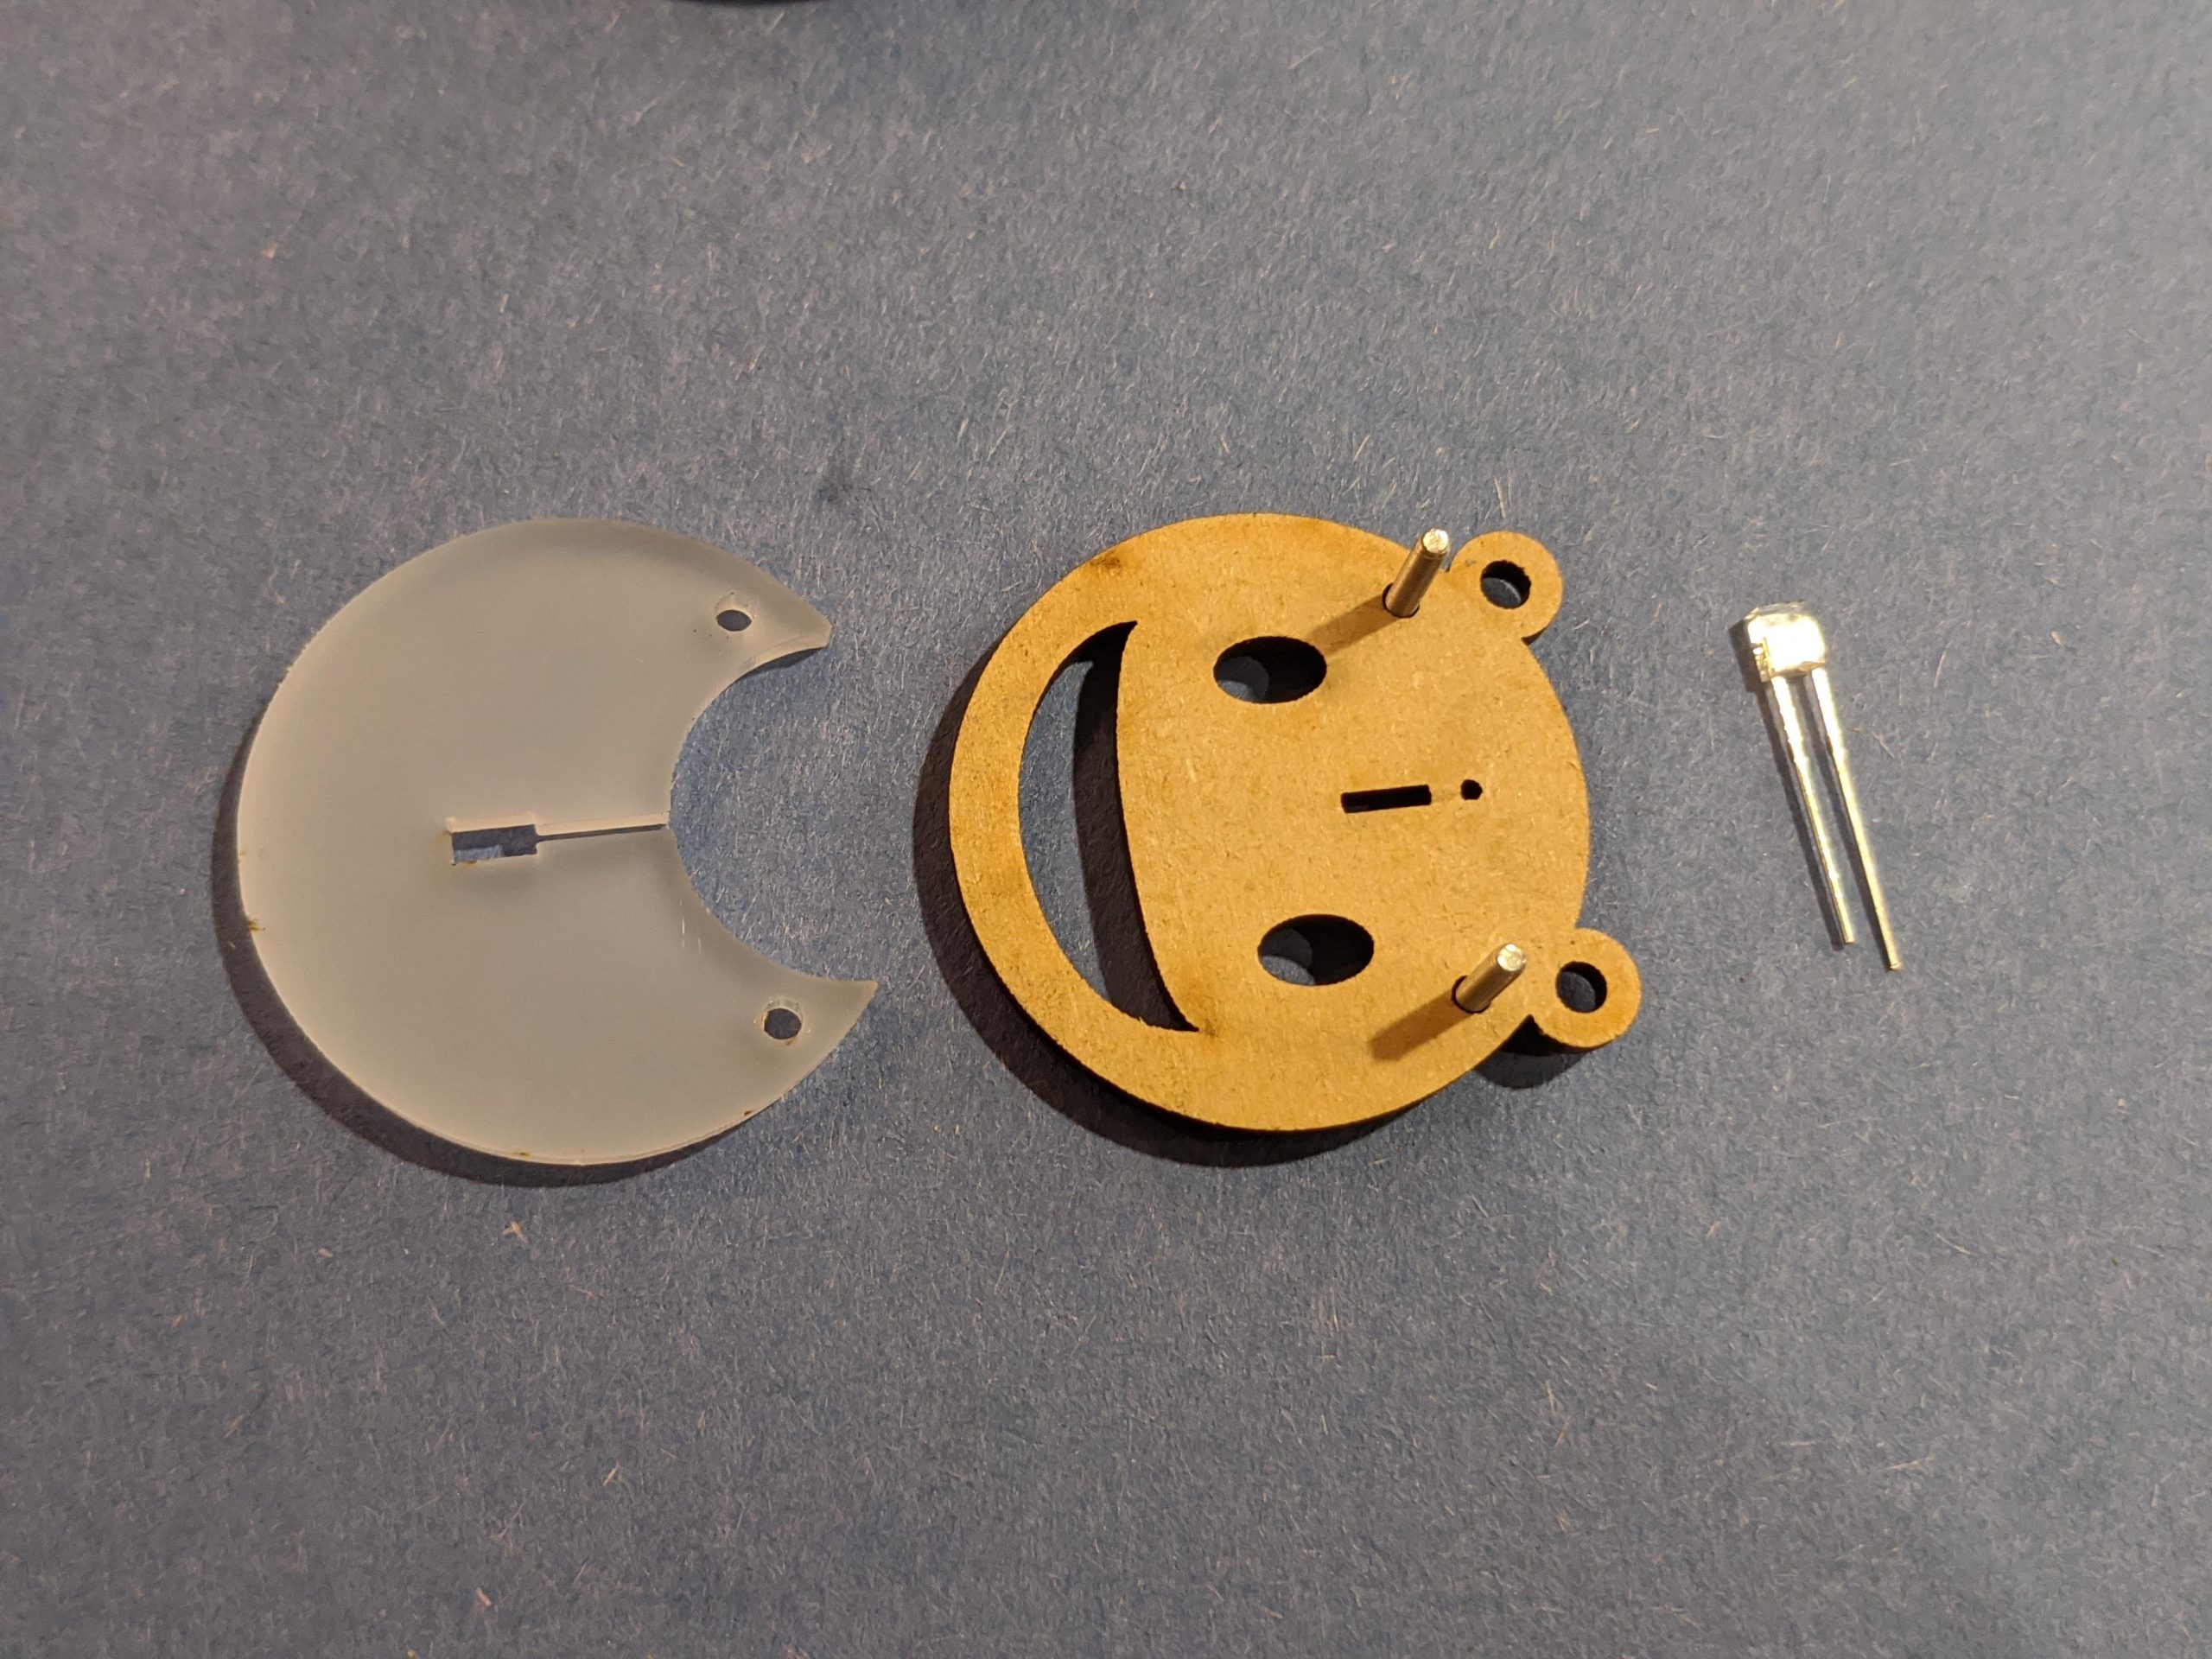
Laser cut the pieces for the shape you’d like to make. Each pendant has two wooden outer pieces and one acrylic inner piece. Don’t resize the pieces before cutting as they are scaled to fit around the battery. Once cut, peel any protective paper off of the all pieces.
Assemble Layers and Bend the LED

Lay the bottom piece of wood over the screws 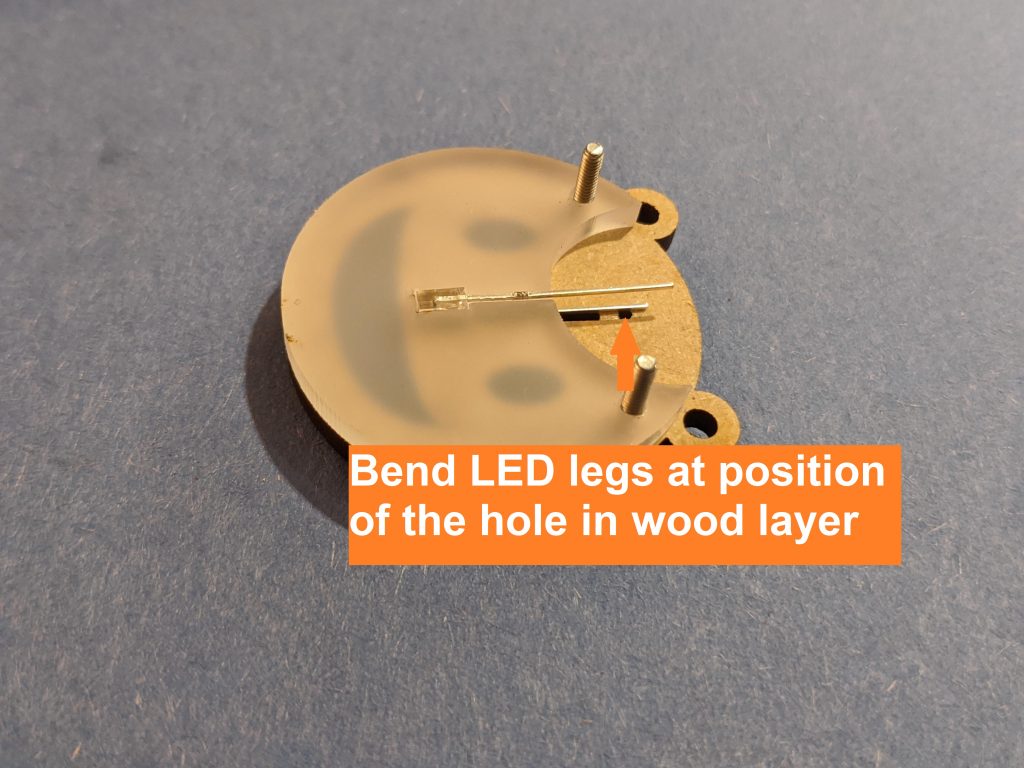
Place acrylic over the wood, then lay the LED inside the slot. Note where the legs meet the tiny hole in the wood. 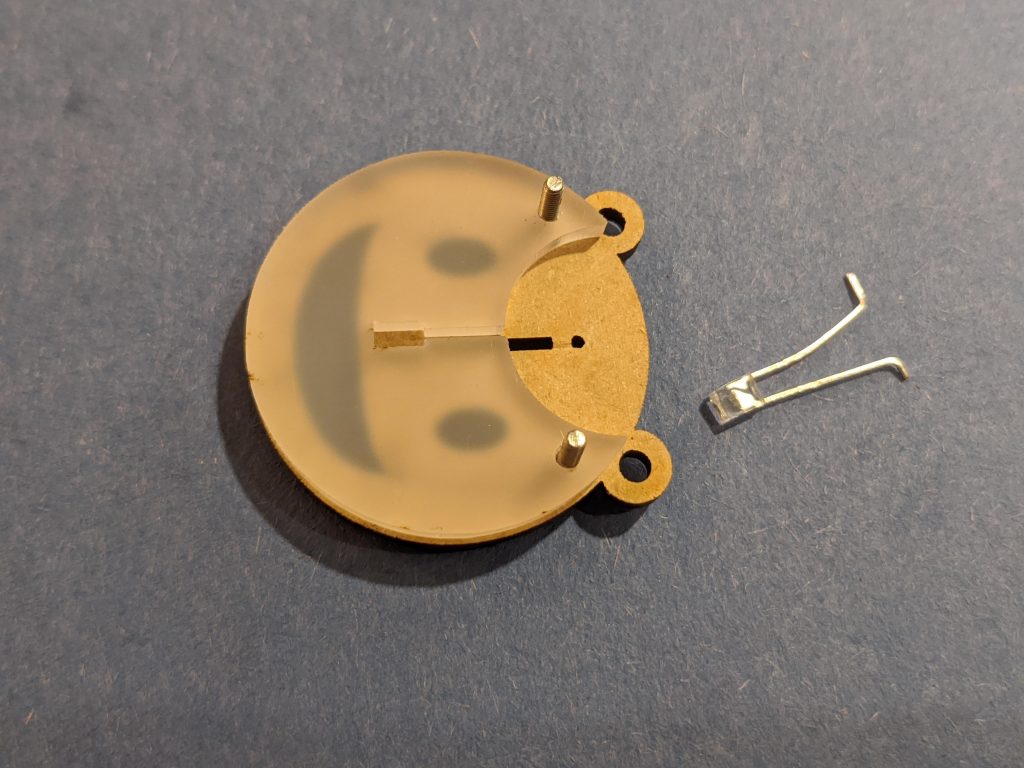
Bend the LED legs outward at the same point 
place the LED back in the slot with the end of one leg in the hole in the bottom layer

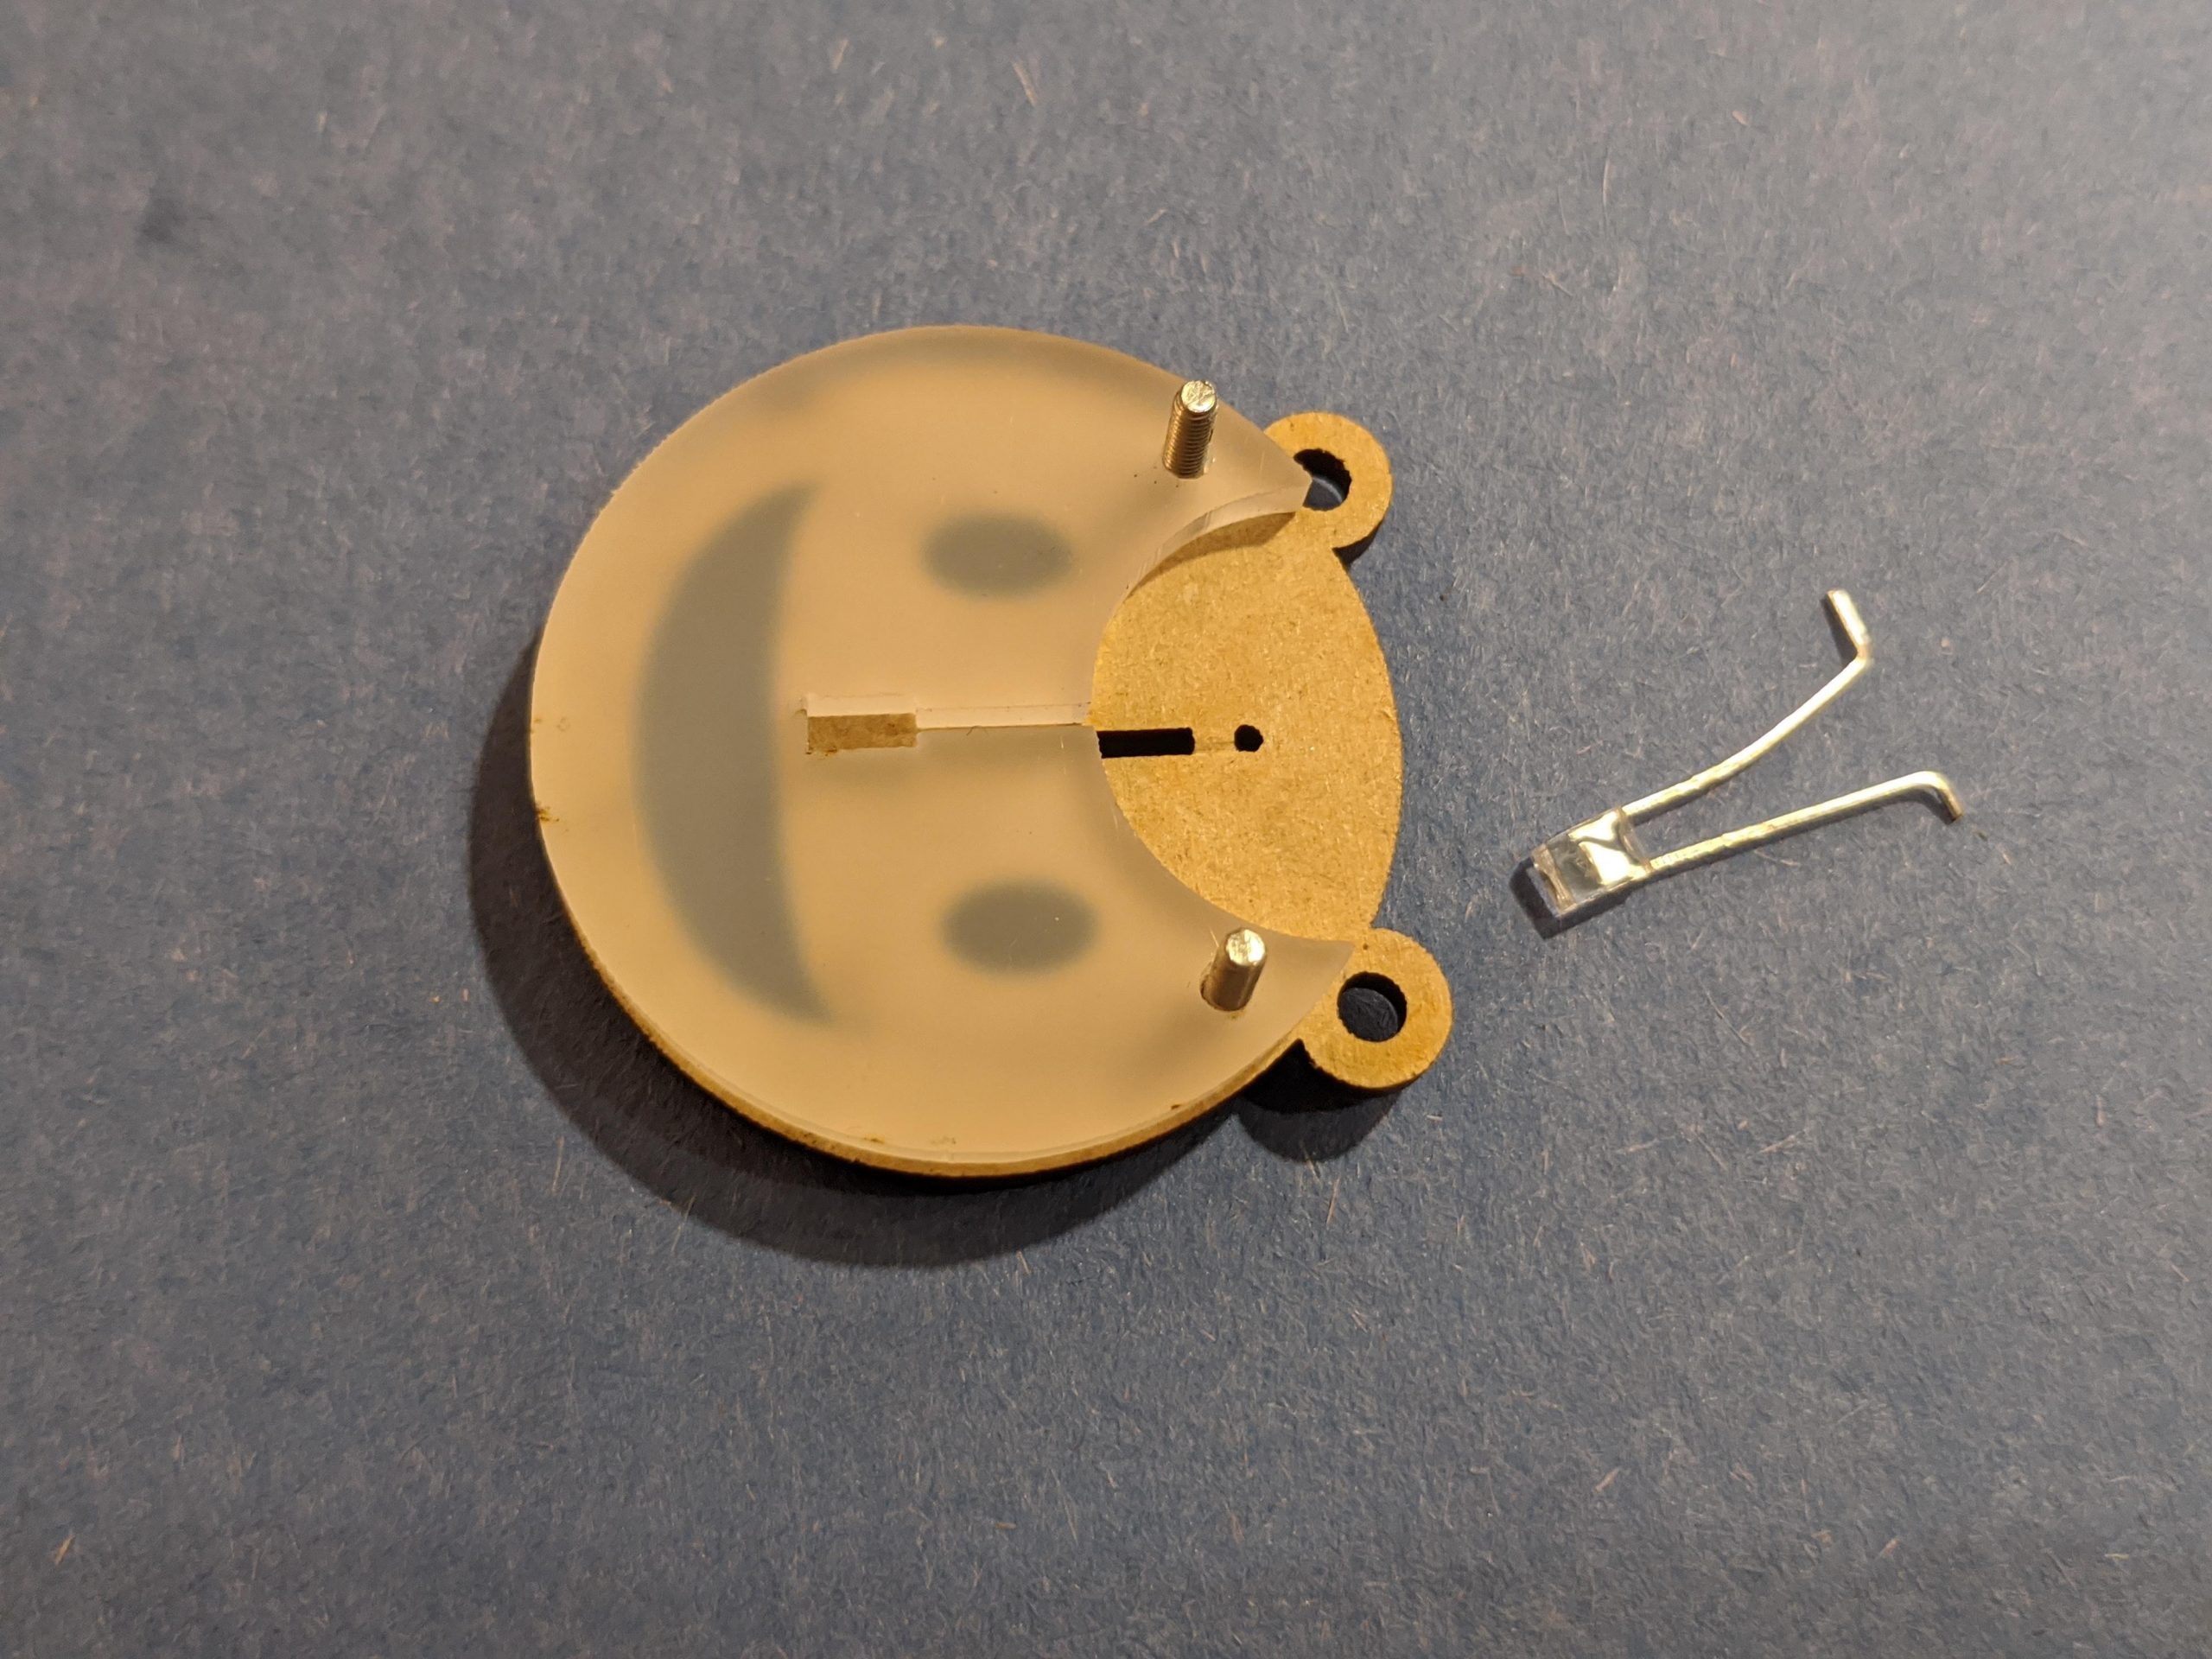
The legs of the LED must be bent at the right position to fit through in the tiny centered holes in the wood pieces. That keeps them from moving around when the battery is inserted.
Take the two screws and put them through the holes in one wooden piece, then lay the piece down on a table so that the screws point upwards. Place the acrylic piece over the wood with the screws going through the holes in both layers. Now take the LED, and place it sideways so that the LED fits into the rectangular hole in the acrylic.
To figure out where the bend in the legs should be, place the 2x3x4mm LED in the slot in the acrylic and note where the small hole in the wood falls along the LED legs. That is where the bends go. Using pliers, bend the legs outward 90 degrees at that position. The bent legs should point directly away from each other.
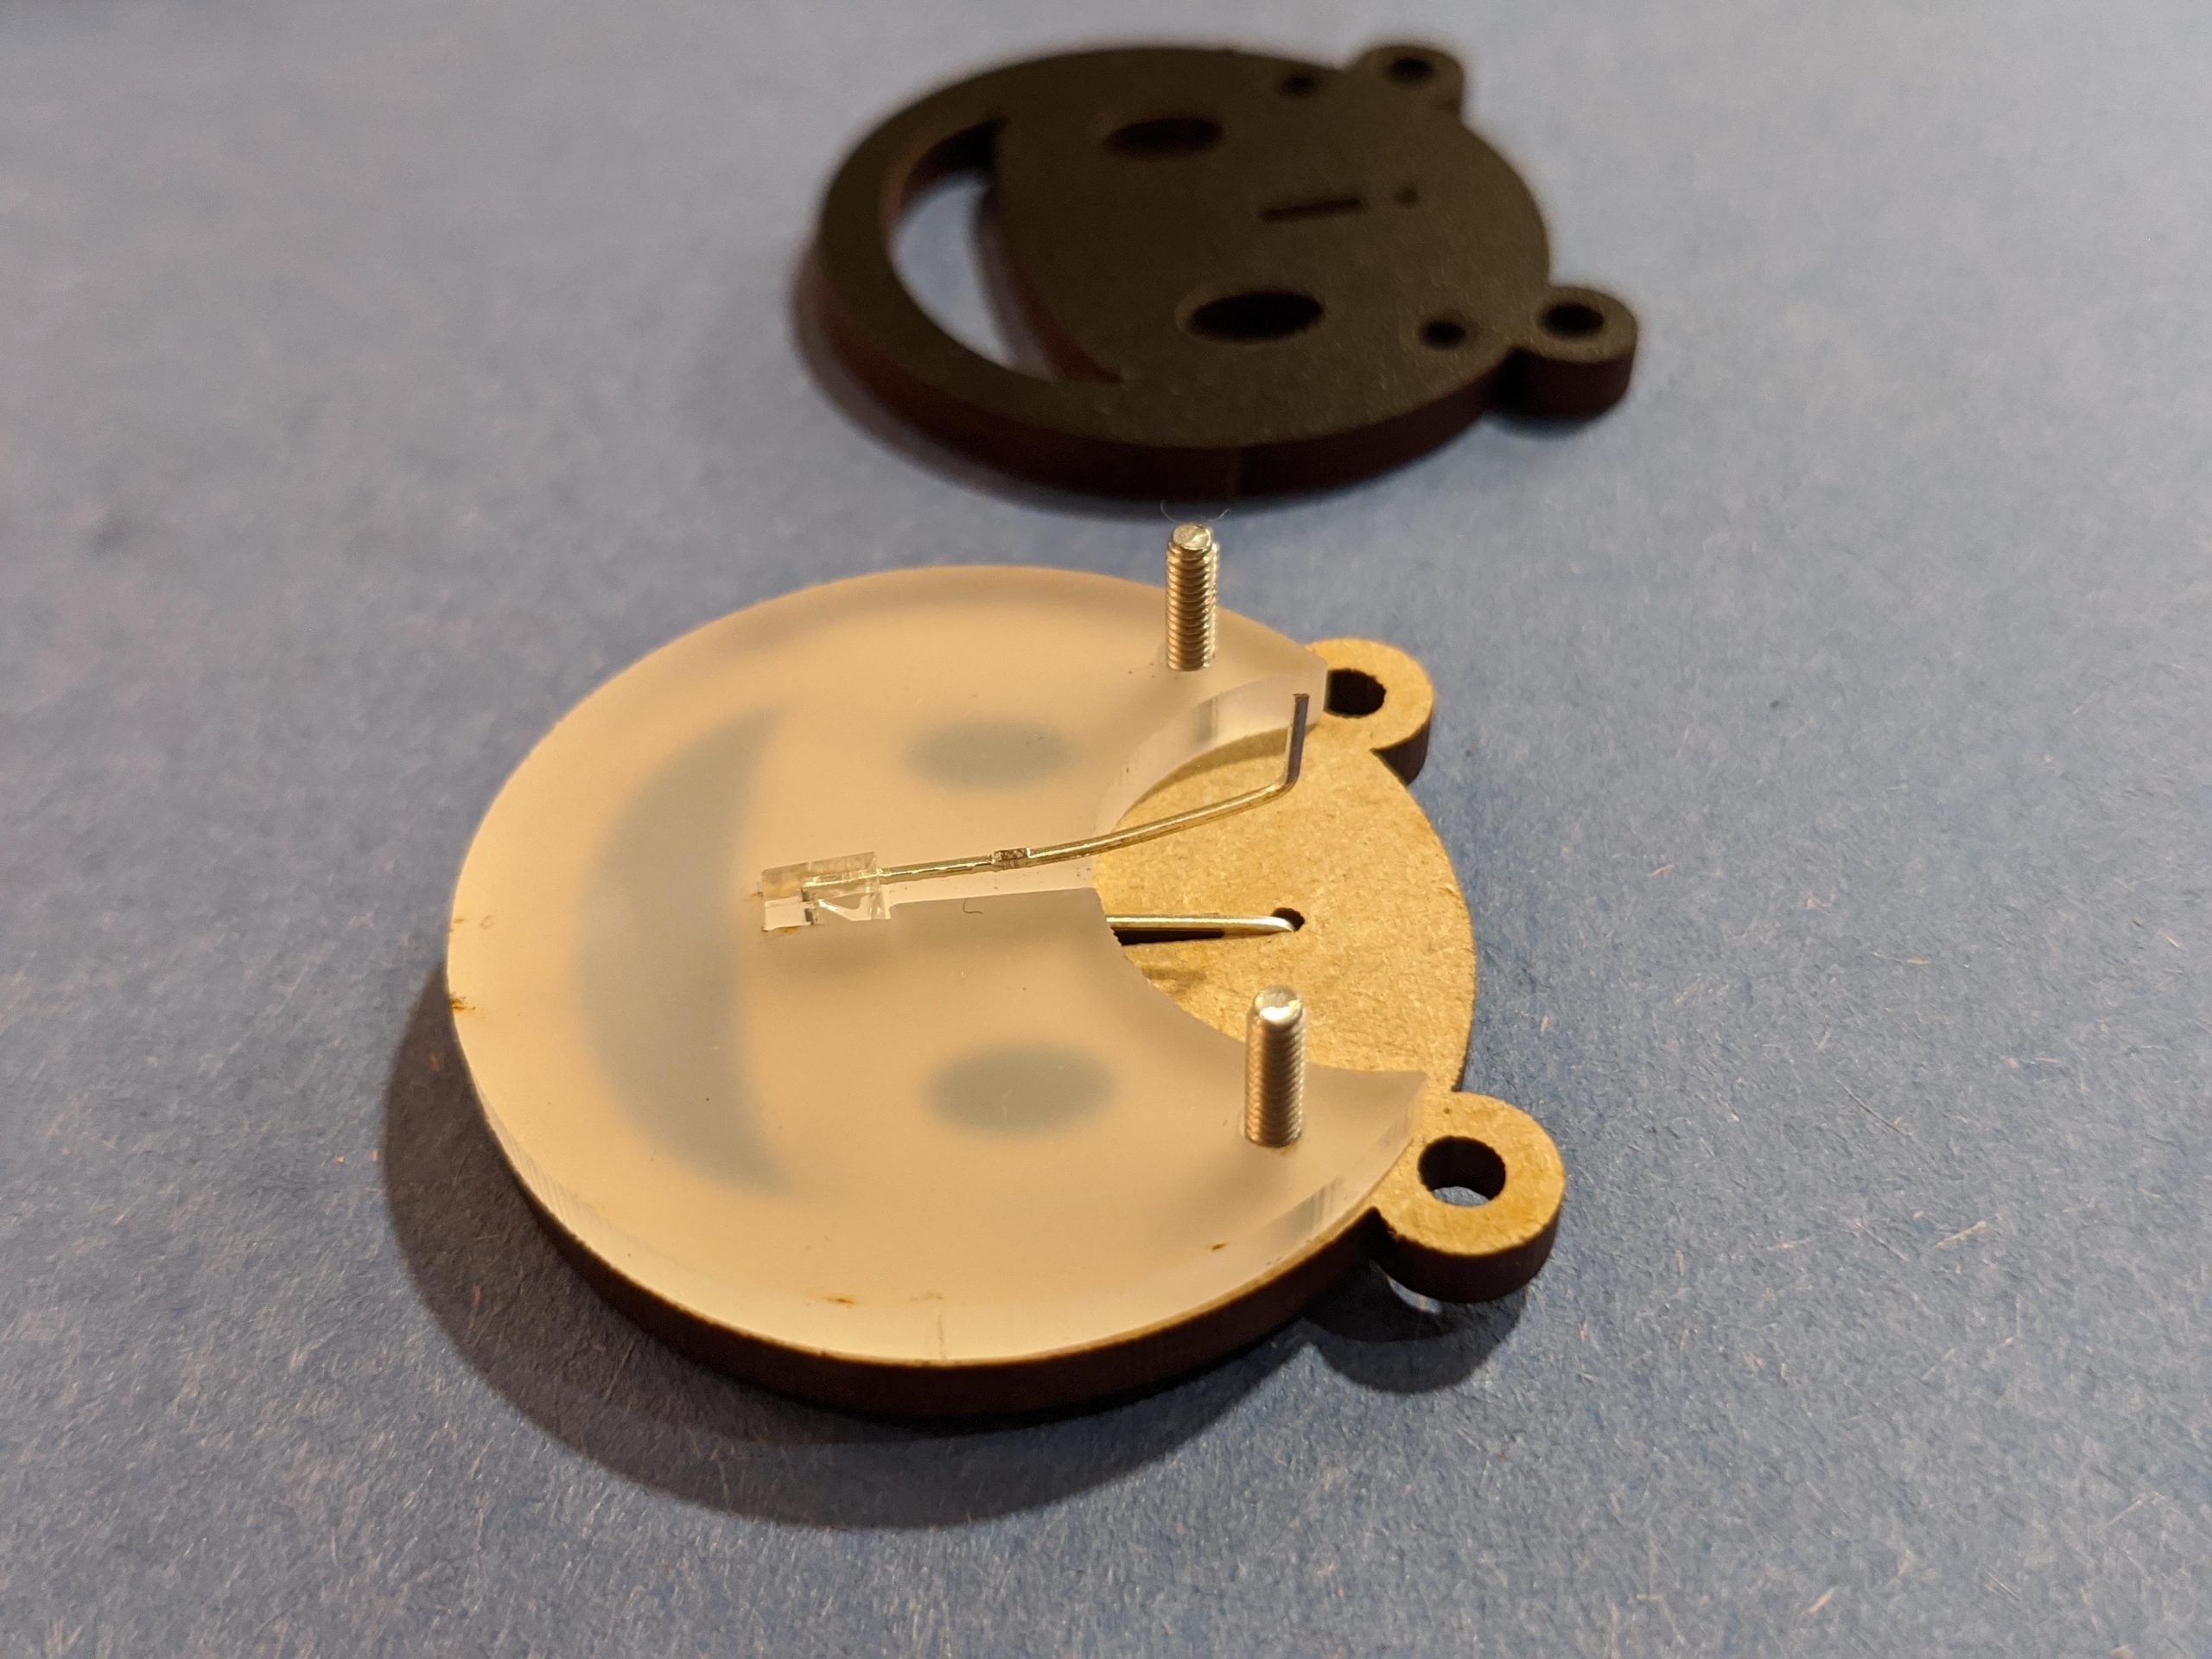
Slightly separate the LED legs so they make a slight “V” shape then place the LED back in the acrylic so the bent end of one leg slots into the tiny hole in the bottom wooden piece.
Add the Top Layer

Take the last wooden piece and carefully lay it over the acrylic so that the tiny hole slots over the top leg of the LED and the screws pass through the correct holes in the wood. Now add the nuts and tighten them to hold everything together.
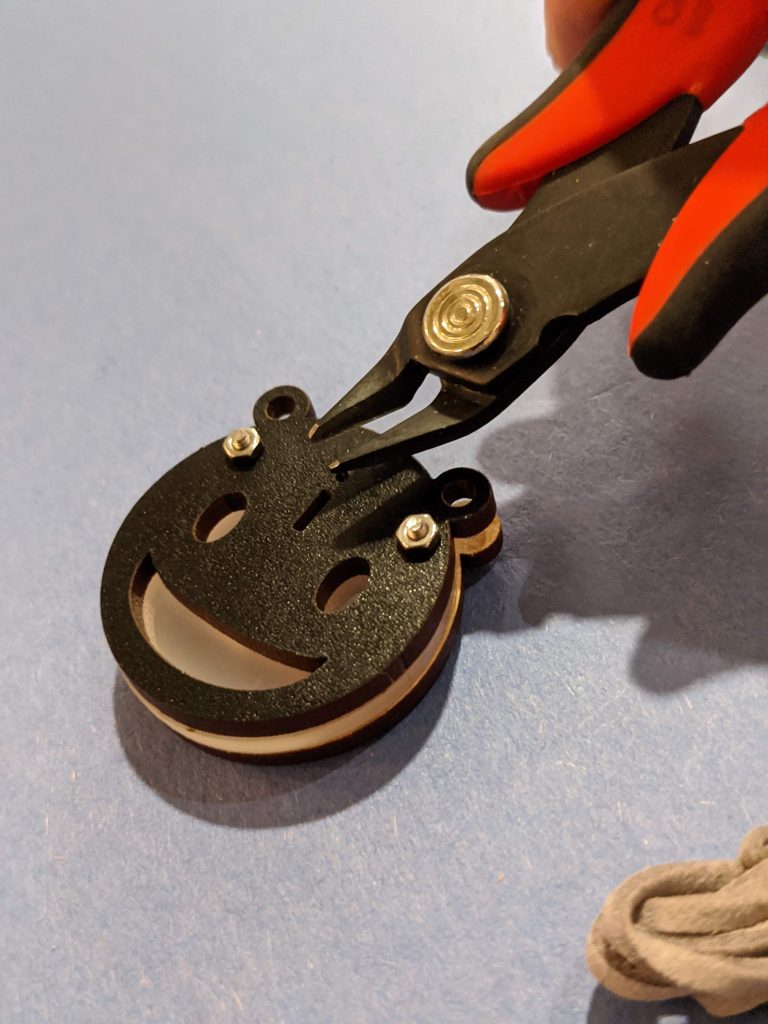
If the ends of the LEDs extend beyond the wood, cut the protruding parts off with a flush cutter so you don’t get poked when you wear your pendant.
Turn it On
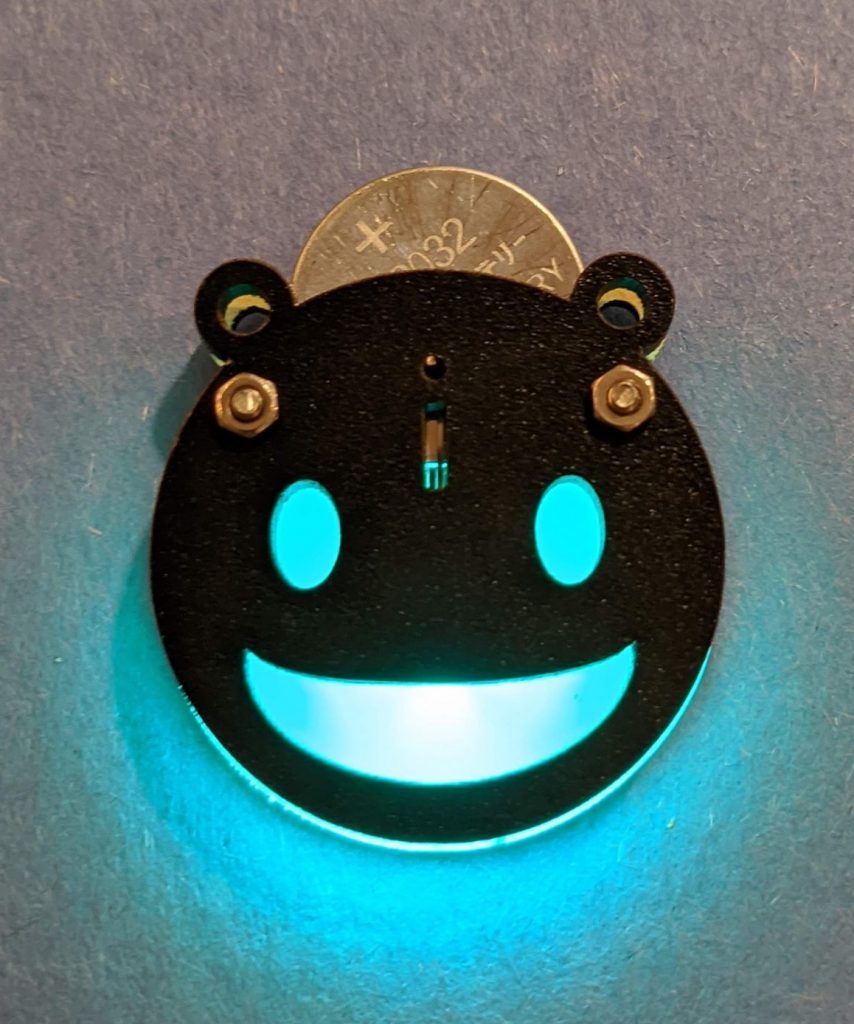
Insert the battery into the slot in the top of the pendant. It may be hard to insert the first time, but it will get easier once the LED legs settle into place. As long as the ends of the legs are seated in the holes in the wood, they should stay in place while you insert and remove the battery. You can store the battery inside the pendant by turning it around and placing it back in the battery slot so that it won’t get lost.
Add the Cord
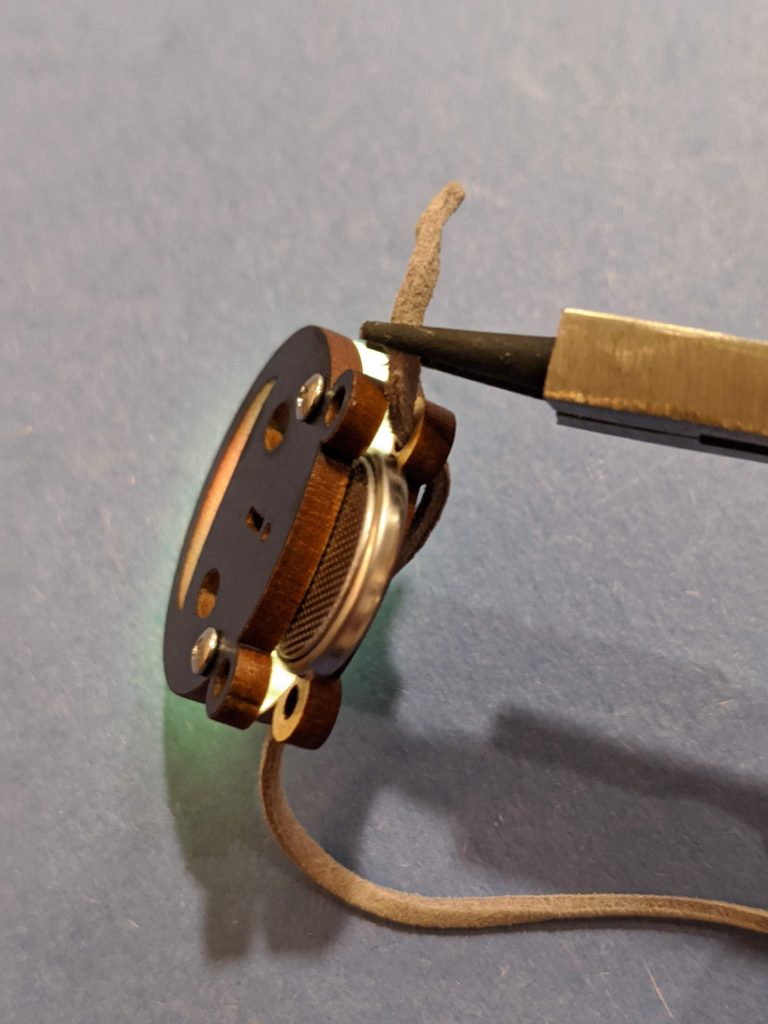
Thread the cord through the large holes in the pendant 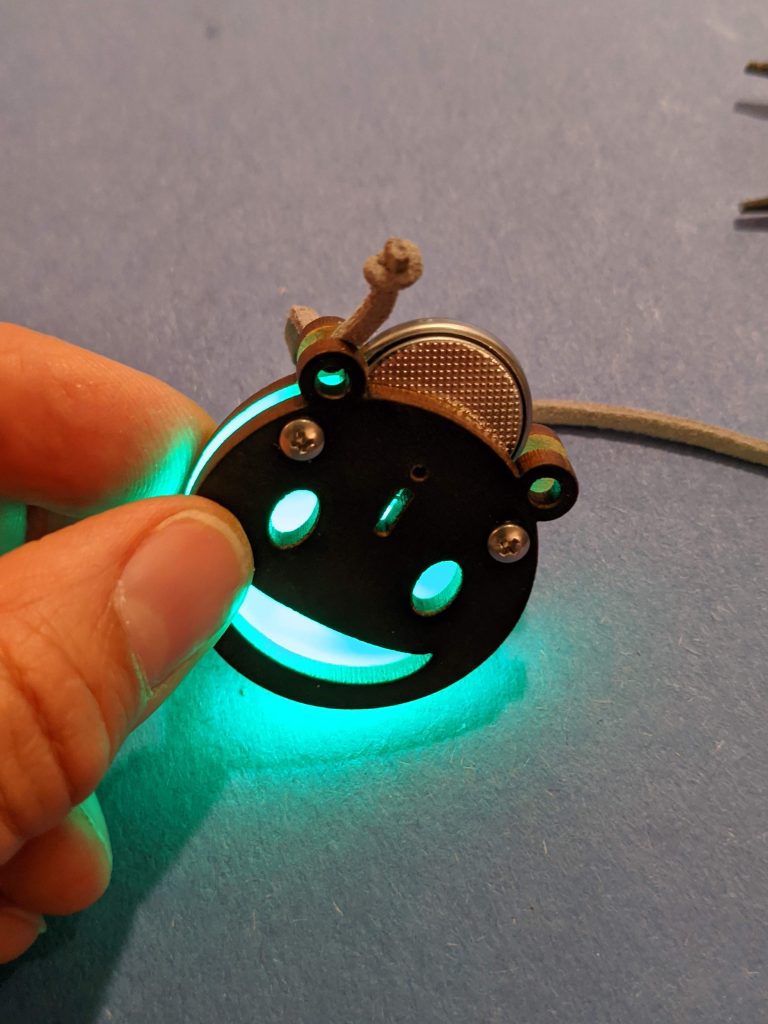
Tie the end of the cord in a knot just at the end 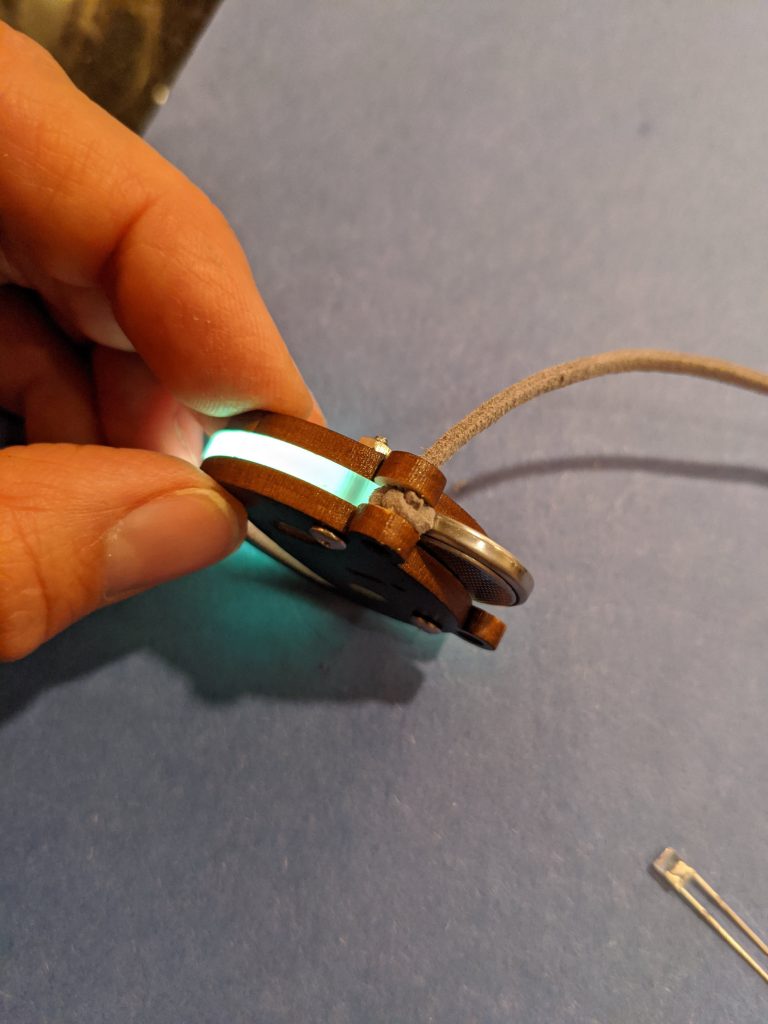
Pull the cord until the knot fits between the wooden layers
Now all you have to do is thread your cord through the topmost two holes in the wooden pieces, and your layered edge-lit pendant is ready to wear!
2 thoughts on “Layered Edge-Lit Pendants”