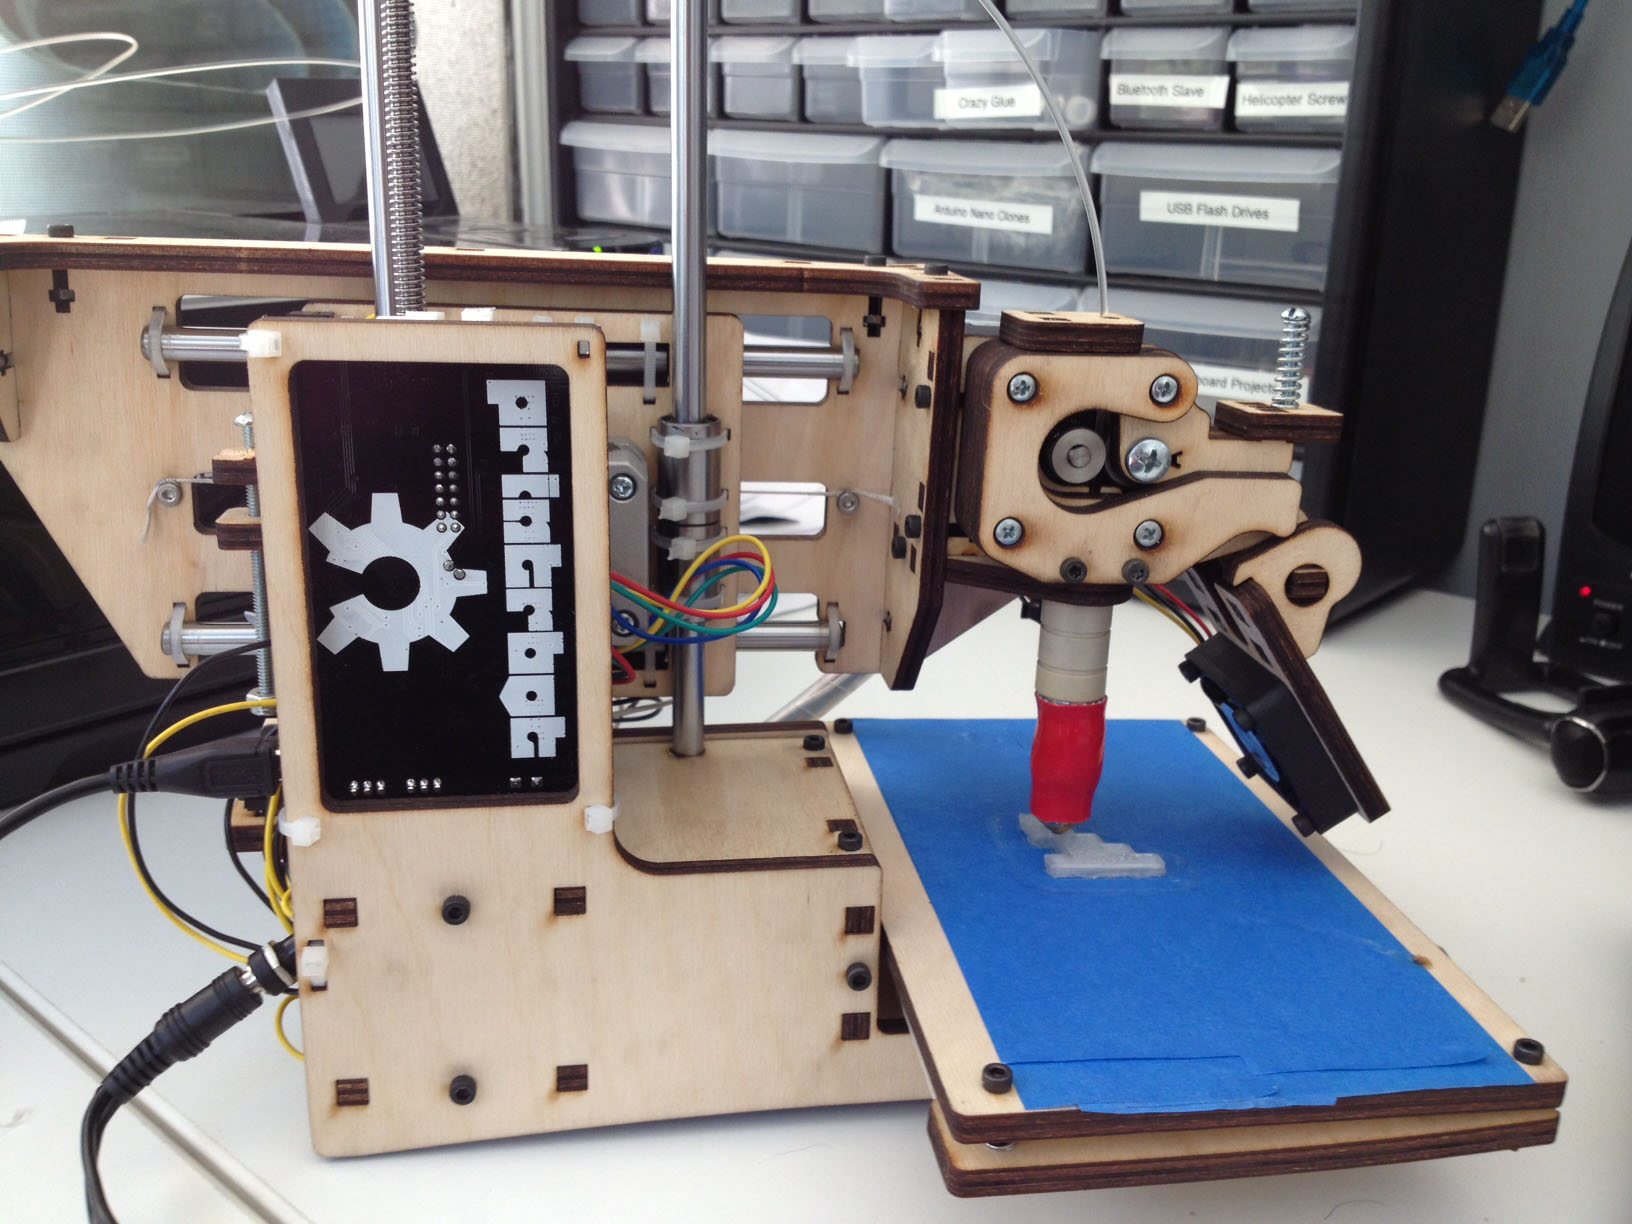

After last week’s frustration with the Printrbot Simple, we were on the verge of returning it and looking for a different model. Research revealed, however, that there was no other 3D printer for a comparable price that is ready for delivery now. The 20% restocking fee for Printrbot returns was an additional deterrent. So, I took a deep breath and submitted yet another support ticket.
We had isolated the problem as a faulty power supply, whose fluctuations resulted in the printer frequently and unpredictably disconnecting from the computer. Two days after the submitted ticket, I received another e-mail from Dave from the support team. He apologized for the issues and shipped another power supply, which he assured us had been tested. It arrived two days later.
We swapped the power supply, and were relieved to see that the connection between computer and printer was now stable, so we could attempt to print an actual project. We selected a the 5 mm Calibration Cube from Thingiverse, and downloaded the .stl file. We then loaded the .stl file into the Repetier software (we’d entered the recommended default settings previously), connected the printer, ran the Slicer application from within Repetier to divide the print job into horizontal slices, heated up the extruder, selected “Run Job” then sat back and waited. And waited, and waited while nothing happened…
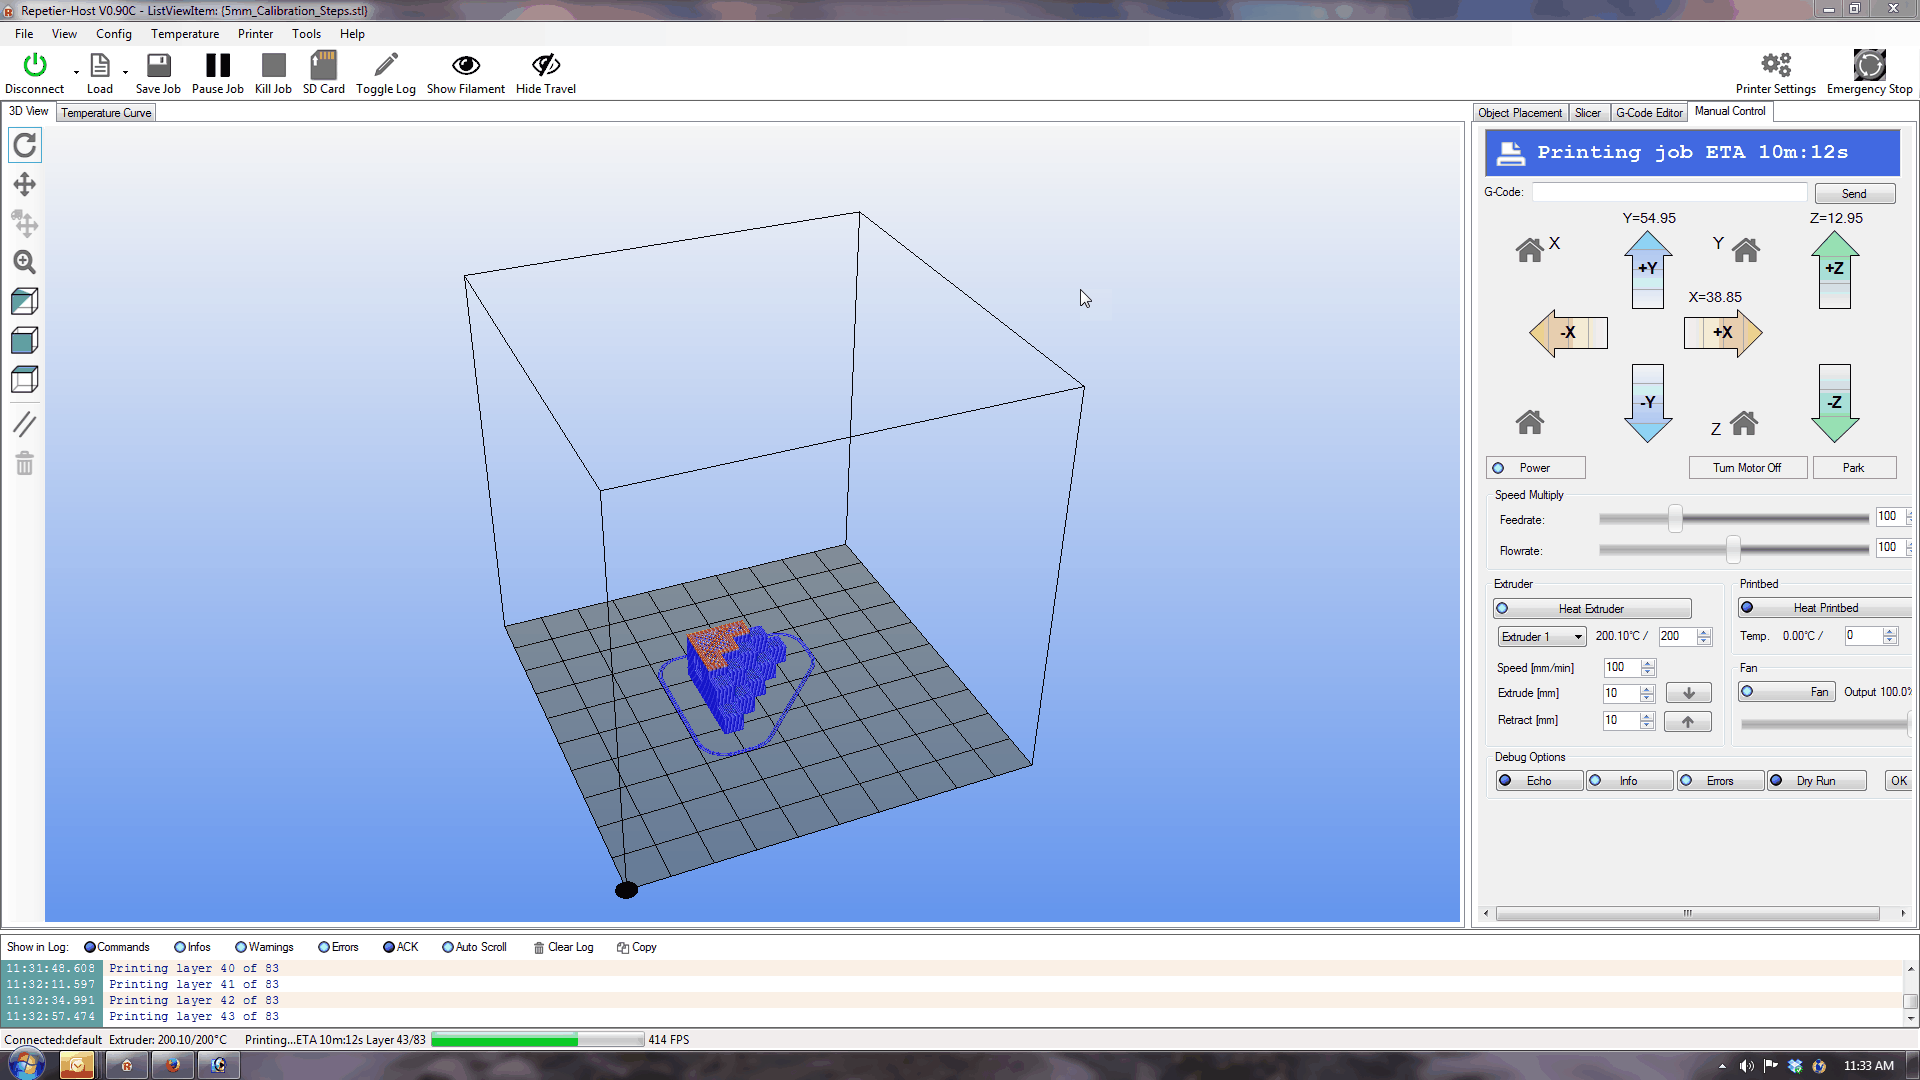
While the Repetier host had a nifty looking display, and indicated that the print job was running, the Printrbot itself was not moving. It turns out that the Slicer program, which creates a list of instructions for the printer to follow, inserts instructions to wait until the print bed and extruder heat up to the desired temperature. The program was getting hung up at these instructions. Since we had pre-heated the extruder and didn’t have a heated print bed, we didn’t need the pre-heat instructions anyhow. Removing these two lines from the code seemed to do the trick. We restarted the print, and the motors started to move in the shape of our object to be printed.
Unfortunately, while the extruder was now moving in what appeared to be the correct pattern, no actual PLA was being extruded. It turned out that the assembly which housed the extruder motor was not tightened enough to provide sufficient friction to pull the PLA filament through the extruder. Once we fixed that, we tried again, and at long last, our test object began to print!
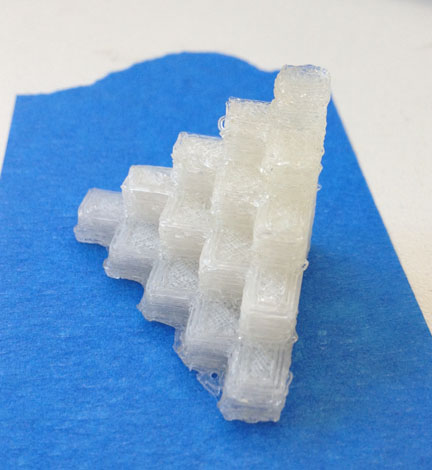
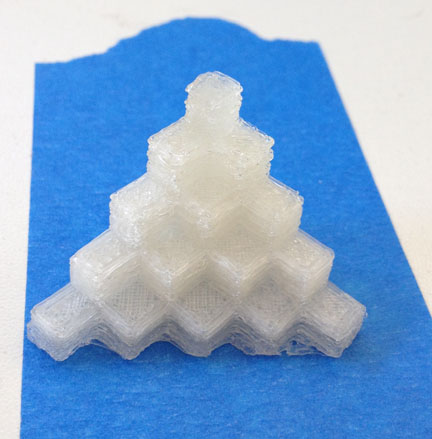
Much to my surprise, after all of our initial frustrations, our first print job came out remarkably well with just the default settings. The printer finds its own starting point by navigating to the end stops, then starting the print job. We were lucky that the Z (vertical) stop seemed to have been aligned just right. I tried raising the Z-stop on subsequent jobs, and I found that if the Z-stop is set too high, the first layer won’t stick to the printer bed (covered with blue painters tape for easy removal). To get the first layer to stick well, the extruder seems to need to be low enough apply some pressure on the print bed. Often the first layer seems kind of irregular, but after a few layers have been laid down, the problem isn’t noticeable anymore.
We’ve printed several more objects since the first, and learned a few things along the way. Rounded objects seem to come out a little better than sharp corners, and narrow vertical forms don’t print very well. We still need to try playing with some of the different fill and extrusion settings to see if we can improve the aesthetics of our printed objects, but the defaults seem to do a decent job.
Overall, I don’t know if the Printrbot was a good birthday present for my son. There are definitely some quality control issues at Printrbot that made getting up and started a frustrating experience. However, now that the printer is working, it’s been a great educational tool, and frankly, just a lot of fun to play with. I believe that inside of a year or so, with the plethora of new 3D printer manufacturers entering the market, prices will drop and quality will improve. Once that stage is reached, a 3D printer will be a great purchase for anyone. Until that time, if you decide that a 3D printer is a must-have, be prepared to put a lot of time and effort into your new purchase.
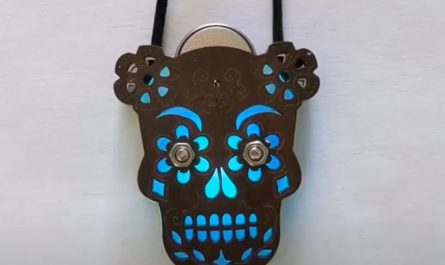
You are a nice Mom!