
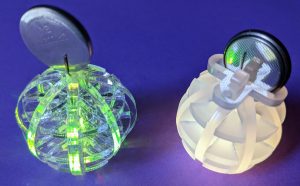
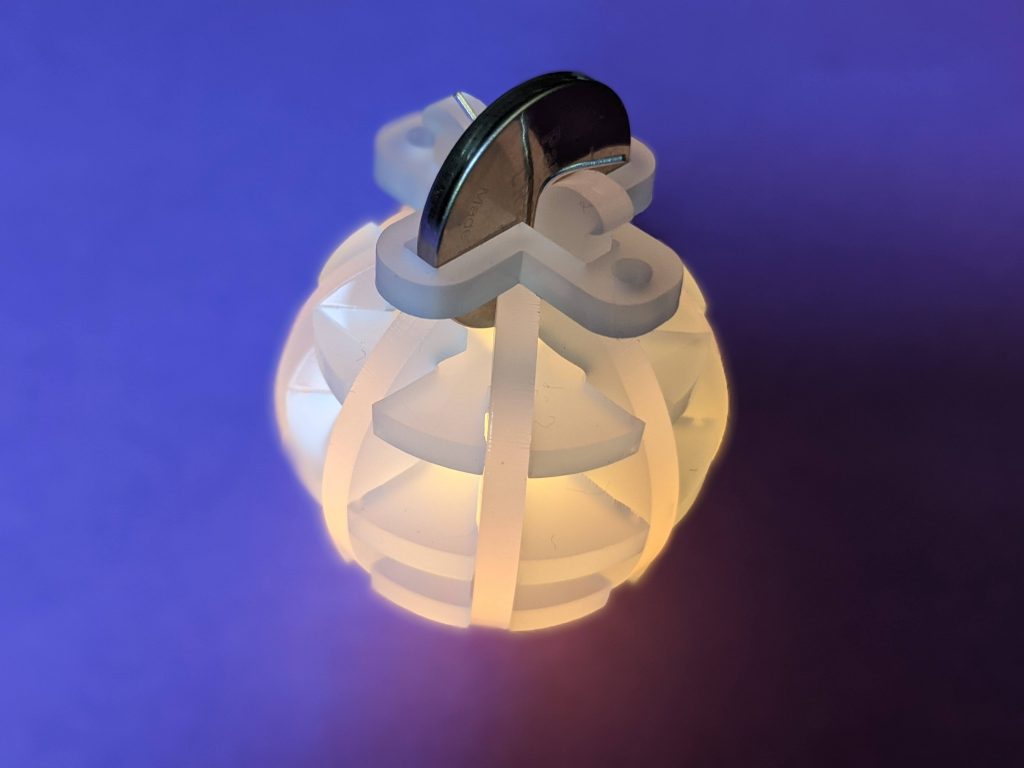
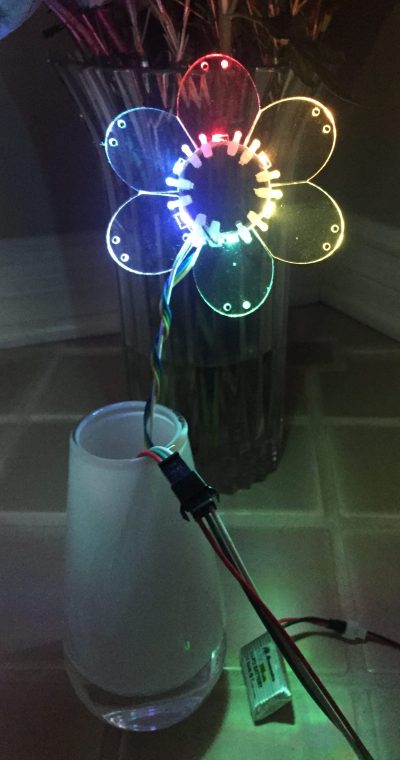
This project assembles small laser-cut acrylic pieces into a sphere surrounding a 5mm LED for edge-lighting which emanates from the center. I designed it a while ago, but was never really happy with how the light diffused through clear acrylic. I recently remade the project with translucent acrylic with much better results.
If you do build this project, be warned that the friction fit connection of the pieces requires very tight tolerances, which could work well for one material and not for another. They also make it a bit fiddly to assemble, and it’s fairly easy to crack the pieces in the process if you press them together with too much force.
Components
- 1/8″ acrylic (I like this translucent acrylic the best, but you can use another type or clear acrylic)
- 5mm color changing LED (like these)
- CR2032 battery
Design Files
Download the piece outlines below
Assembly
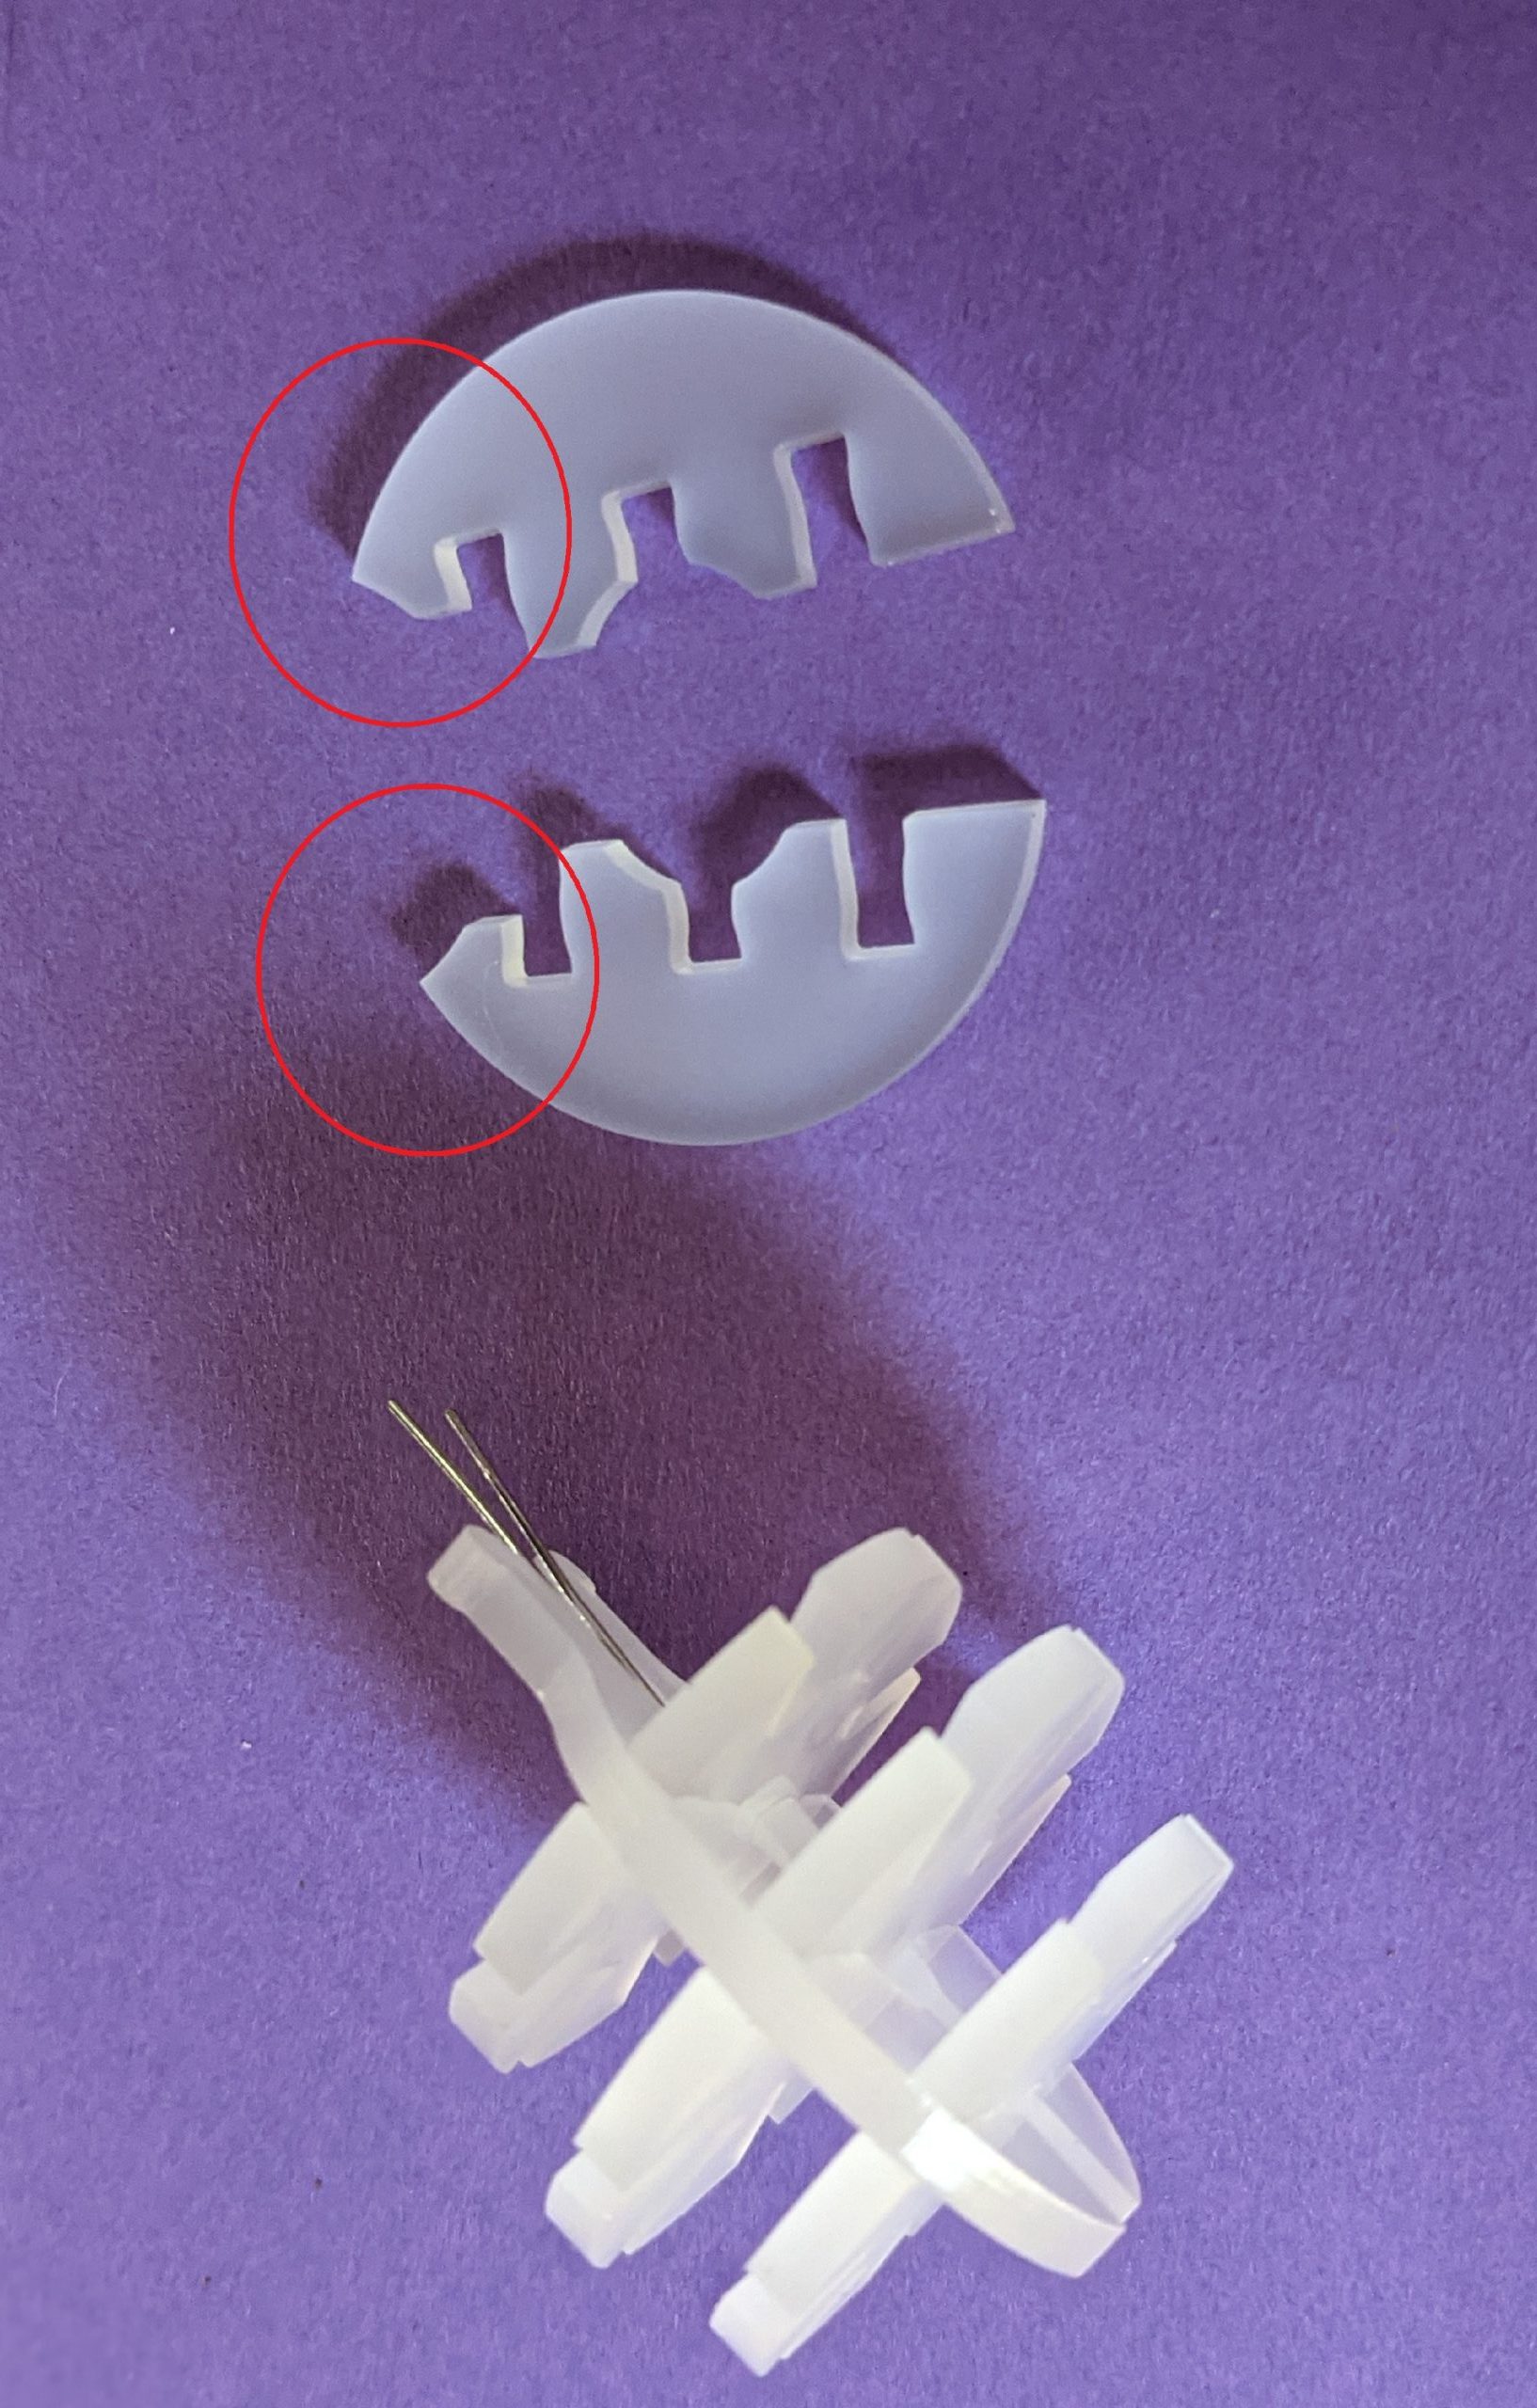
Laser cut the parts from 1/8″ acrylic as shown:
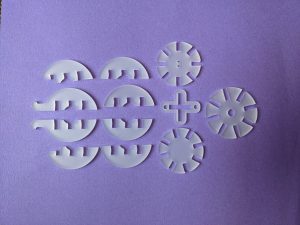
The three circular components align parallel to each other, with the largest circle in the middle. The semi-circular pieces slot into the notches around the circumference. Assembly is easiest if you insert the opposite-seated pieces one after the other. As acrylic may vary slightly in thickness, some pieces may slide into place more easily than others. To much force can crack the acrylic. If you run into too much difficulty with only one or two pieces, try filing the inside of the notches to enlarge them slightly.
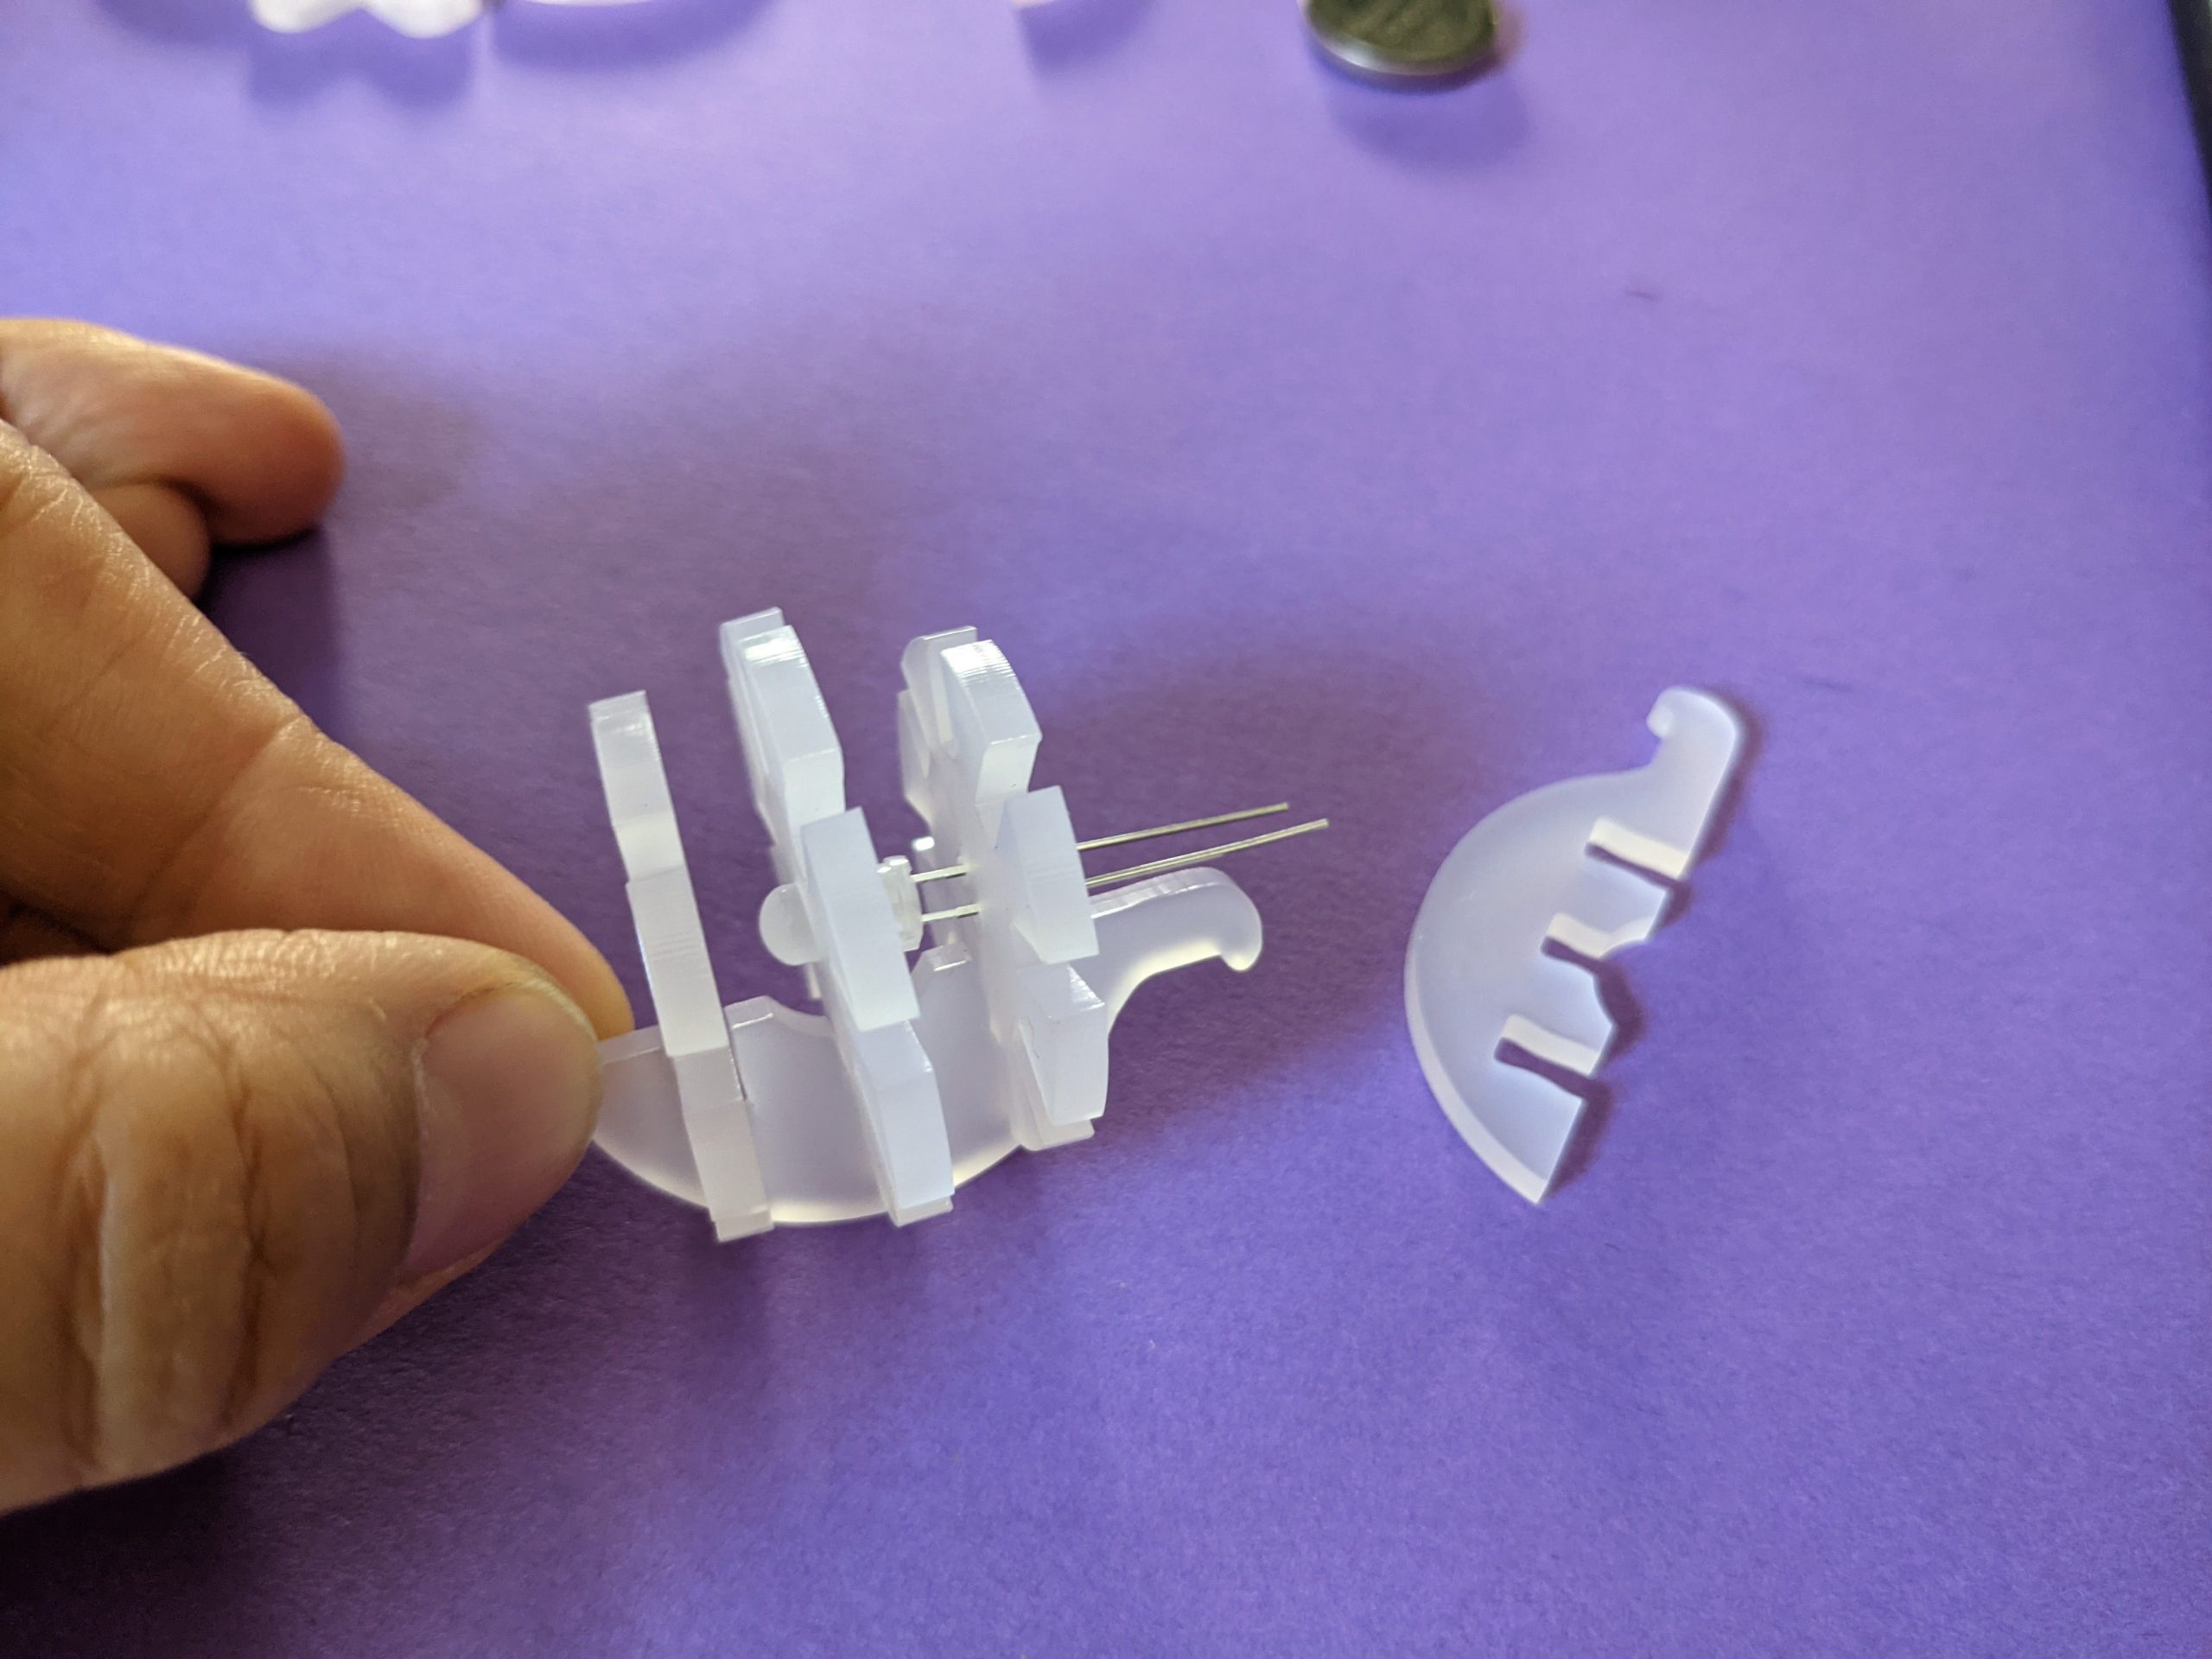
Take the 5mm LED and insert the head of the LED in the hole in the center circle piece, then slide the smaller circle piece containing the two small holes over the legs of the LED. Then take the two pieces with the protruding “knobs”, and gently slide them into the circles so the notches slip together. Make sure these two pieces go into the notches closest to the LED legs as shown below:
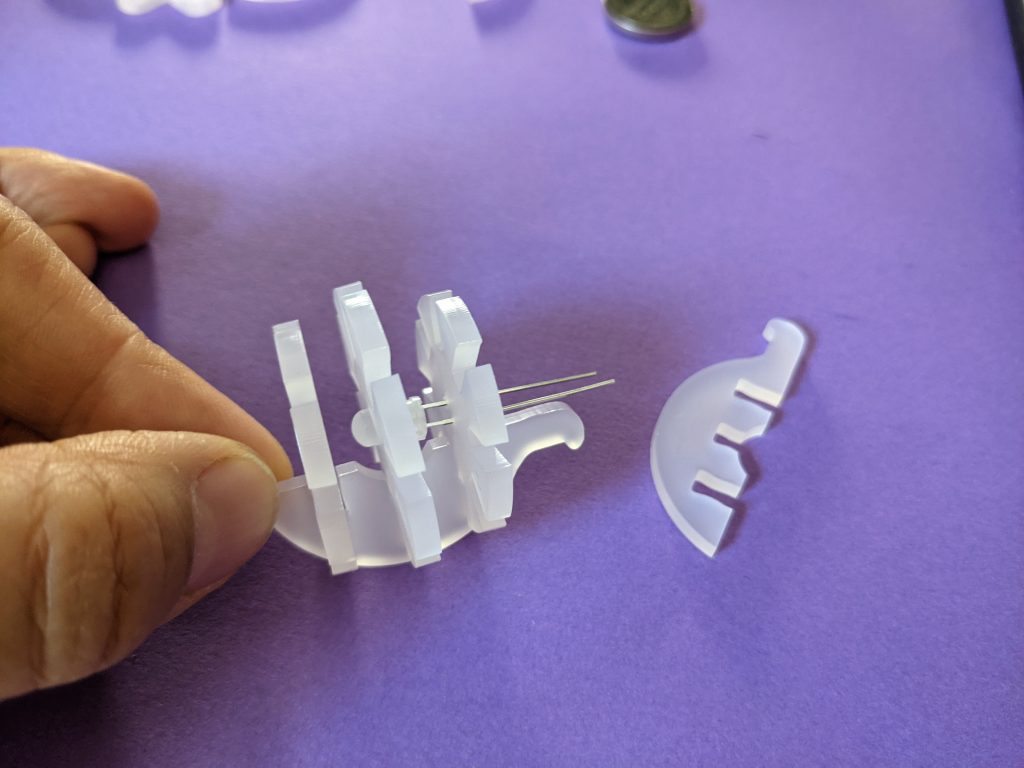
Slot the sides with the protruding knobs first 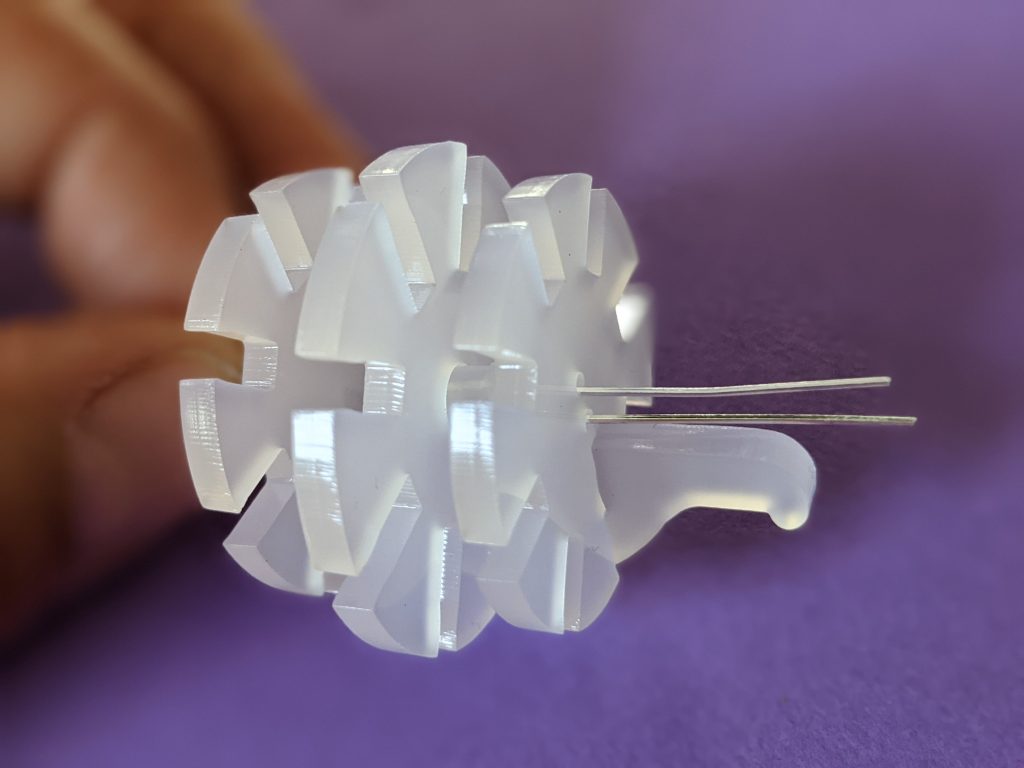
These sides sit closest to the LED legs 
Assemble the sides in pairs
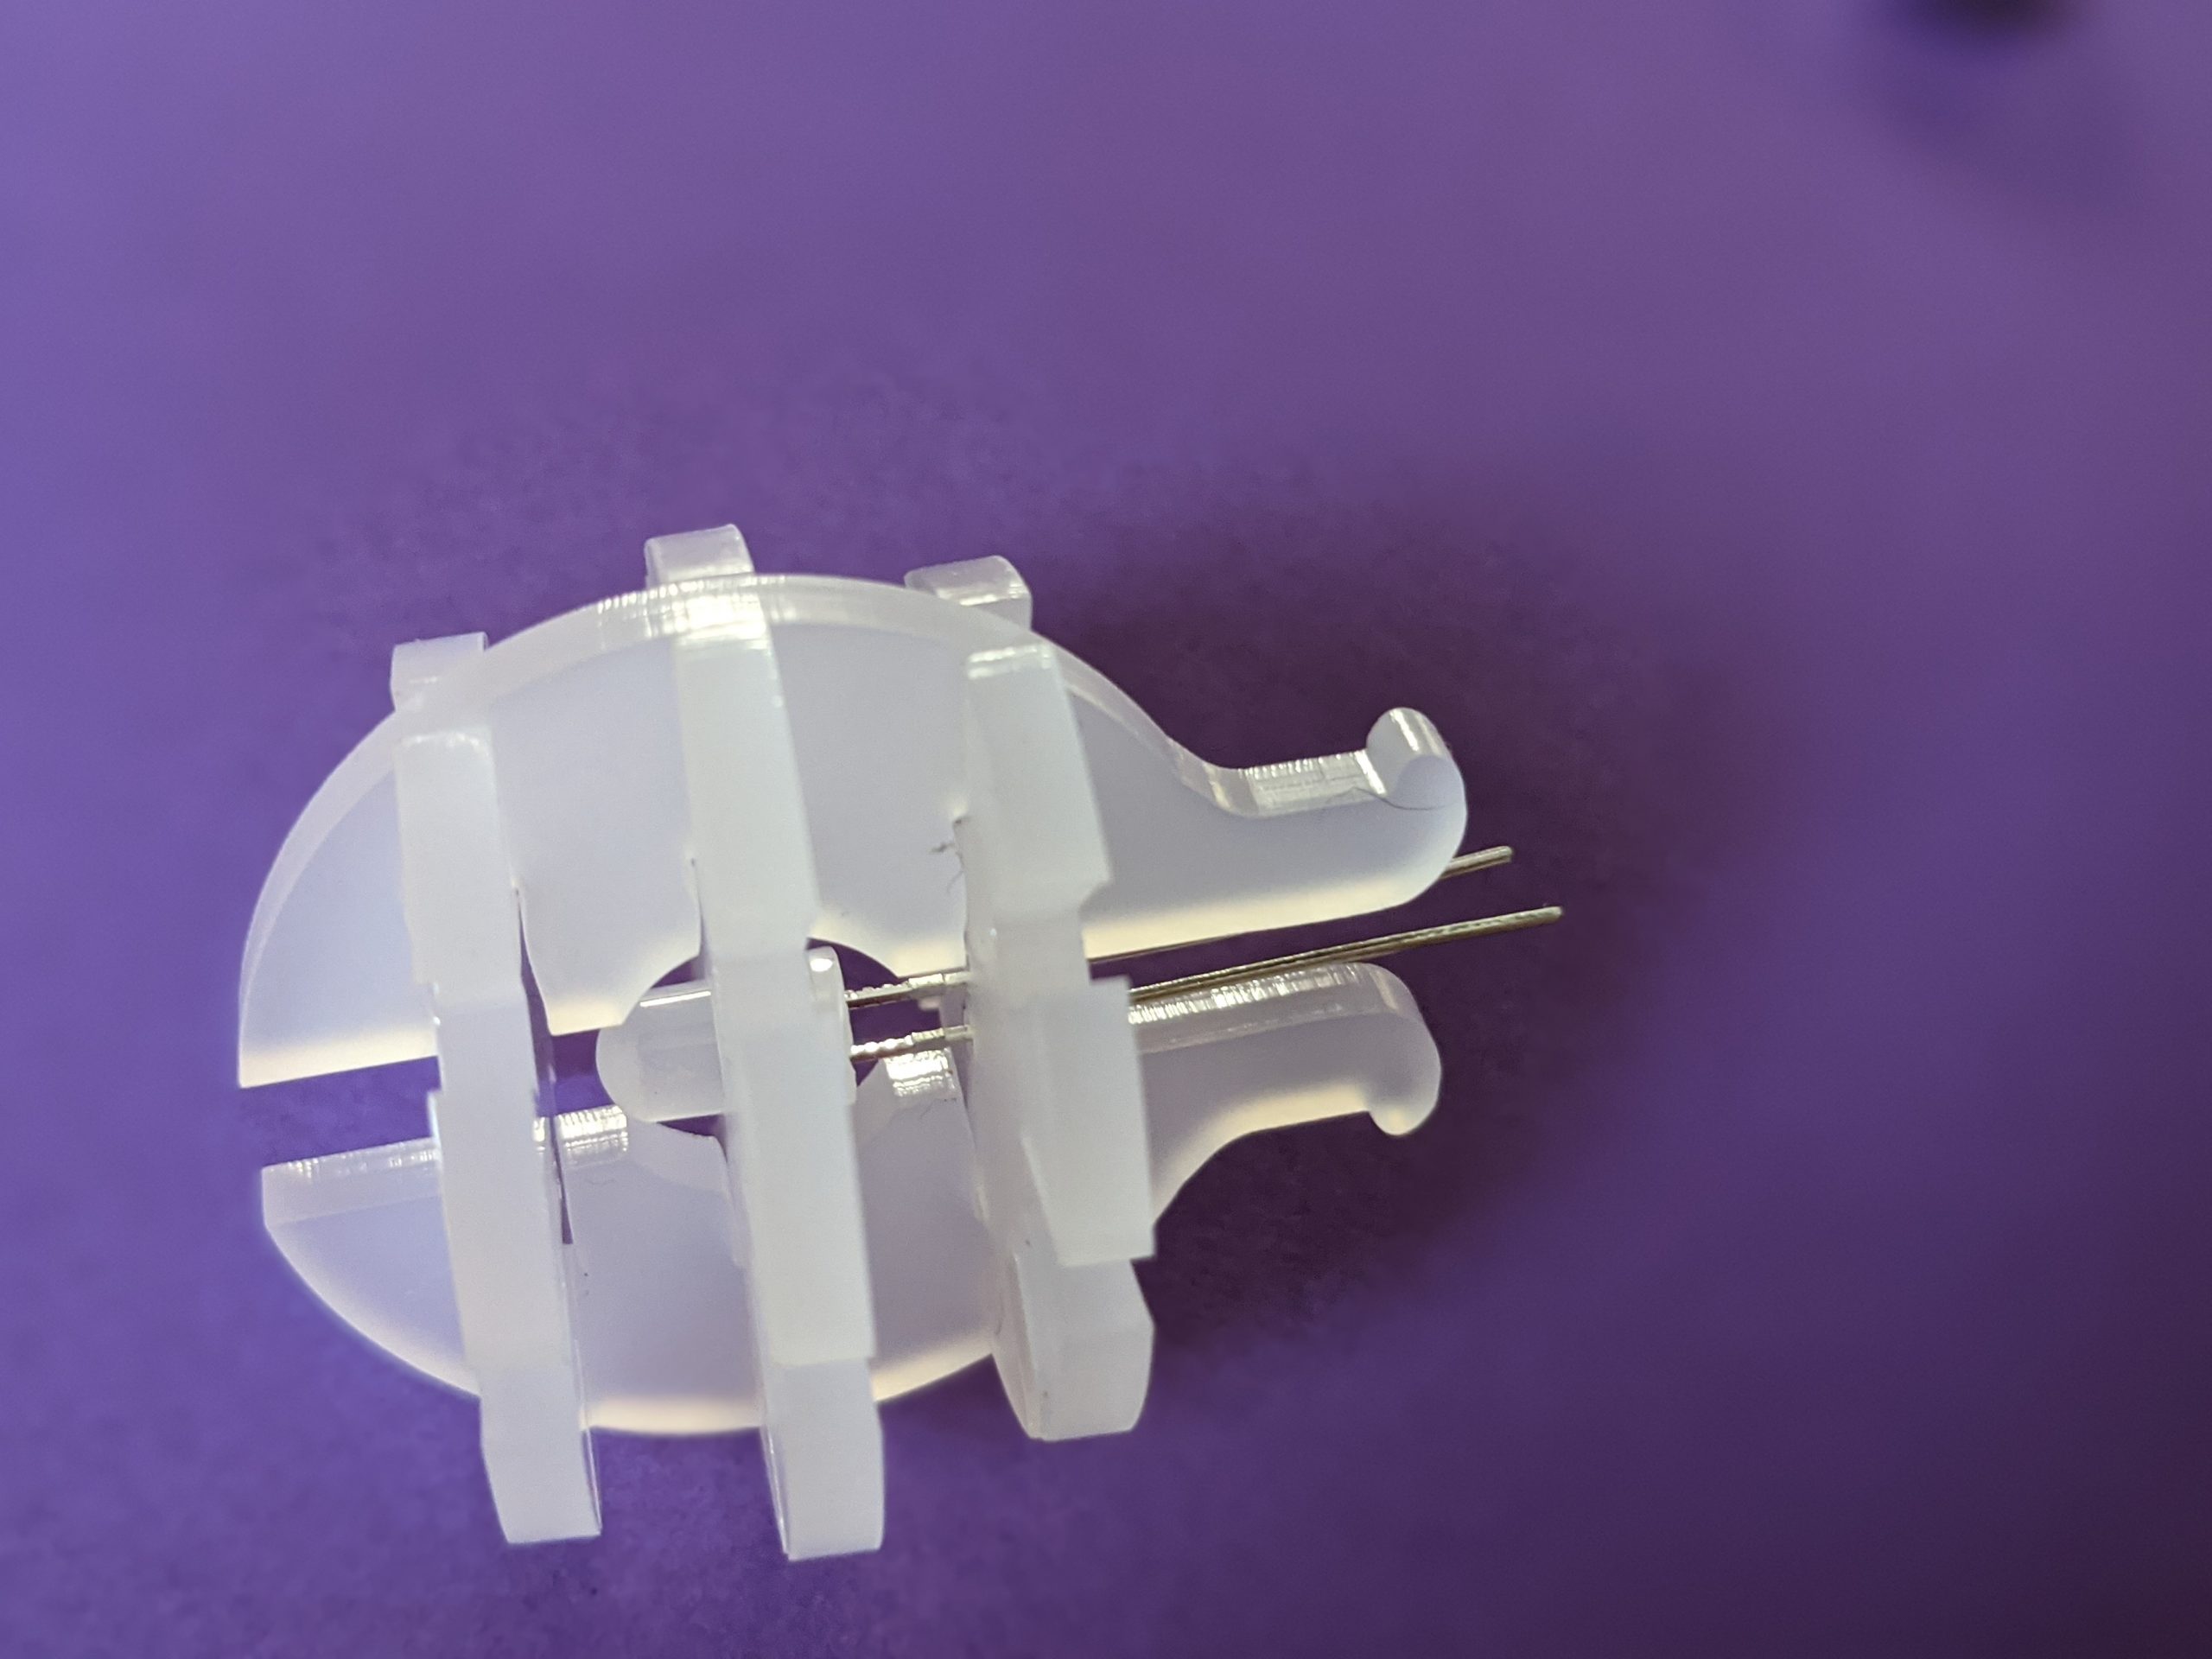
The next two side pieces to slot into place are the ones with the small cutouts near the top. These cutouts make room for the CR2032 battery. Insert these two pieces at right angles to the slots with the “knobbed” pieces, with the cutouts at the top side of the sphere.

Select the pieces with the cutouts on top 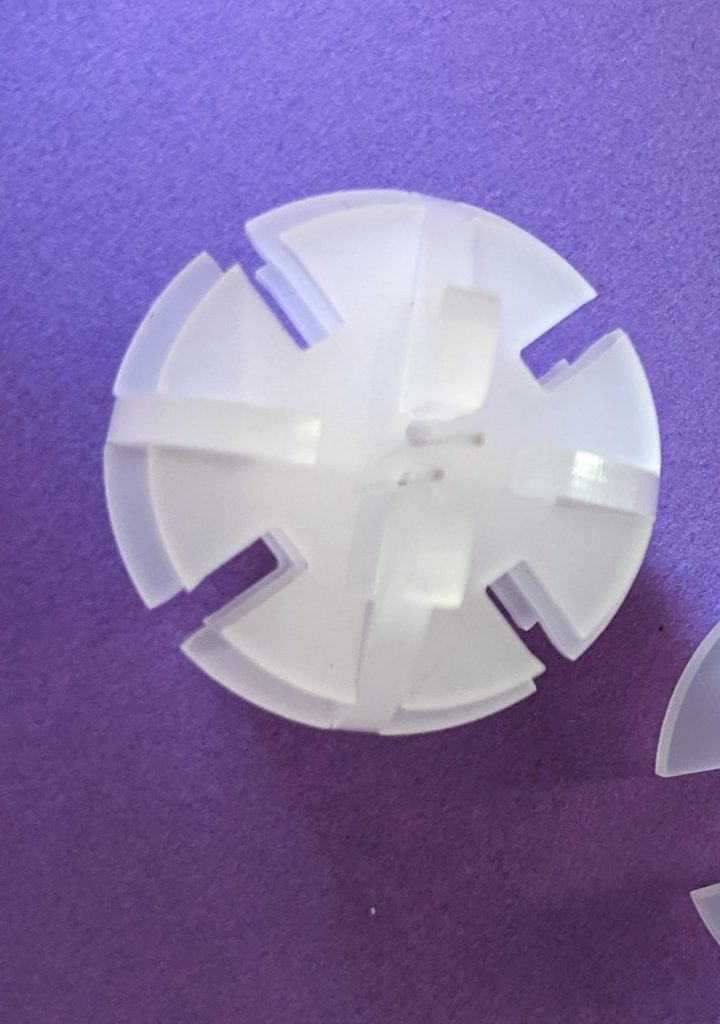
Place the “cutout” pieces at right angles to the first ones

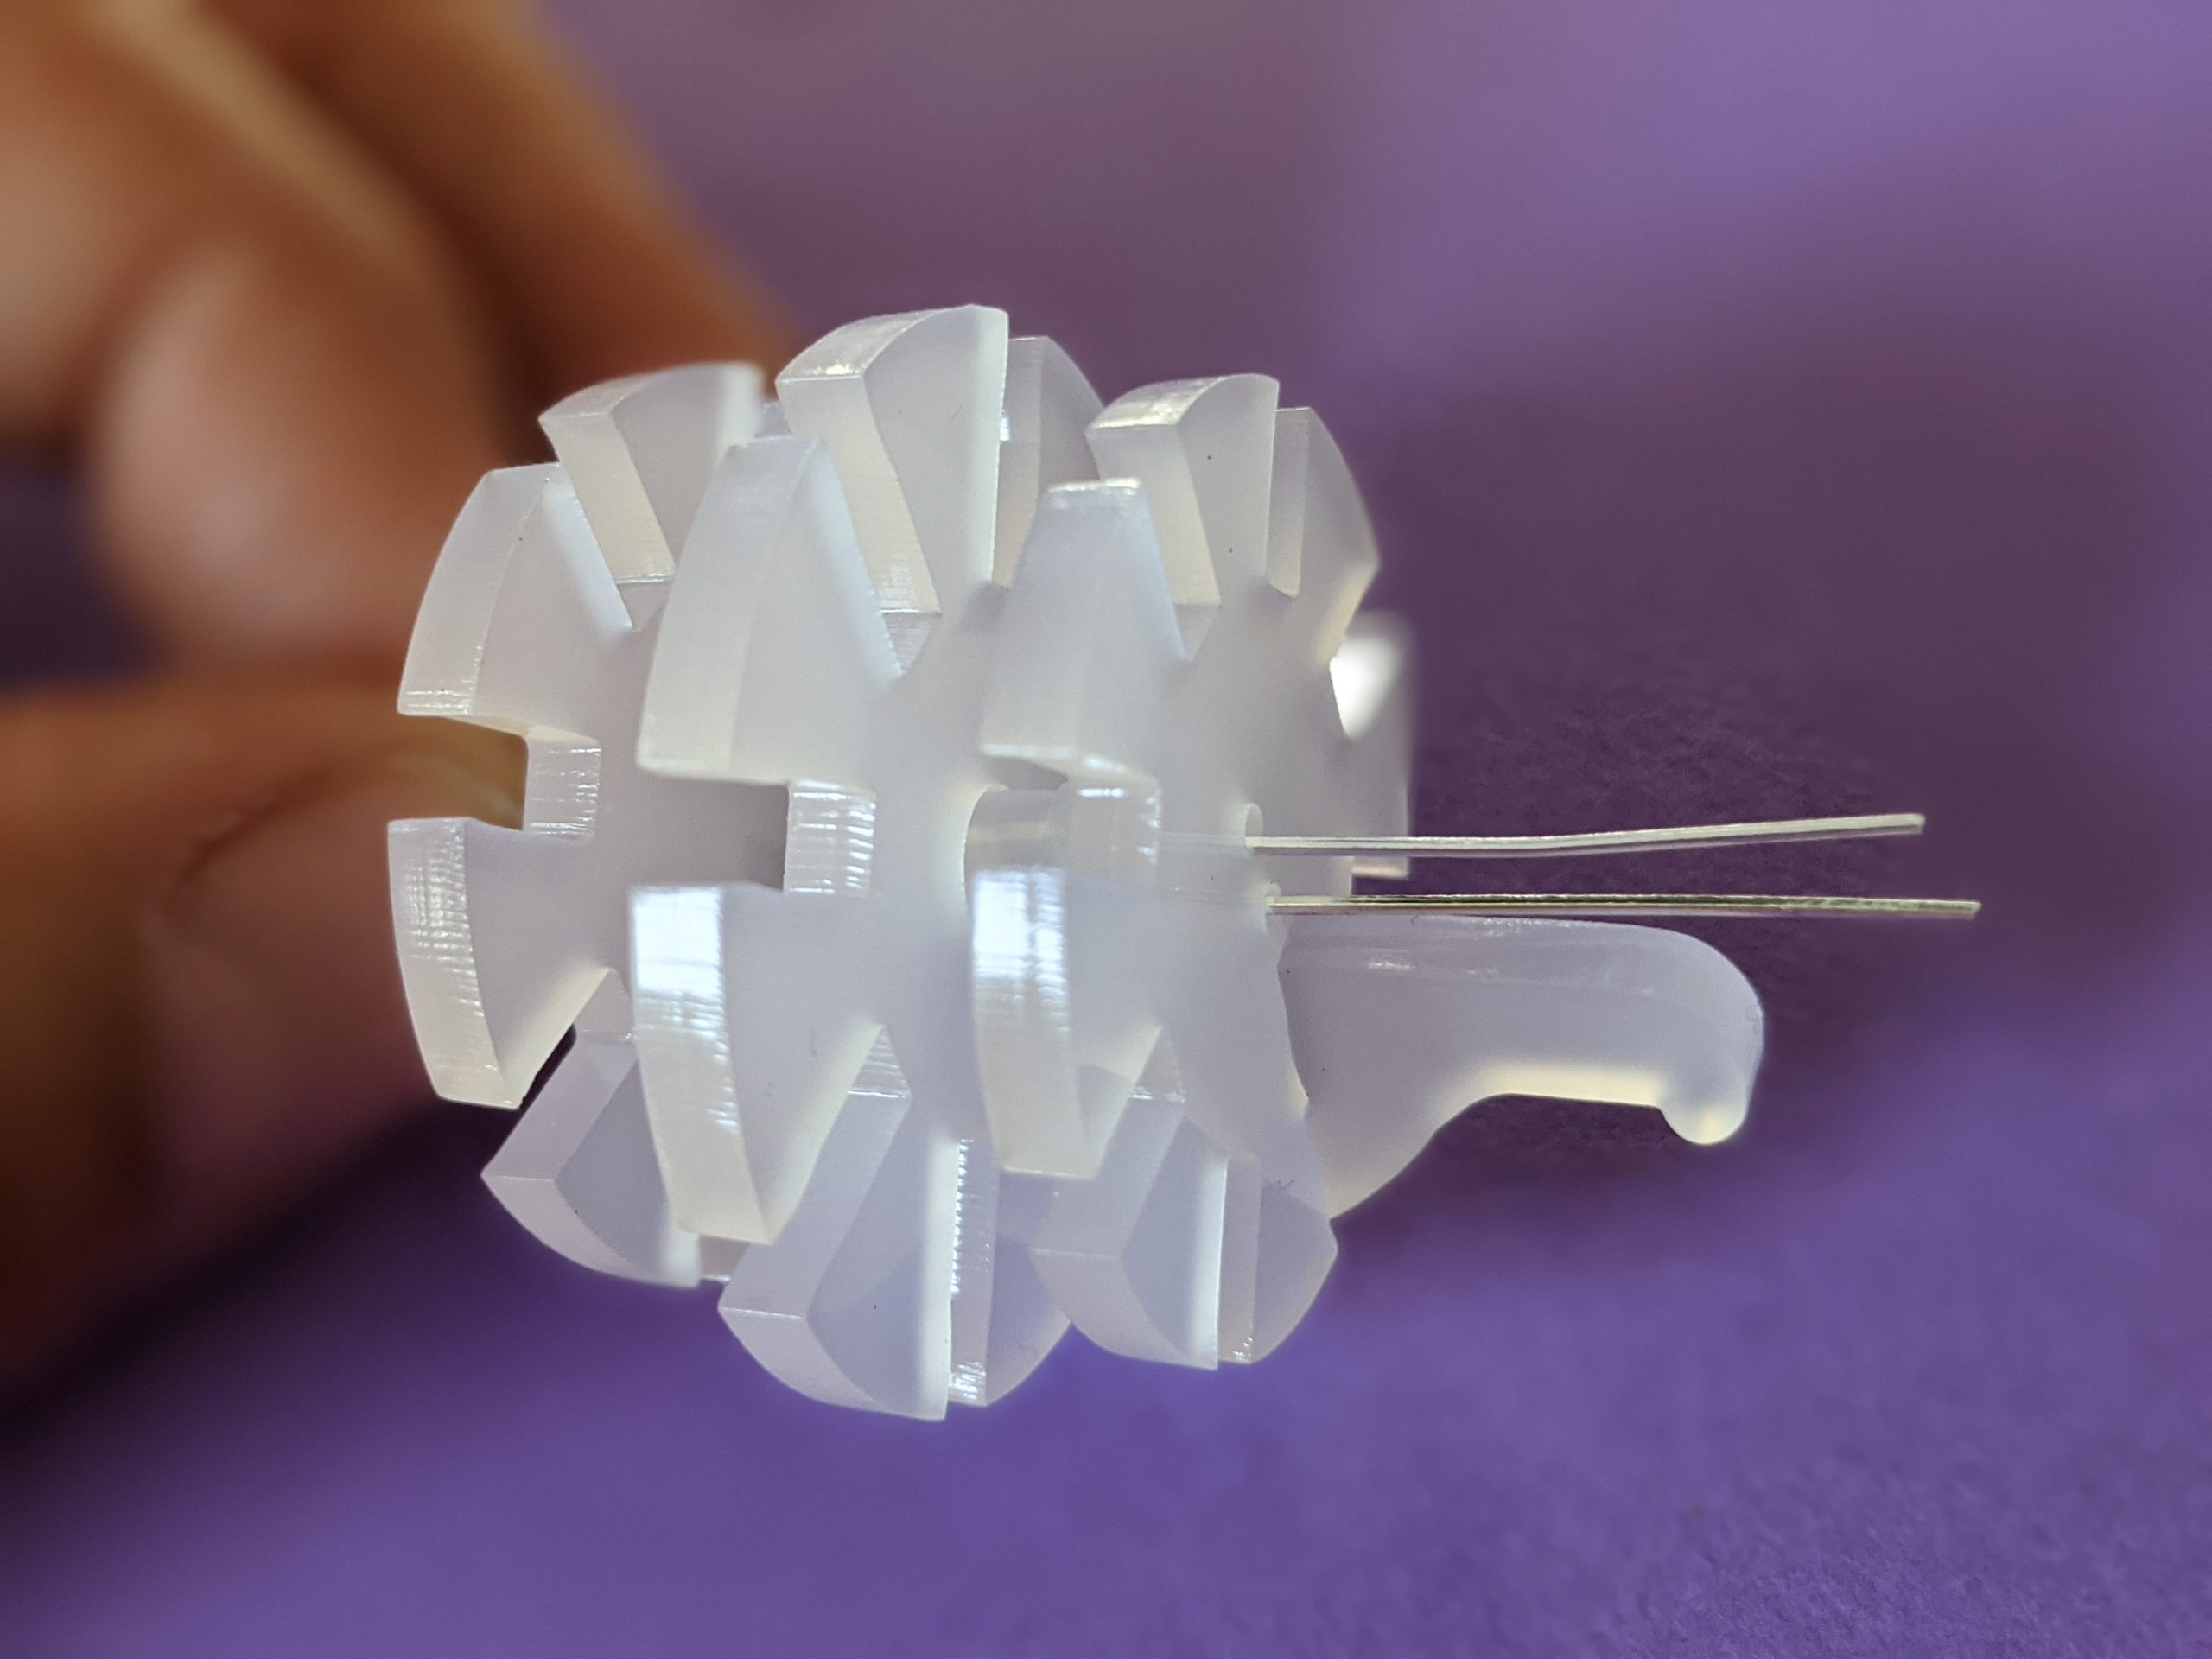
The rest of the sides are identical. Place them in the remaining notches. It’s easiest if you place opposite facing pairs in sequence.
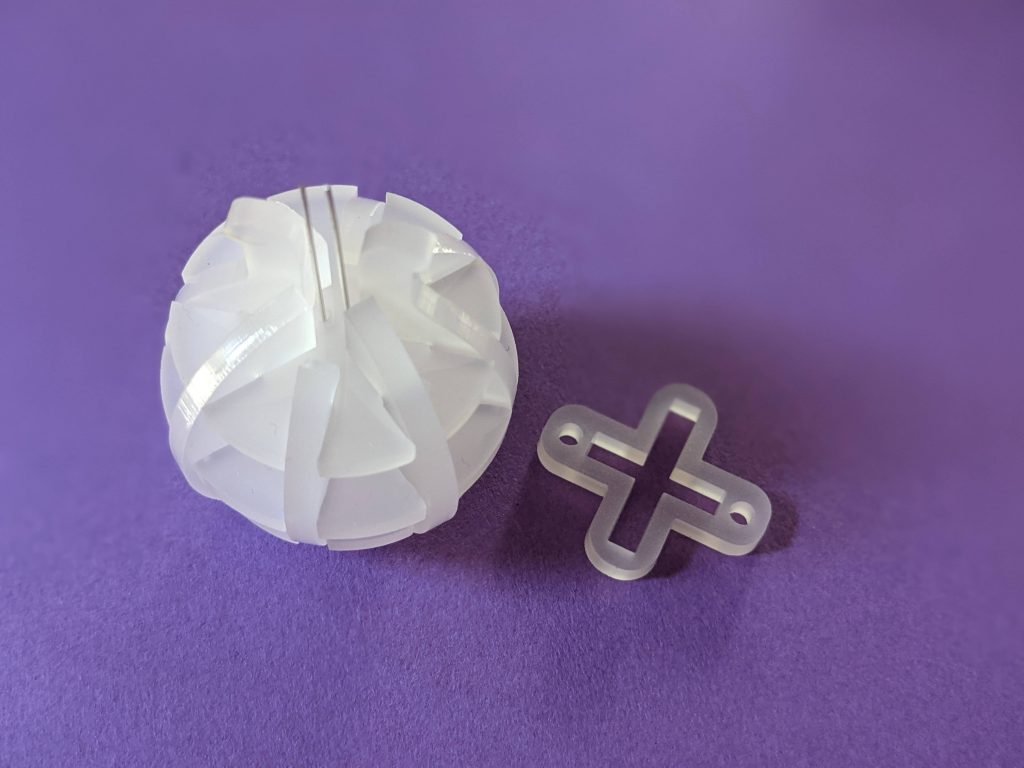
The cross-shaped piece sits on top and helps to hold the battery in place. Place it so that the slot surrounded by the two holes slides over the two “knobs” extending from the top of the sphere. When you insert the battery, it will slide the knobs apart slightly and keep the acrylic cross from slipping off.
And that’s it! You can use the holes in the cross-shaped acrylic to attach strings or wires if you wish to hang the sphere from something or use it as a pendant.
These are so cool!
Mine are a bit wobbly because all my acrylic is a slightly thinner than 1/8″ (.112 “) Any chance you drew these in a parametric CAD program like Fusion 360 so I could change the dimensions slightly?
Thank you, and I’m sorry, but those were drawn (and hand-tweaked by fractions of a mm) to work on my laser cutter with the specific plastic I was cutting. It is a very finicky build. If you know how to alter nodes in Inkscape, then you may be able to make the tweaks you need to make it work for you.
Aww, no worries–I put one together with some hot glue and it works great! We’re going to feature it at our upcoming Makers’ Night at the makerspace and have enough sets on hand for all participants to make one, so having to glue it will give them more agency! Thanks again for your terrific work–love the blog.